HALO EVA Lifesize Helmet AKA RED VS. BLUE META HELMET
HALO LIFESIZED HELMET REPLICA!
This item is currently discontinued....

INFO ON THE VISOR:
HELLO!! If you're interested in a helmet kit, just drop me a line!
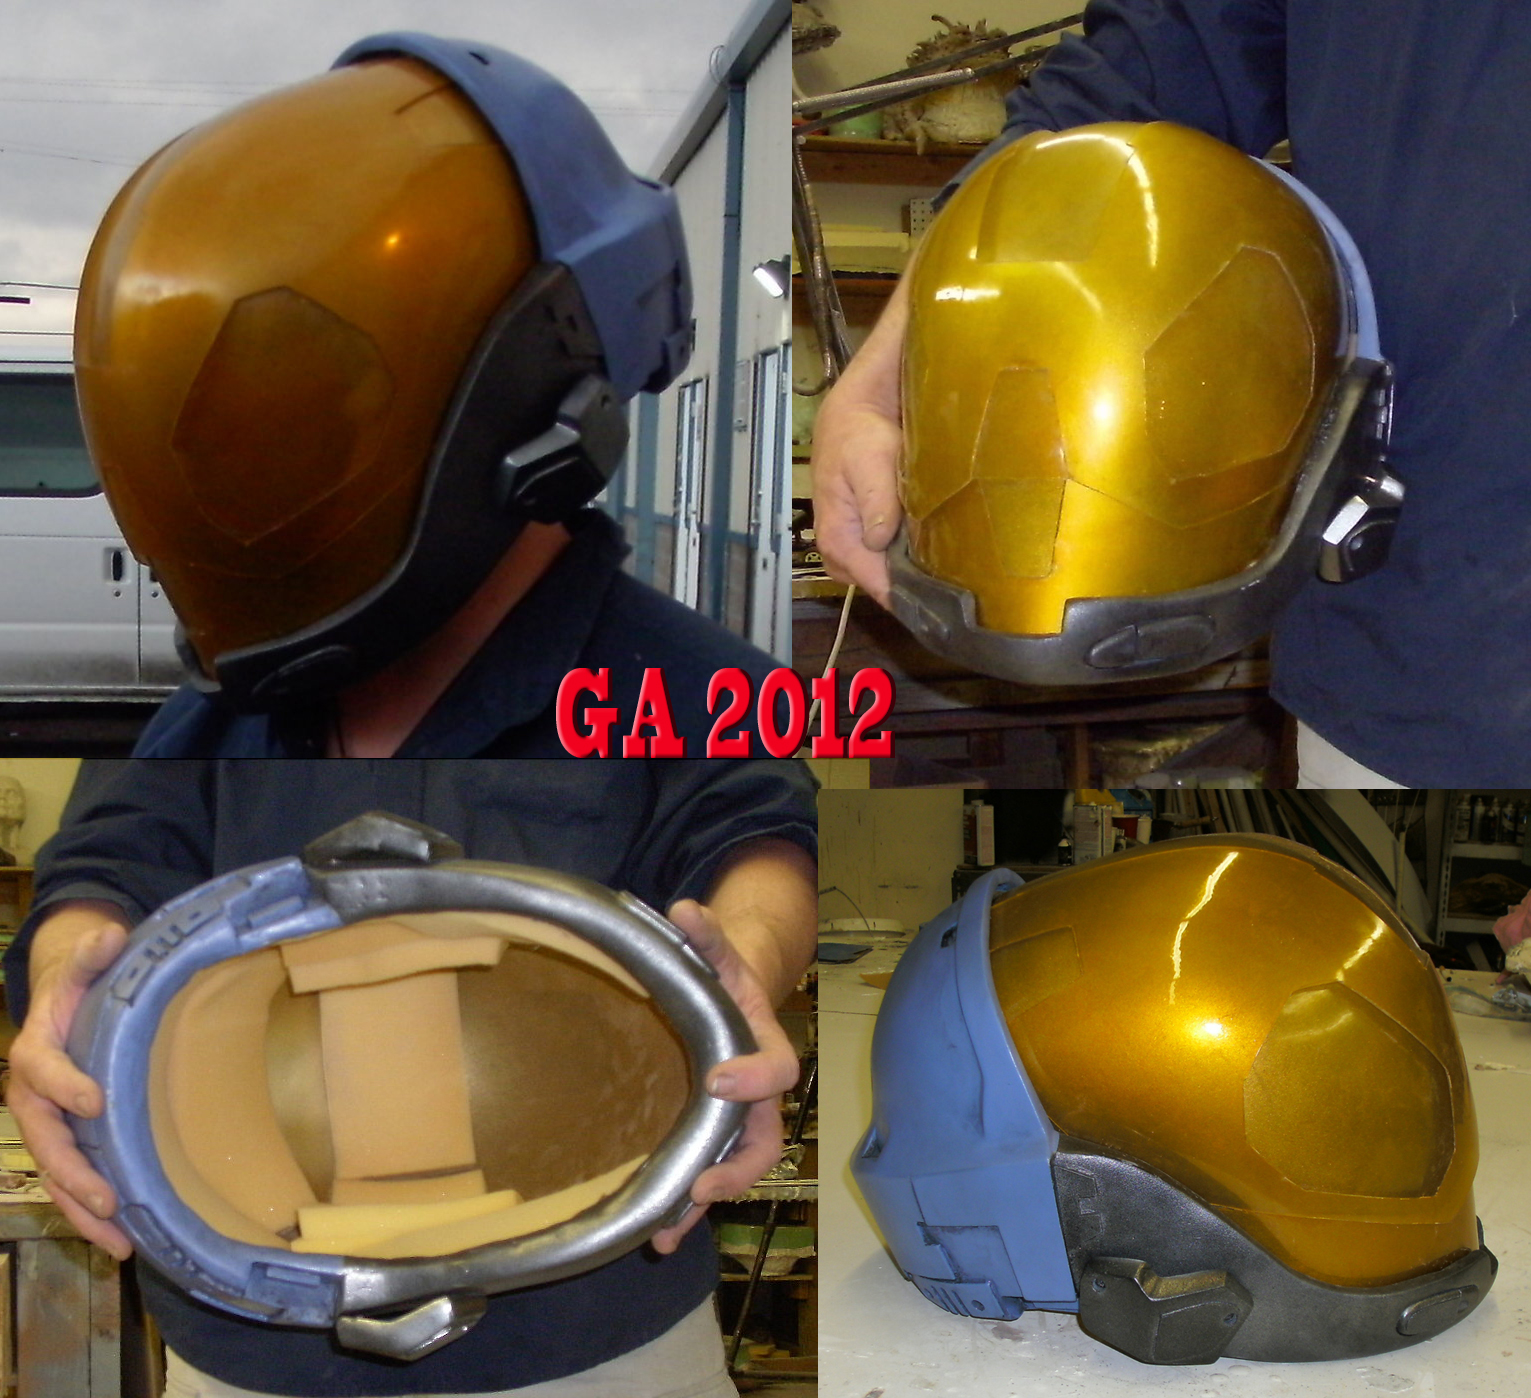
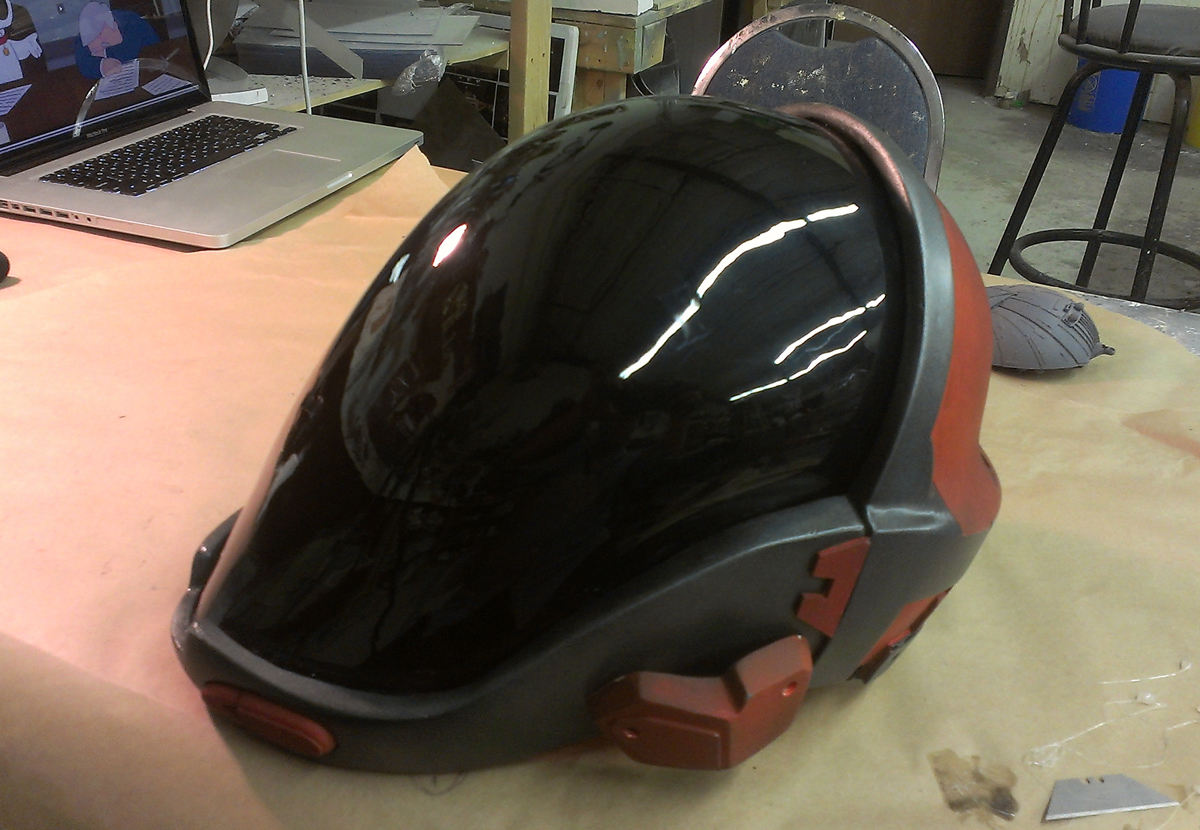
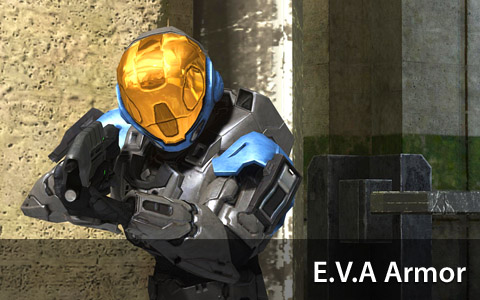
The Halo EVA helmet kit consists of the main helmet shell, 2 neck tabs, 4 com unit pieces, 2 hex bolt heads, the cheek pieces, cheek details, and 2 visors for the layering effect. THe visor can be smoked black or can be tinted orange then silvered for a golden effect.
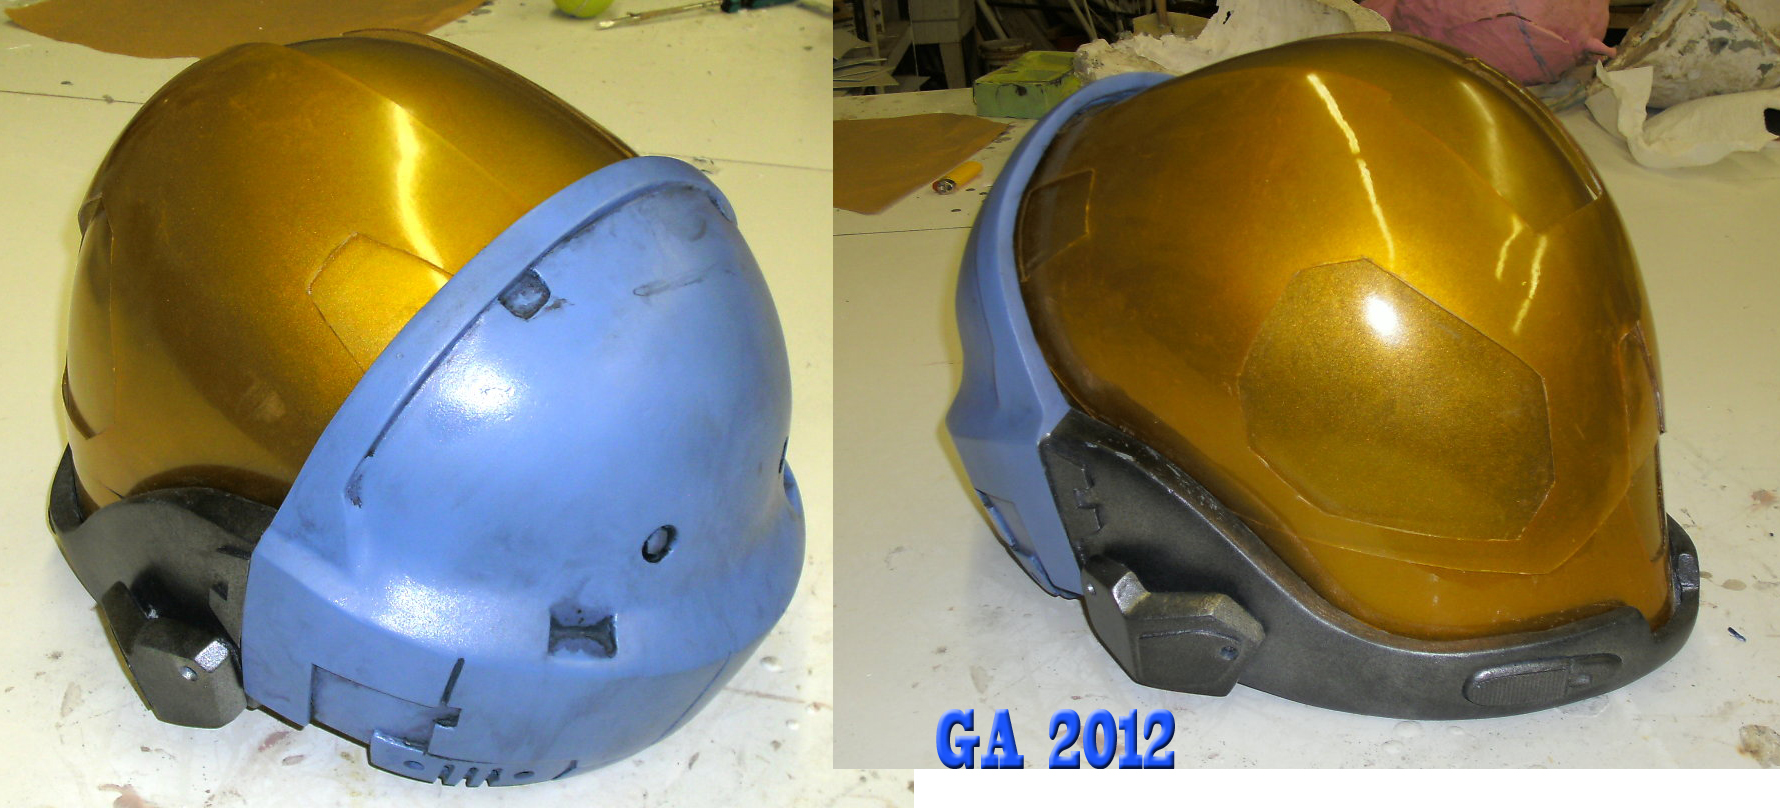
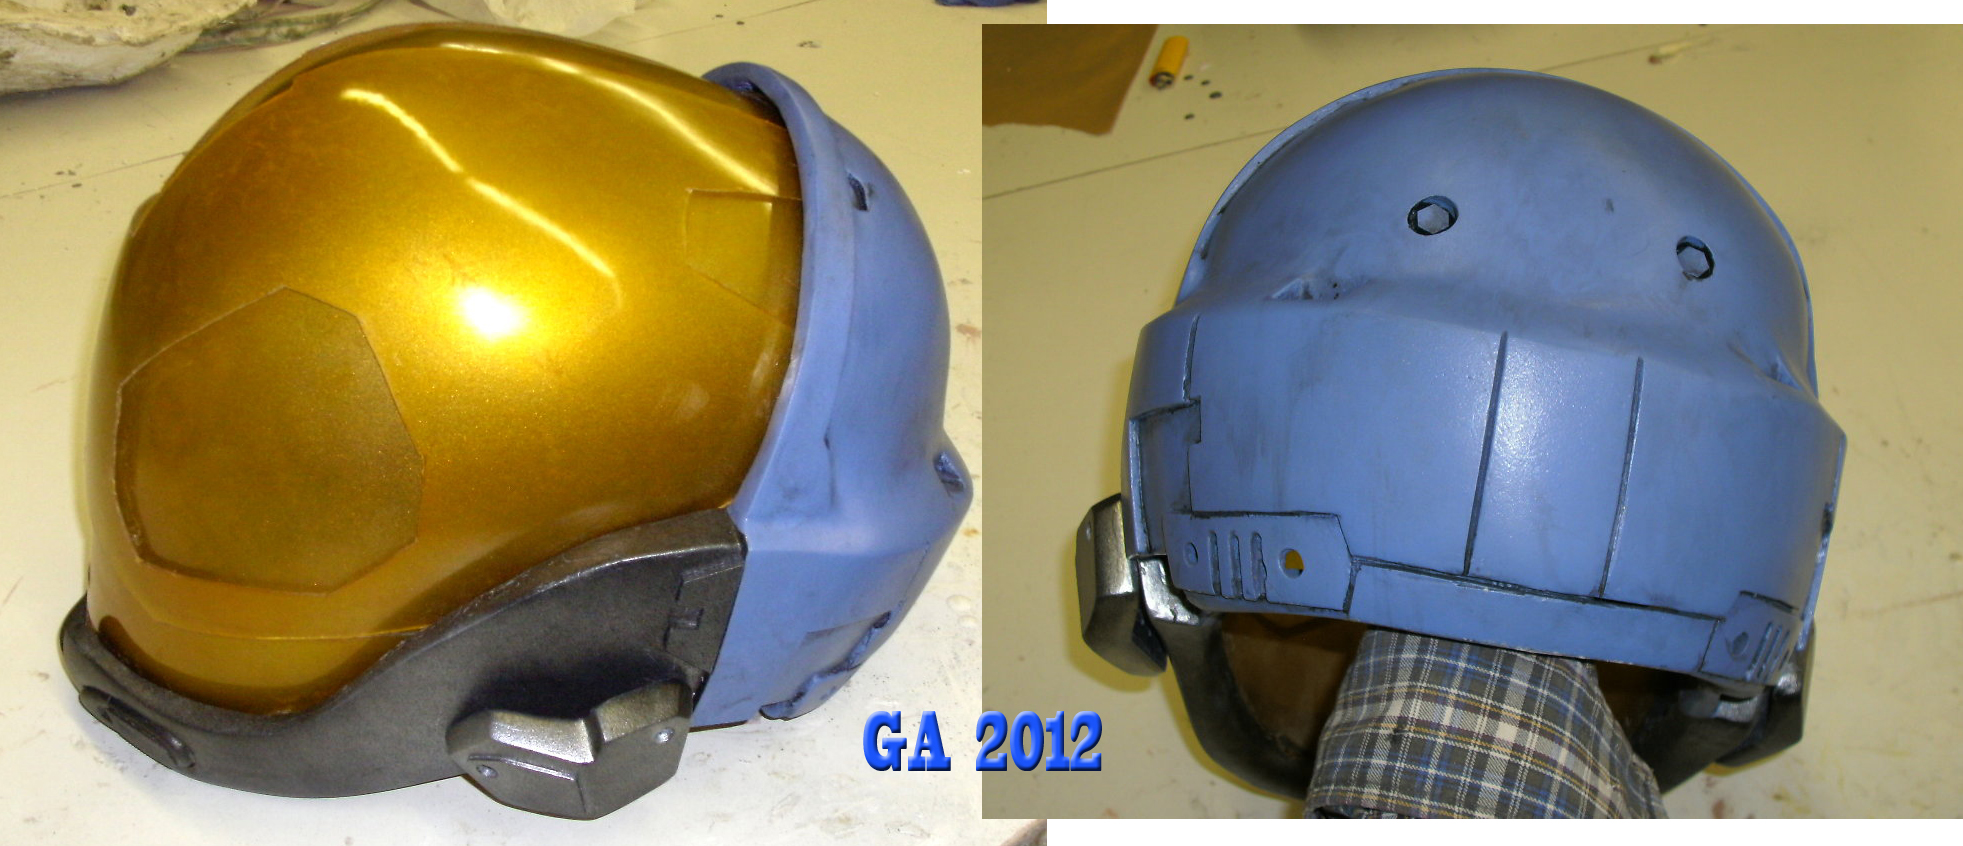

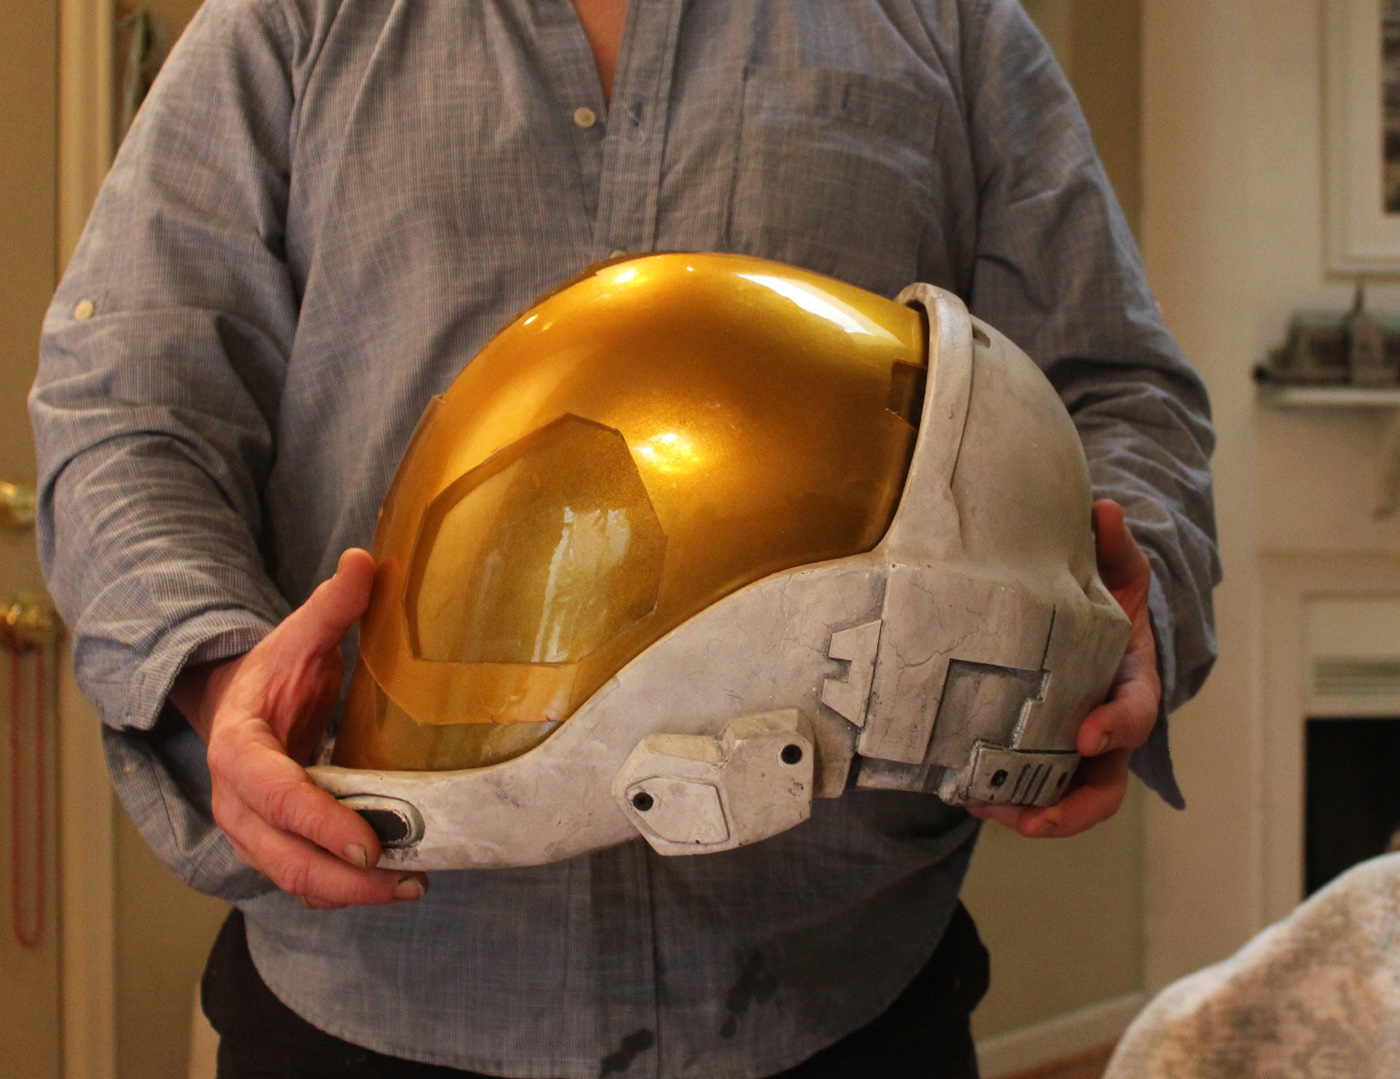
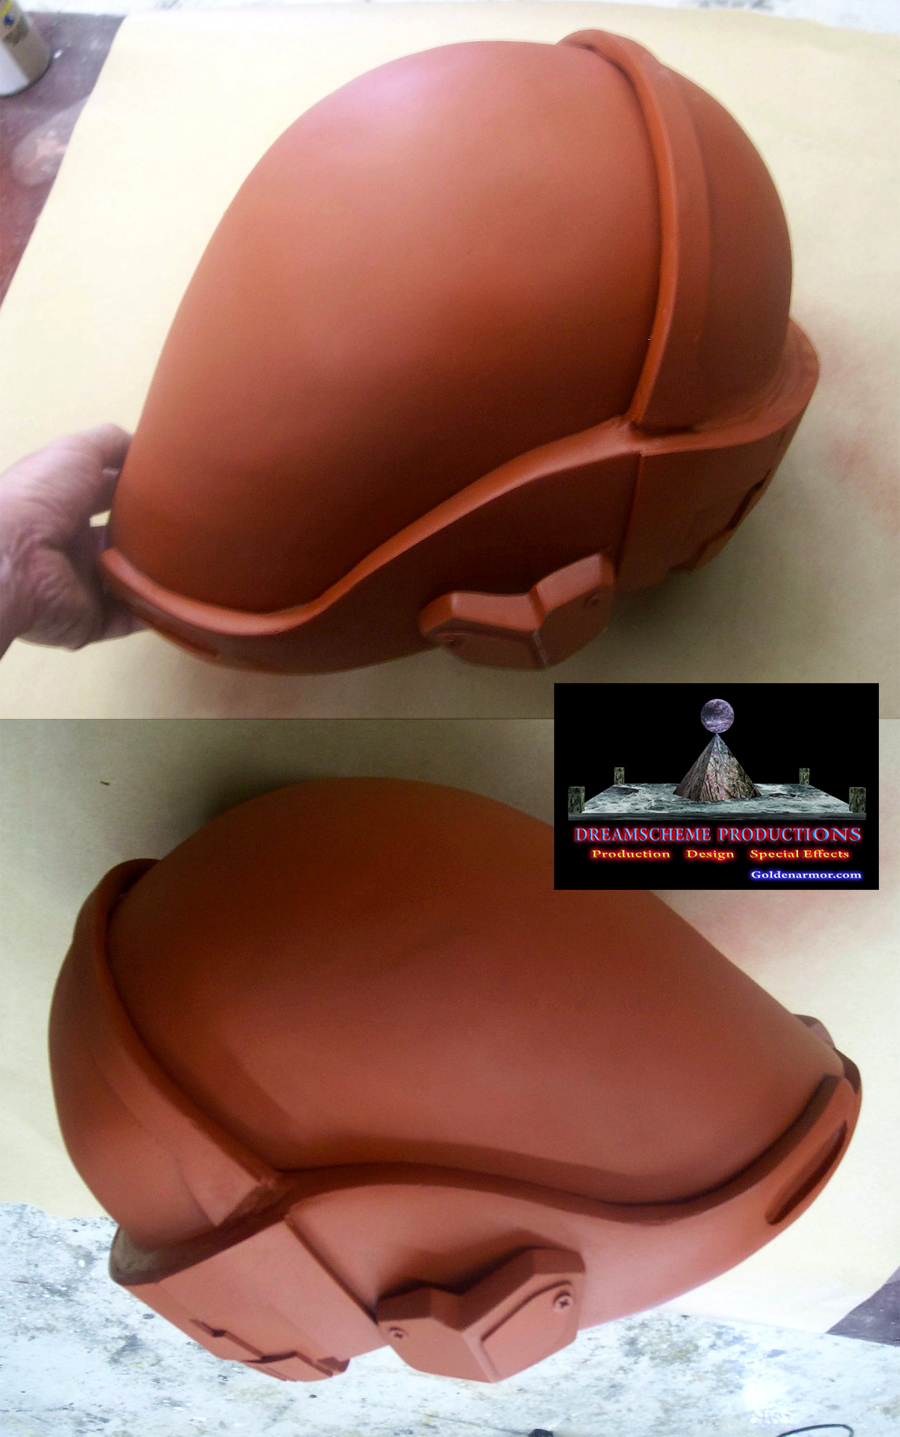
This helmet is TOTALLY customizeable. Check out this version with a single visor and orange tone and silver paintscheme.
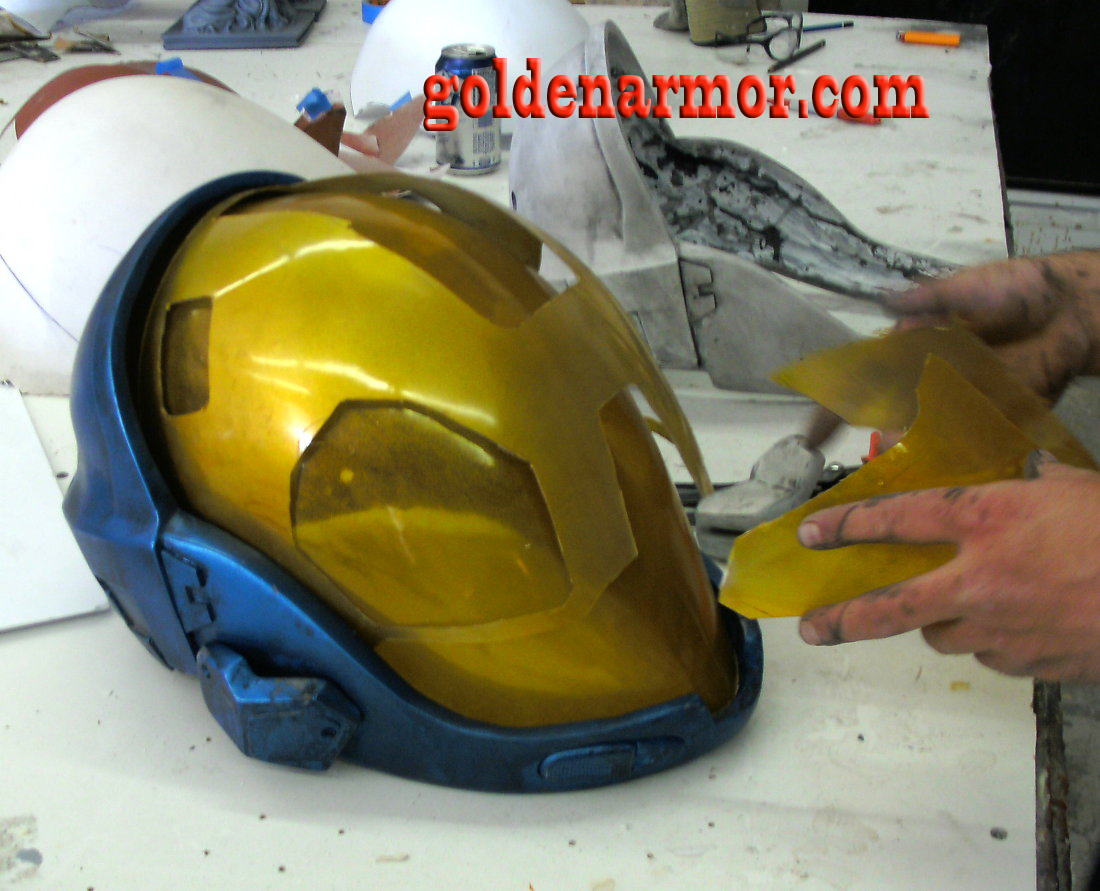
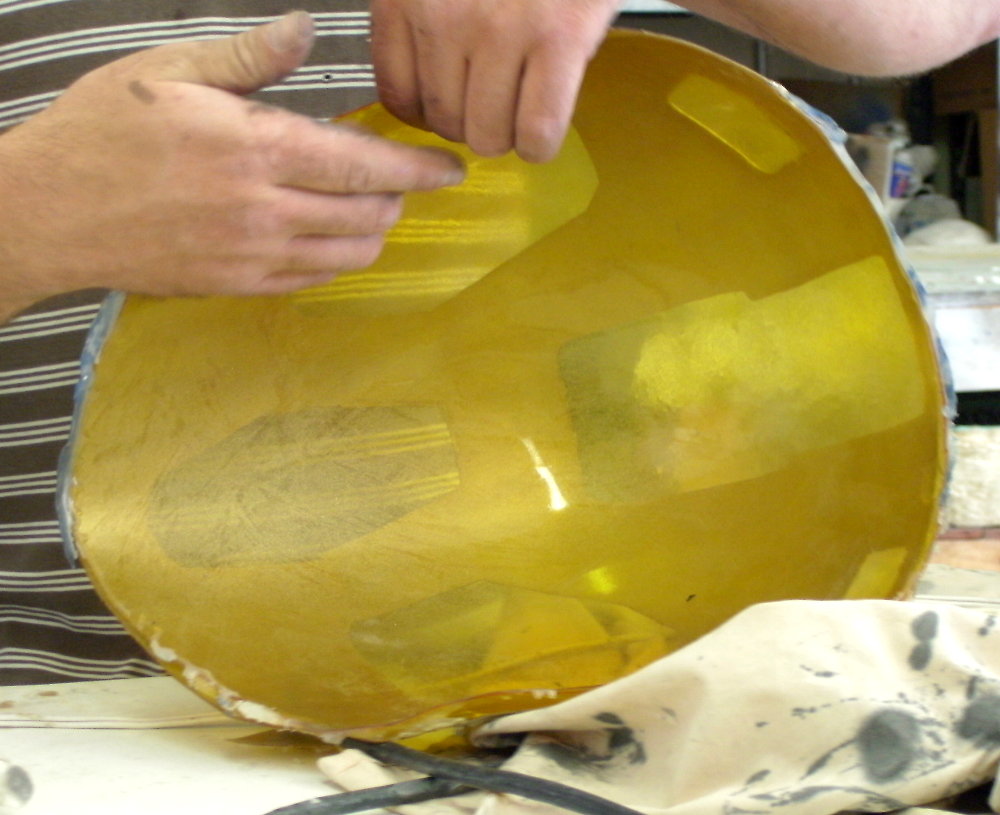
Installing the golden visor version.

This is a commissioned helmet for a private collector. It is currently being created at the famous DreamScheme Studios in Denver, CO. Team: Cristofer Adrian, Max & Rod Ford, Kelly Haus, & Tyler Cooper.
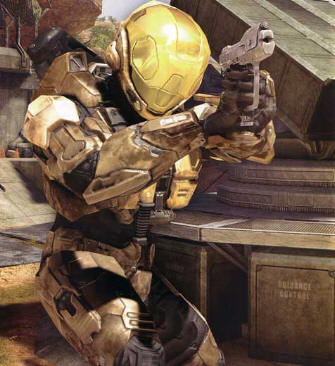
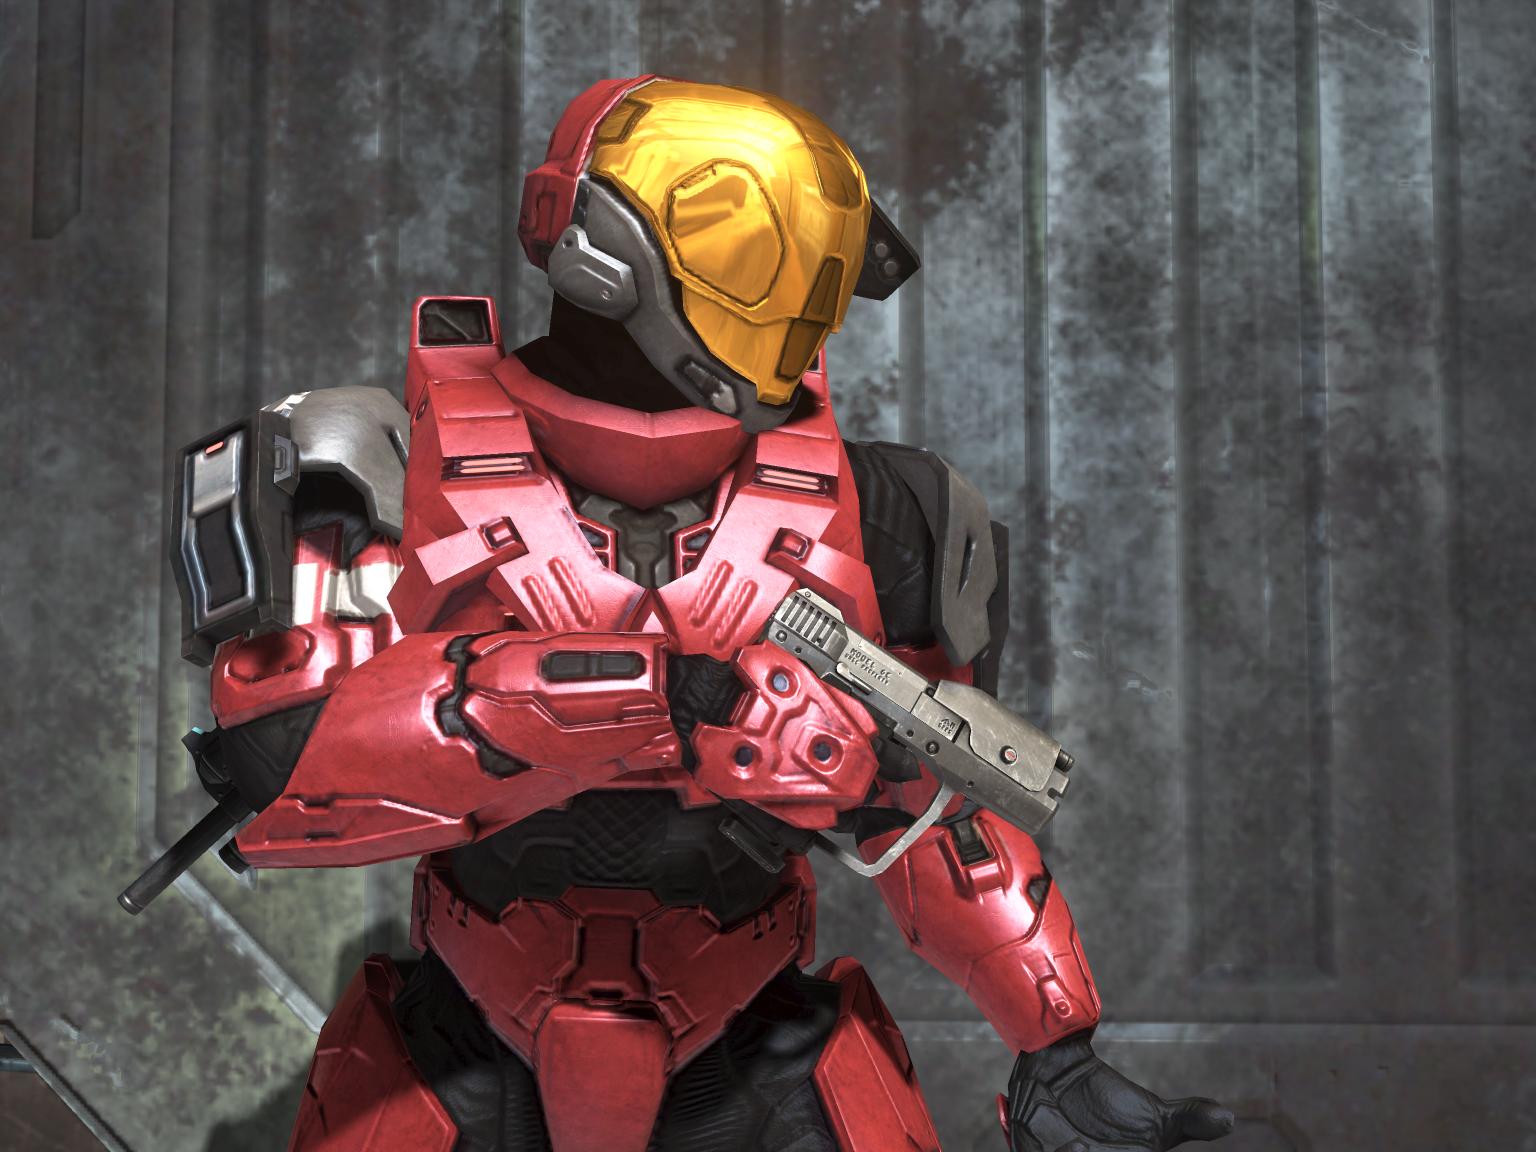
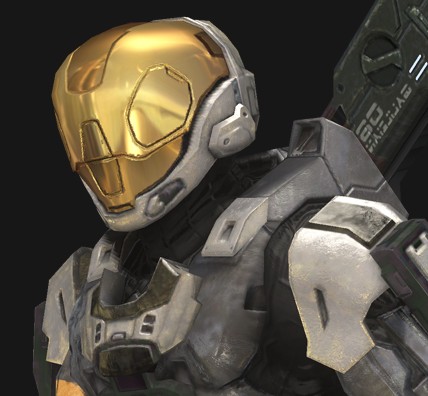
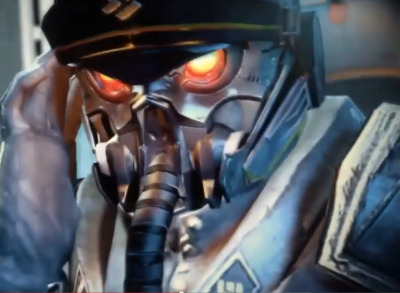
First, some reference photos:
HOW IT WAS MADE
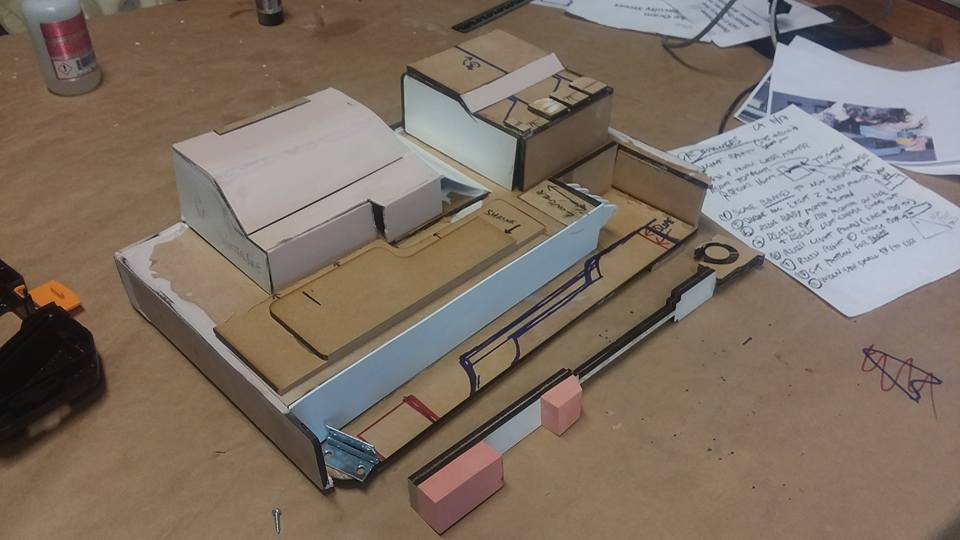
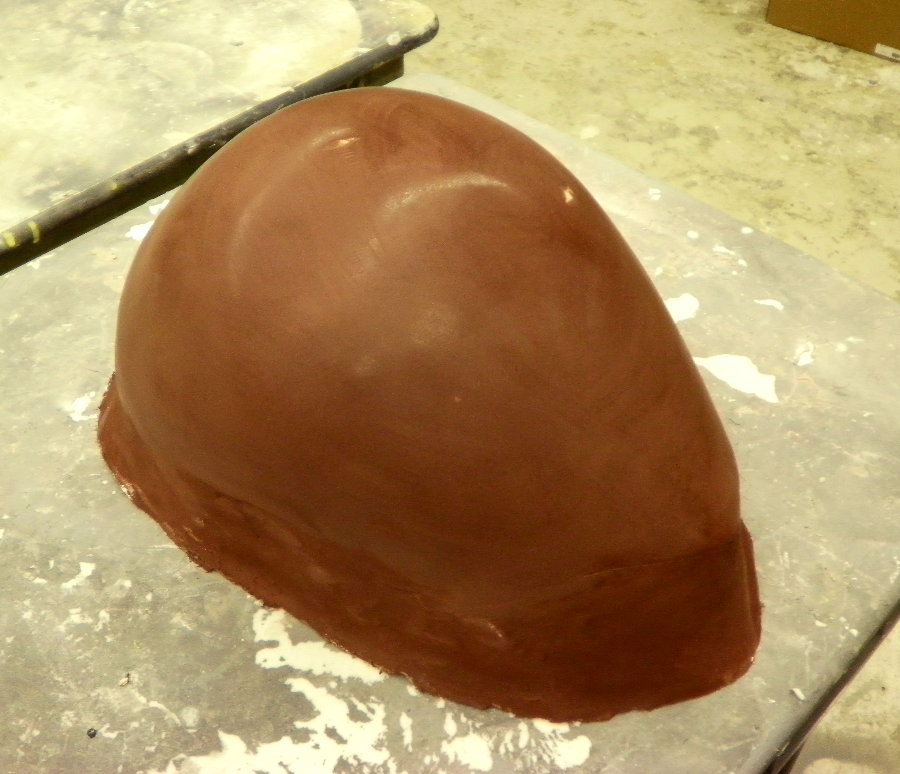
Now, ONTO making this helmet a reality. First we start with a base shape. In this case a motorcycle helmet with chinguard is PERFECT!! I used a XL helmet to give this helmet plenty of scale.
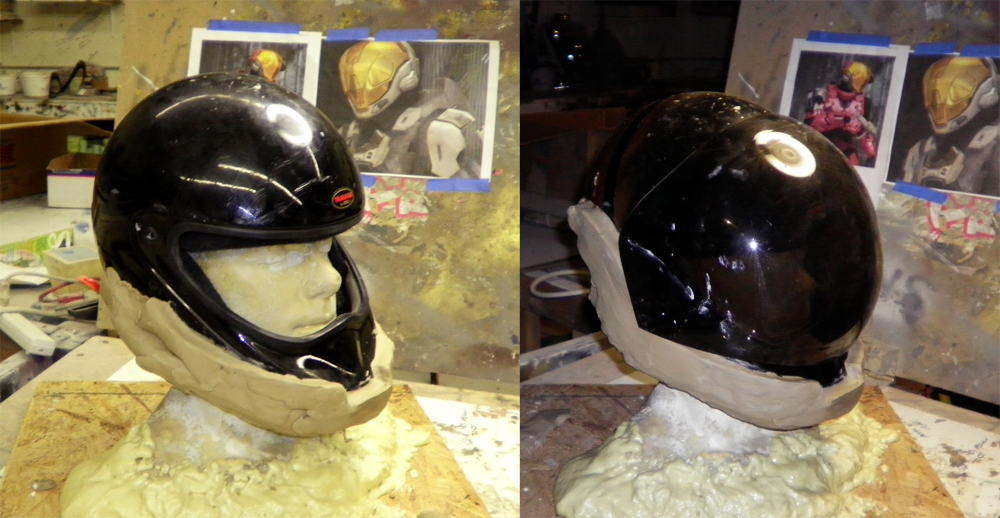
Next we blocked in the basic shapes of the helmet. It's always better to sculpt in excess and shave material away. Here you can see the helmet front coming to fruition, and the beginnings of the rear shell.
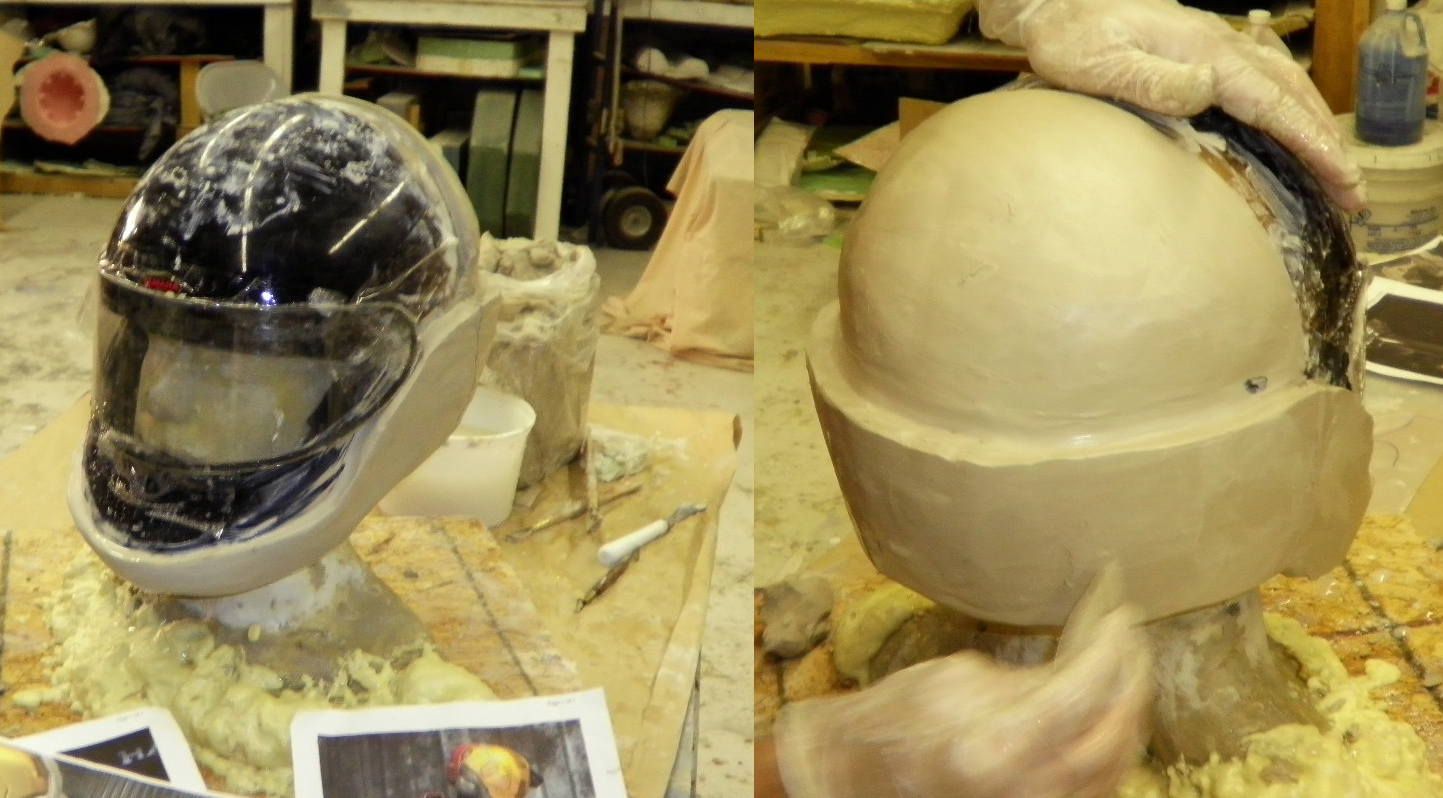
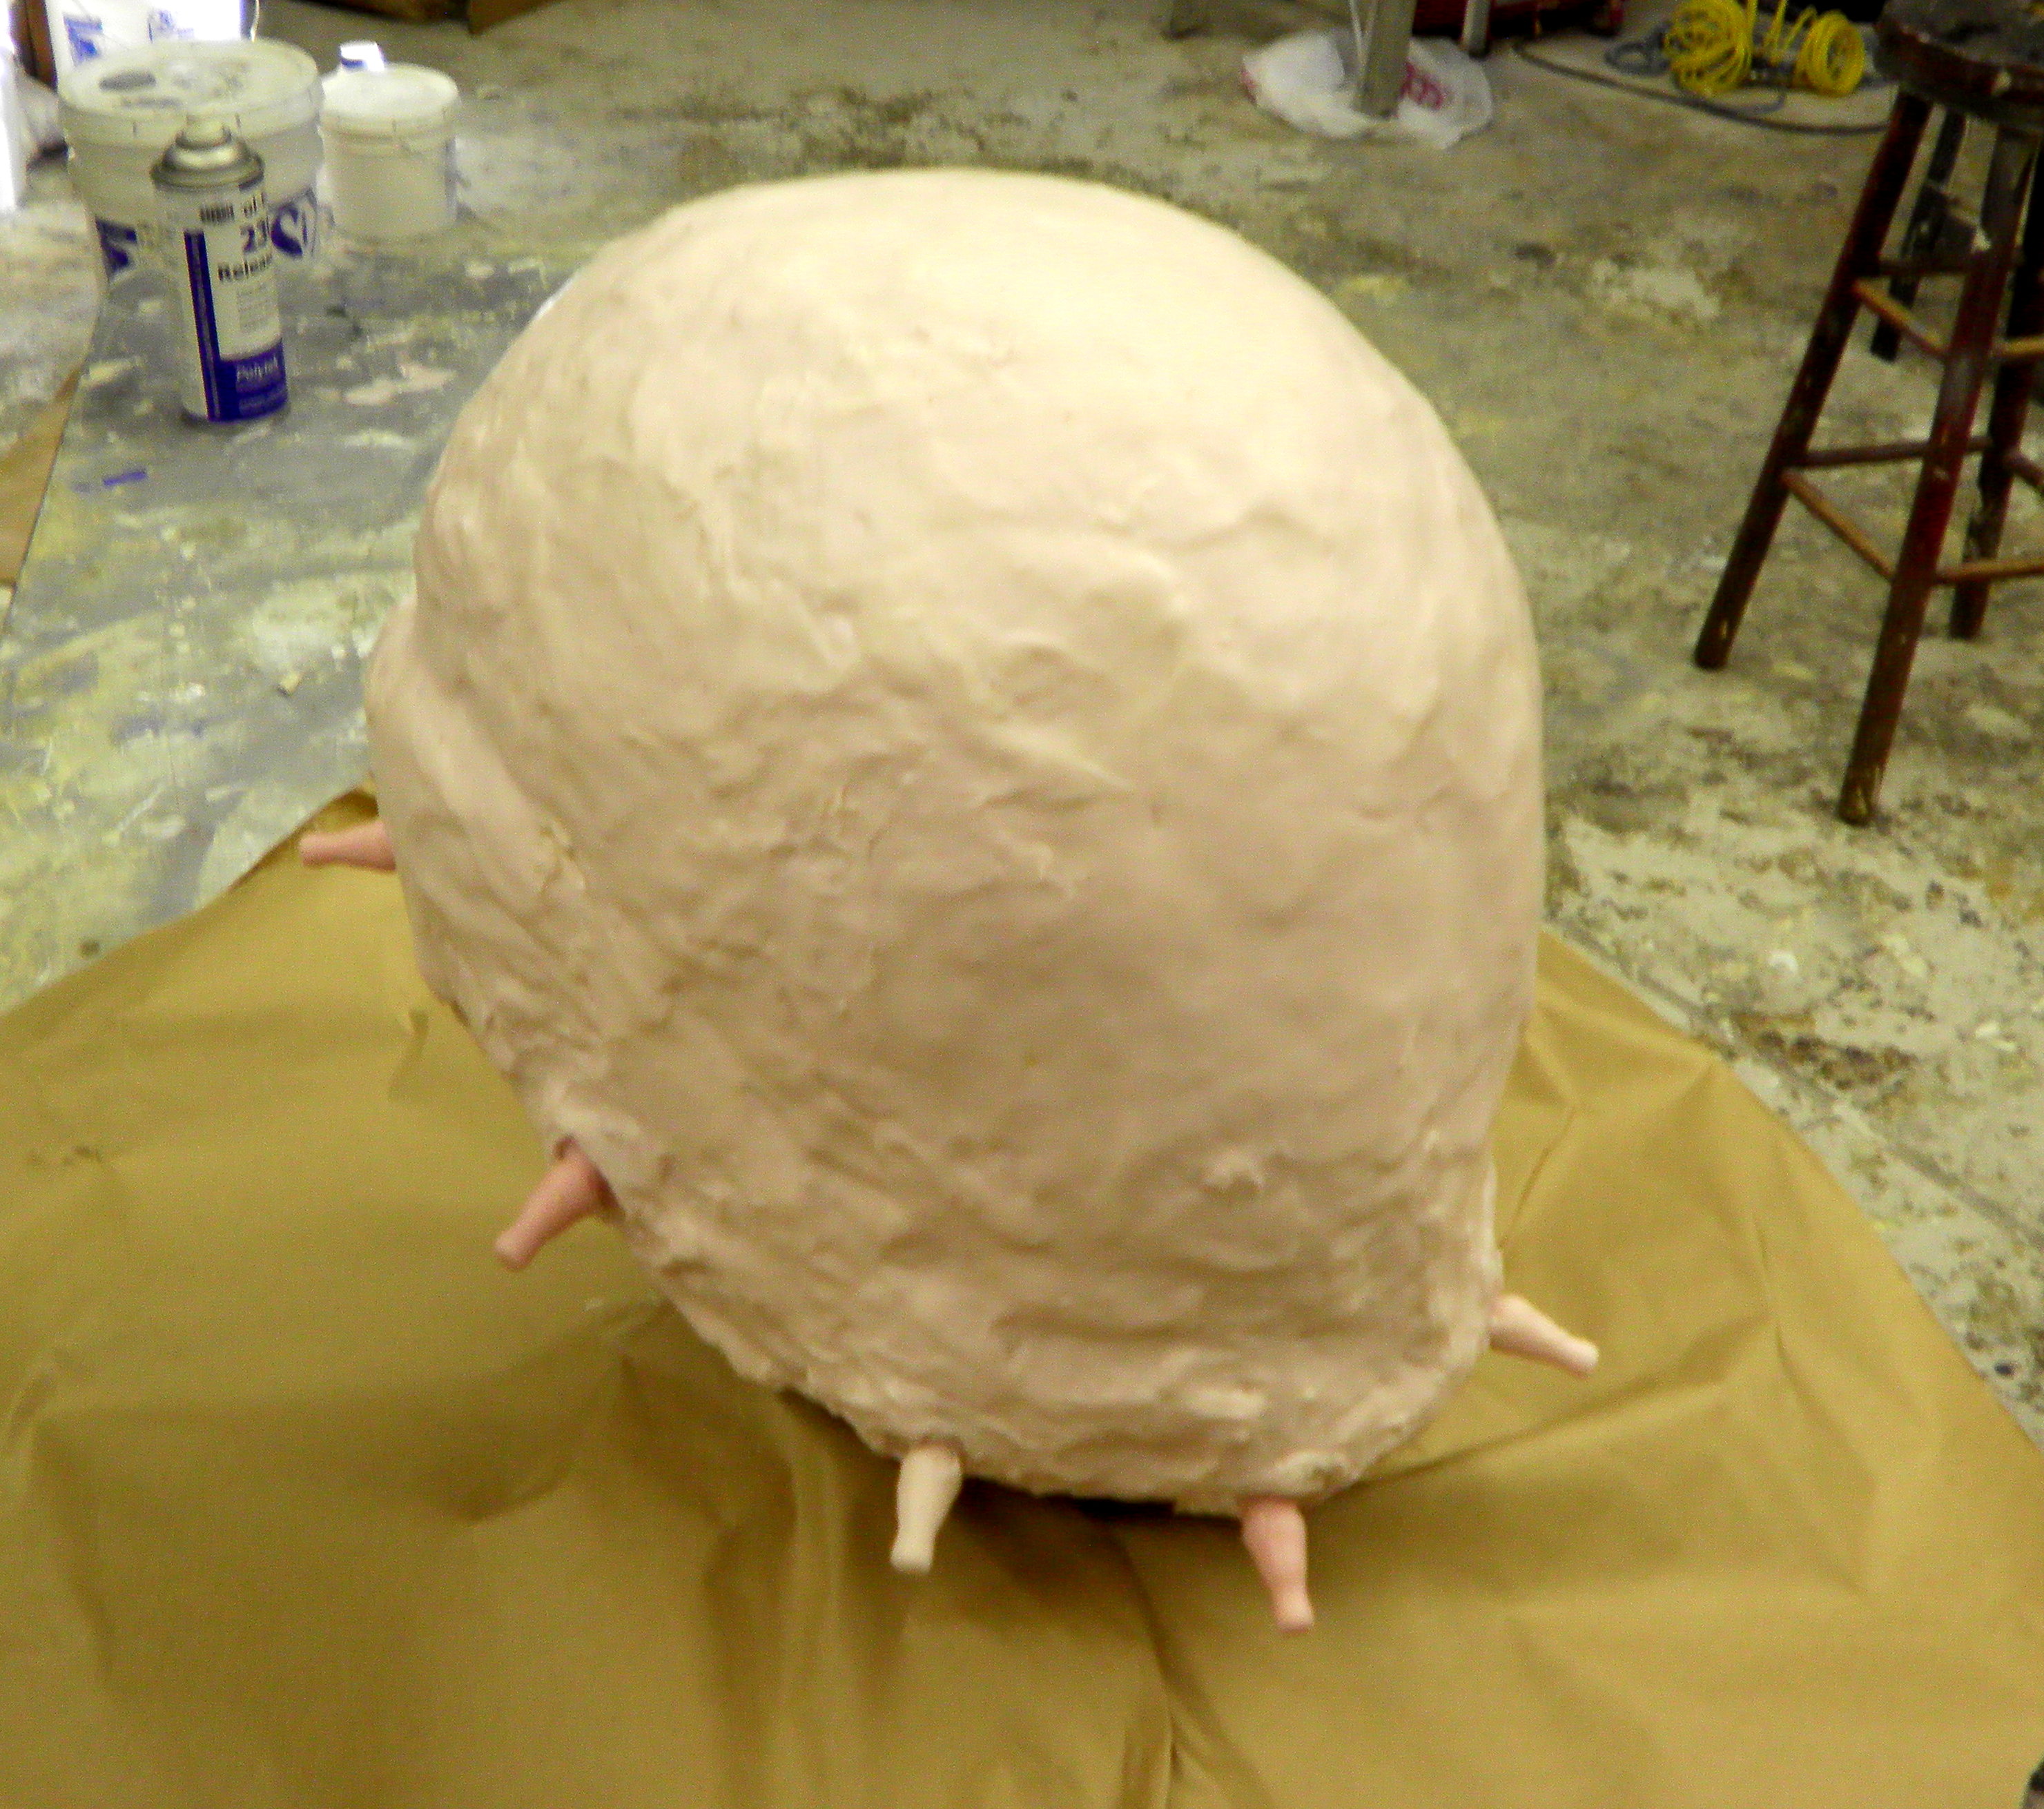
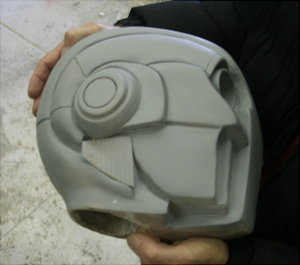
Once the shapes are fully blocked in, smoothing and refining can commence. It was decided to sculpt the intiial shape as a "BLANK". That is, the high detail and panel details will not be sculpted at this stage of the project. We're only looking to get the basic shape of the helmet and visor and all the other details will be developed in Stage 2 - after this helmet is molded.
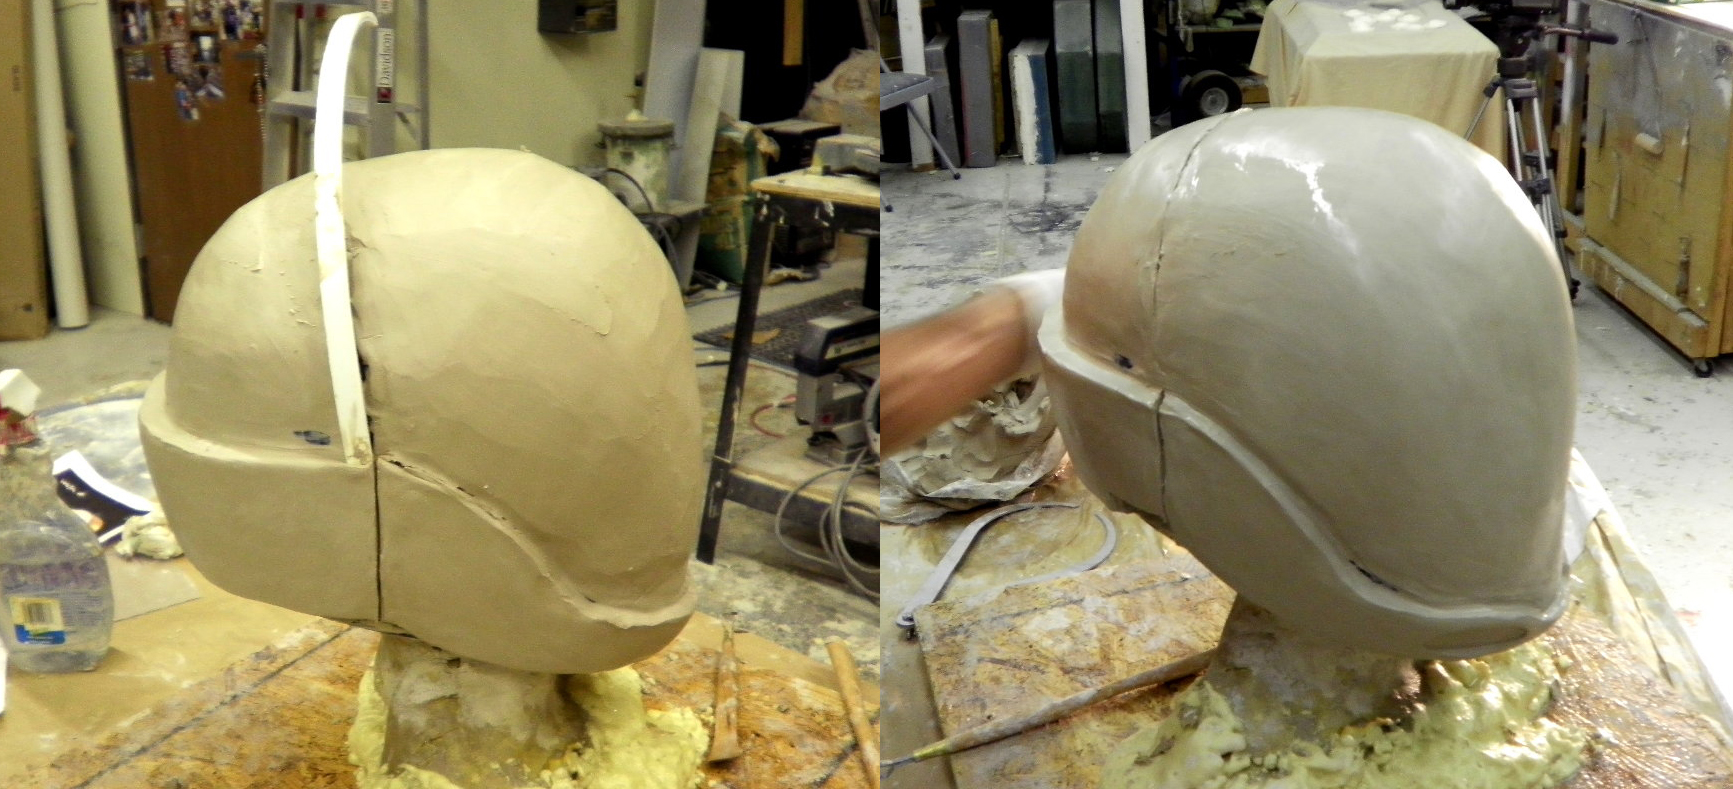
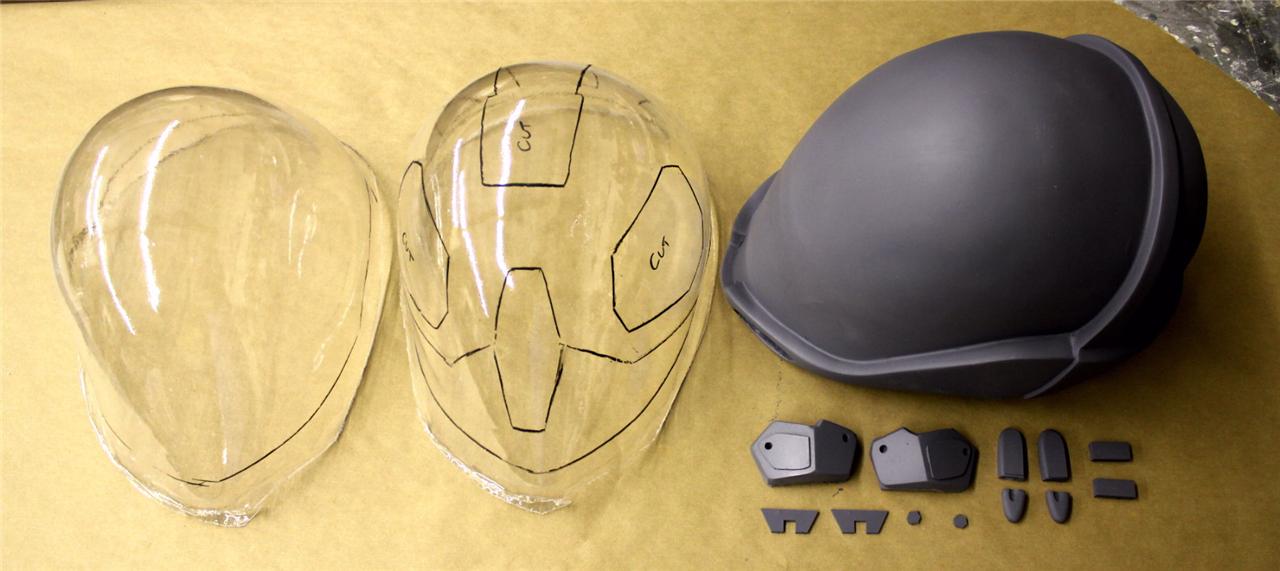
Below you can see the *almost* completed Phase One "blank" sculpt. The visor panelling, instead of being sculpted at this stage, will be laser cut after the visor has been thermal formed. Same with all the inset, panelling, and block detailing. Those will follow in Phase 2 and 3.
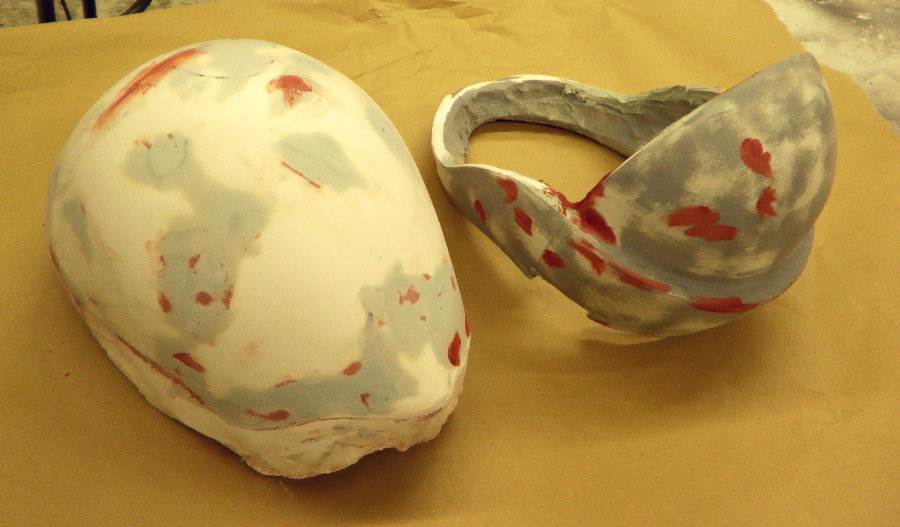
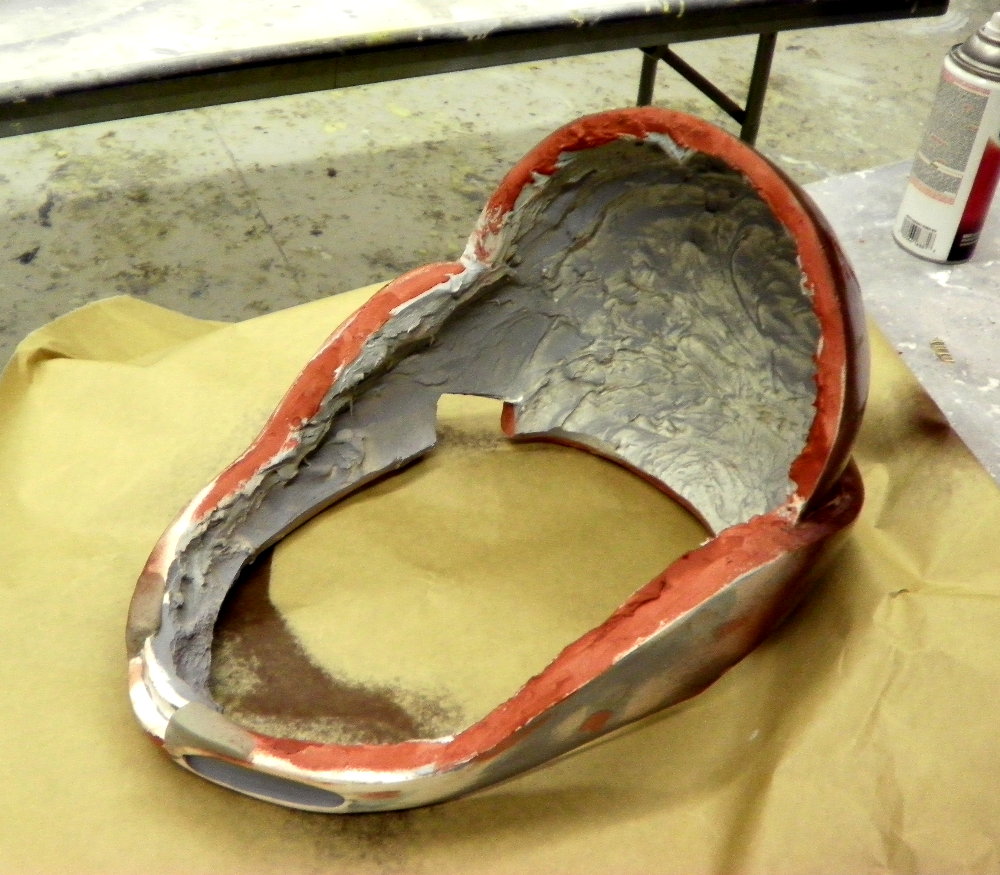
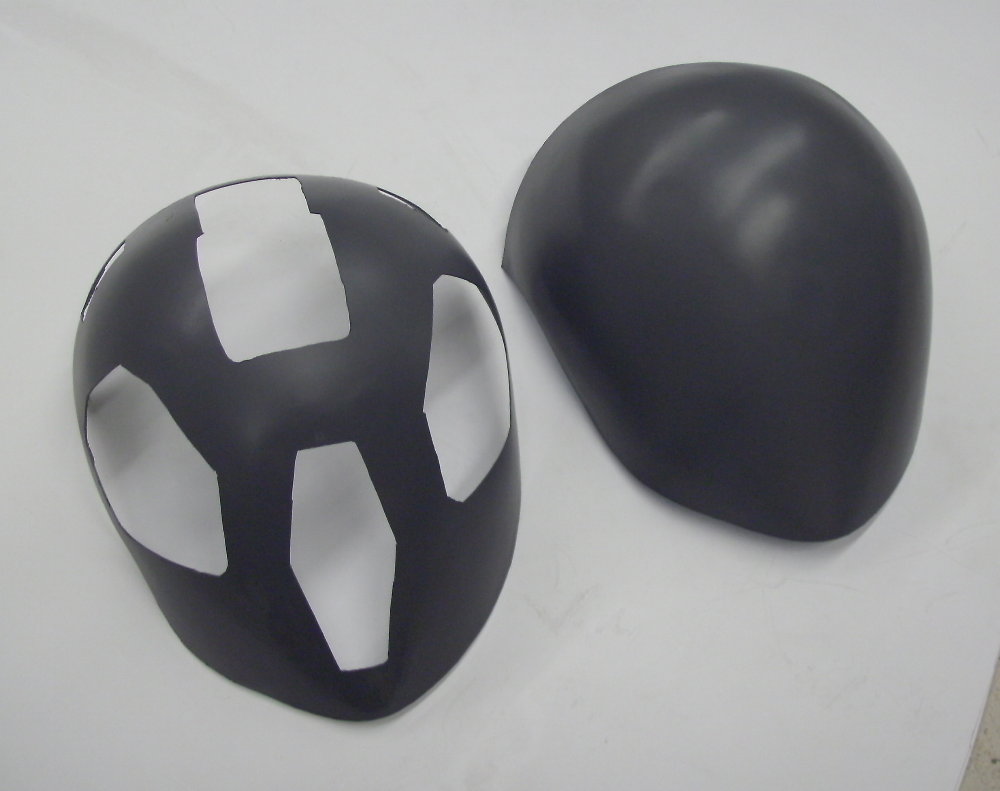
This is the Phase 1 moulding stage. Once the mold is complete, two separate parts will be harvested: the visor, and the helmet ring. These parts will now be cleaned, trimmed, sanded, and detailed.

Smooth sanding begins on the visor section.
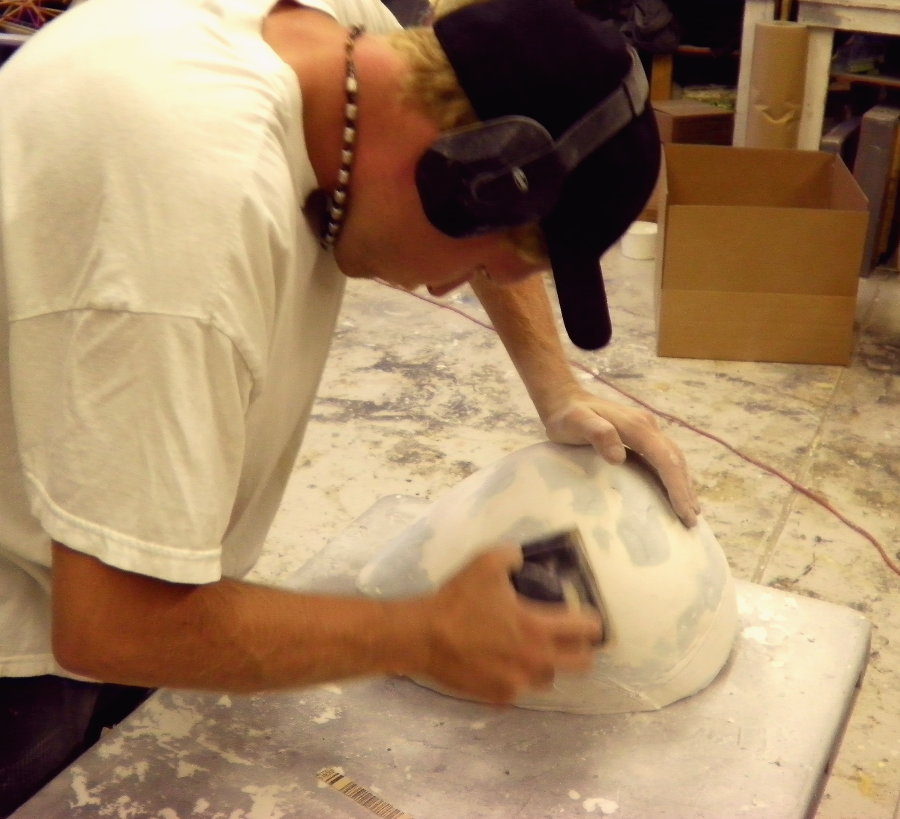
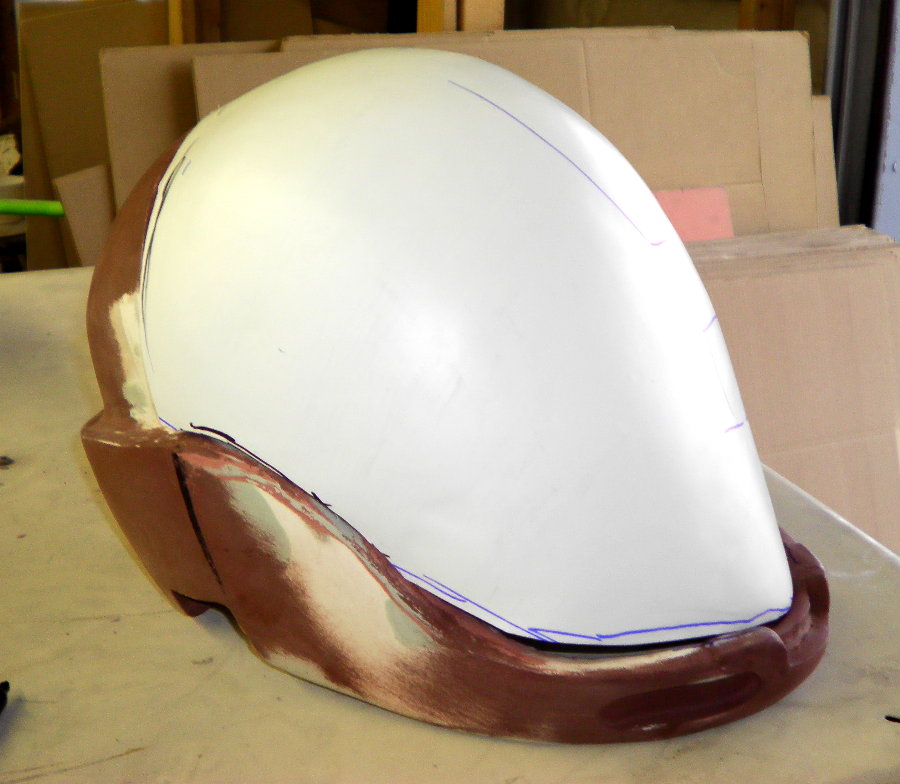
Here you can see the smoothing process results after a few hours of work on both the shell and visor section.
The visor is pretty well developed. Just a few more refinements are needed before it's ready for thermal forming.
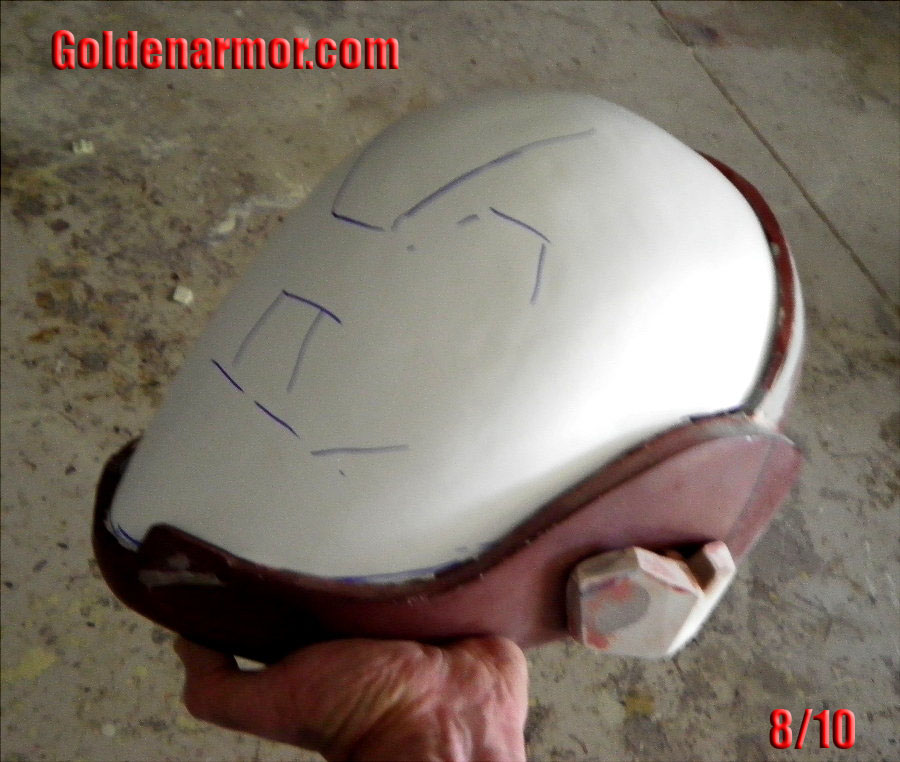
Here's the helmet shell under heavy refining. There's ALOT of steps left to go!
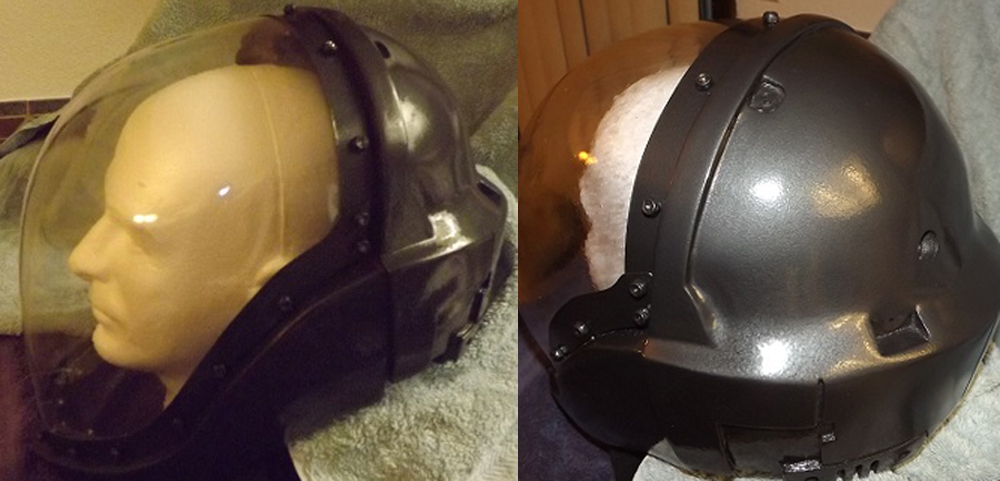
The photo below shows a rough test fitting. The visor mold isn't 100% complete and the shell isn't trimmed to accept the edges of the visor just yet. In the end, the visor will be built in two layers, the top layer trimmed with the inset panels revealing the lower visor layer.
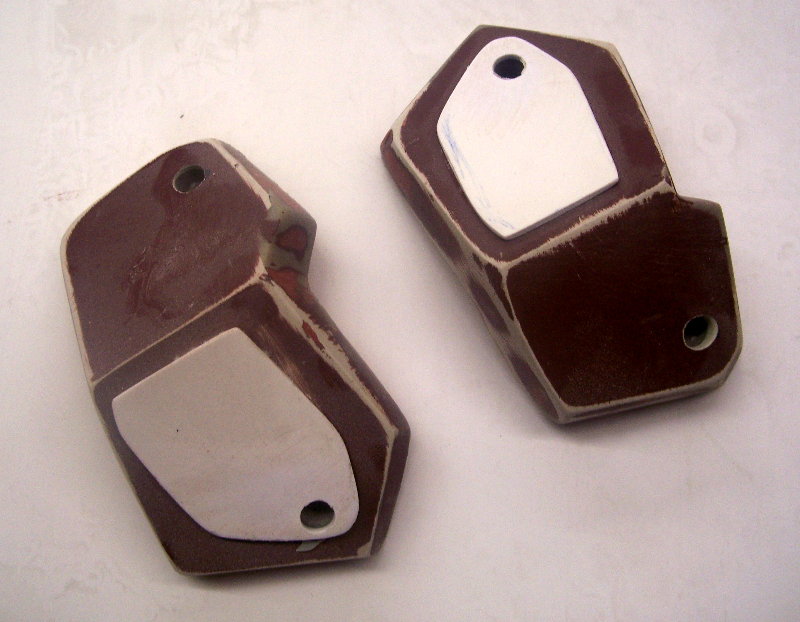
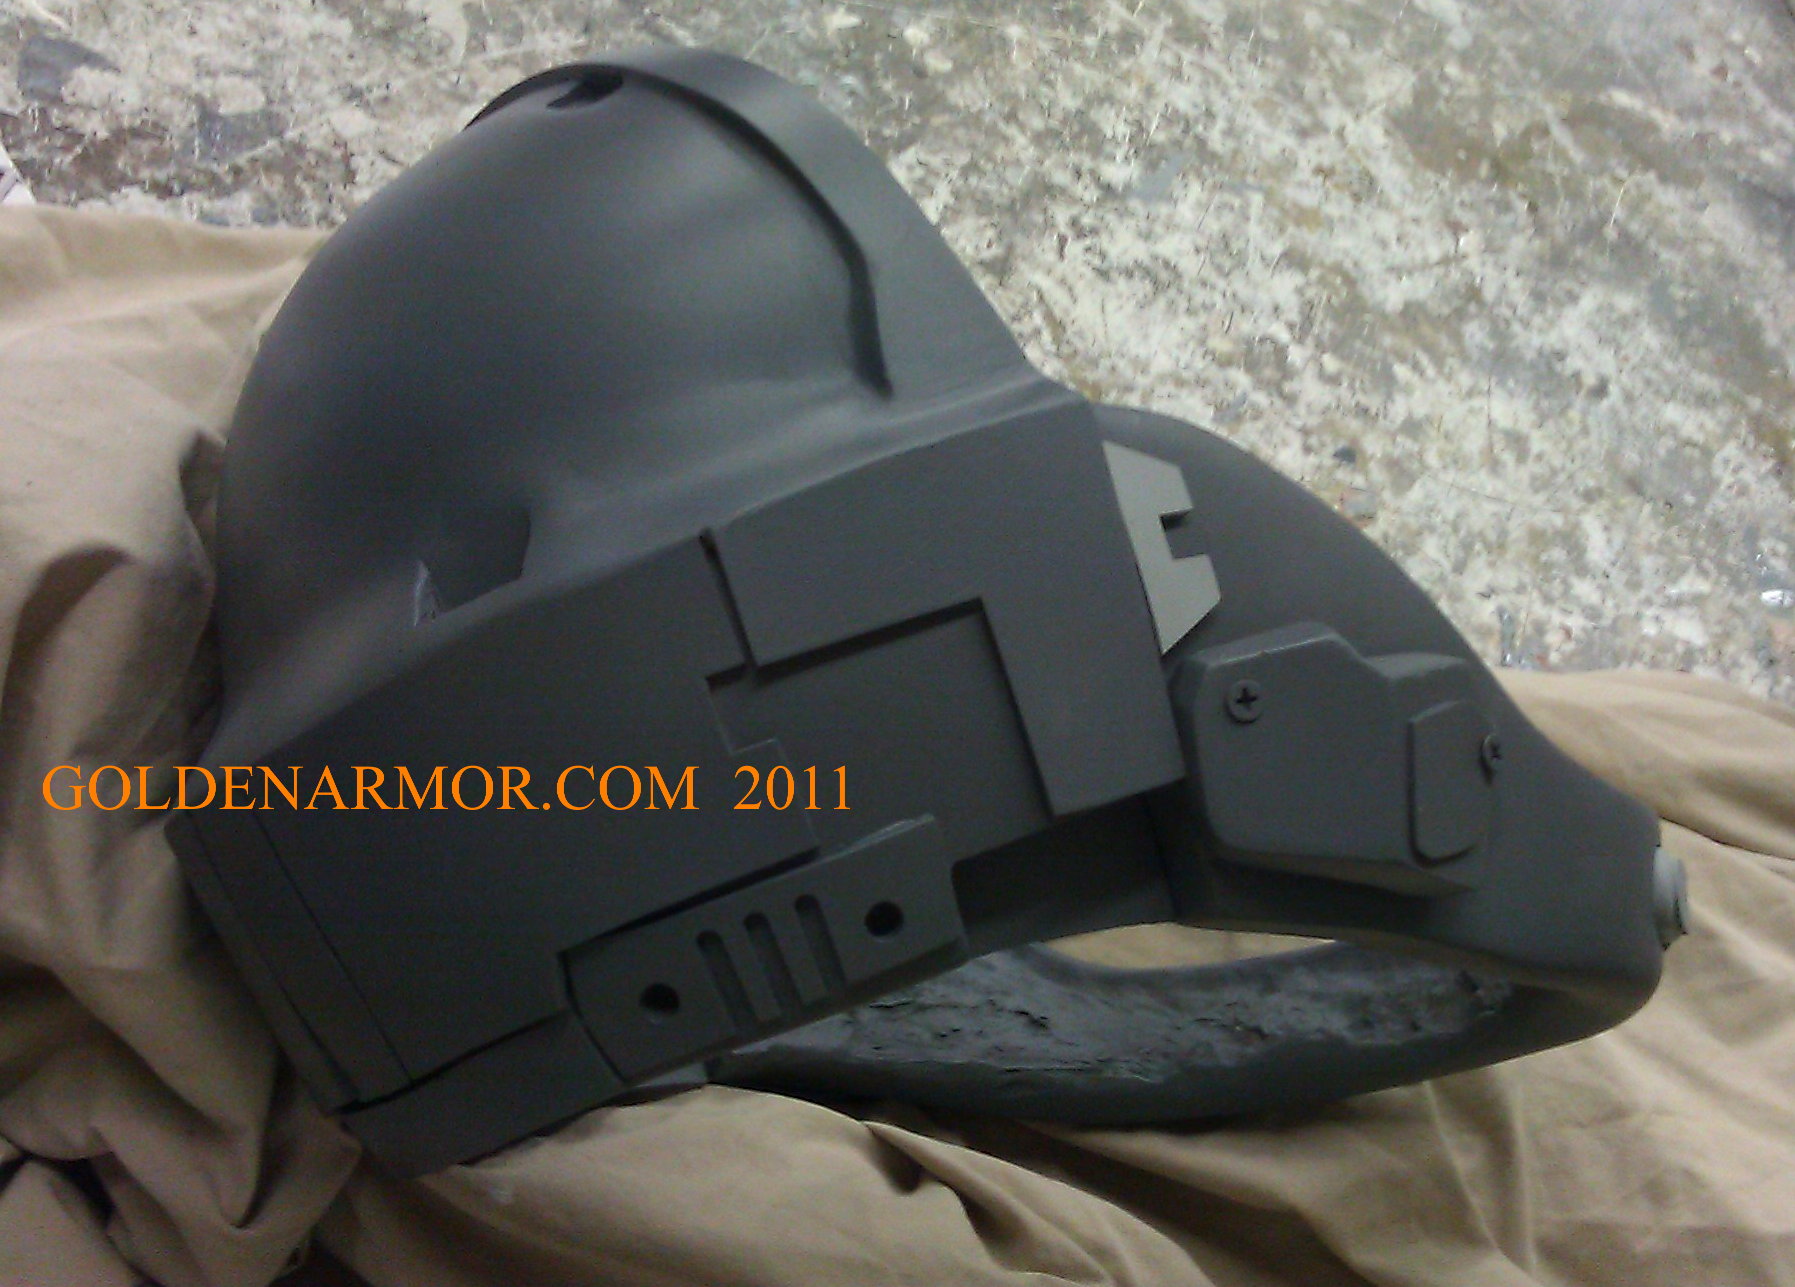
Below you see the creation of the side detail pieces. I'm calling these ' com bricks' since they probably function as communication units.
I started these pieces by drawing out a template on paper, then tracing that onto styrene. Cutting the styrene to form the clean bend, and sculpting on top of that plastic. The clay was hardened and then refined with milling and various filler techniques.
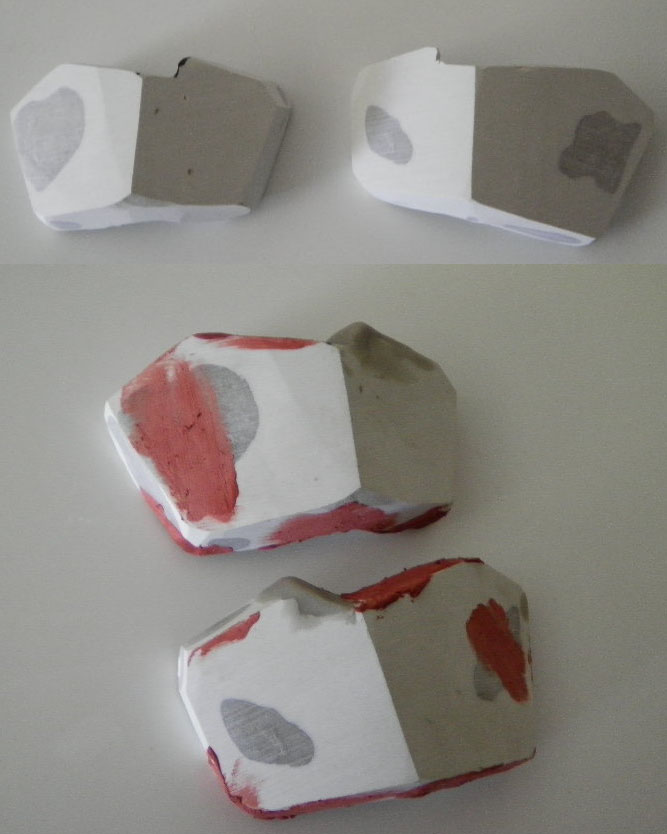
Bricks finished!!!!
Refining the helmet sides to accept the visor. Remember, this visor will be double layered and will bulk up because of the panelling effect where the entire helmet is double thickness.
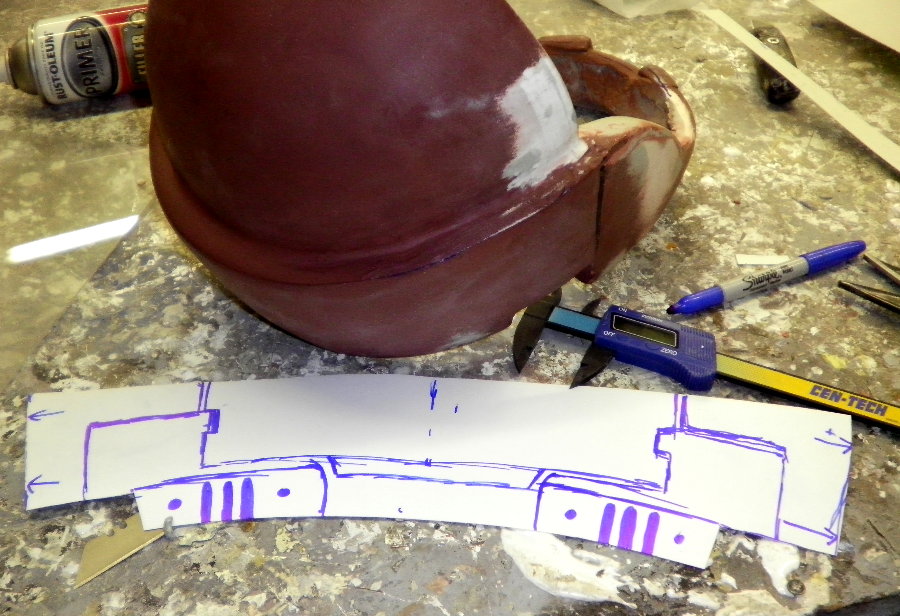
Prepping some templates for the rear panelling details. These rough measurments and patterns will be scanned into the computer and re-drawn using CAD software.
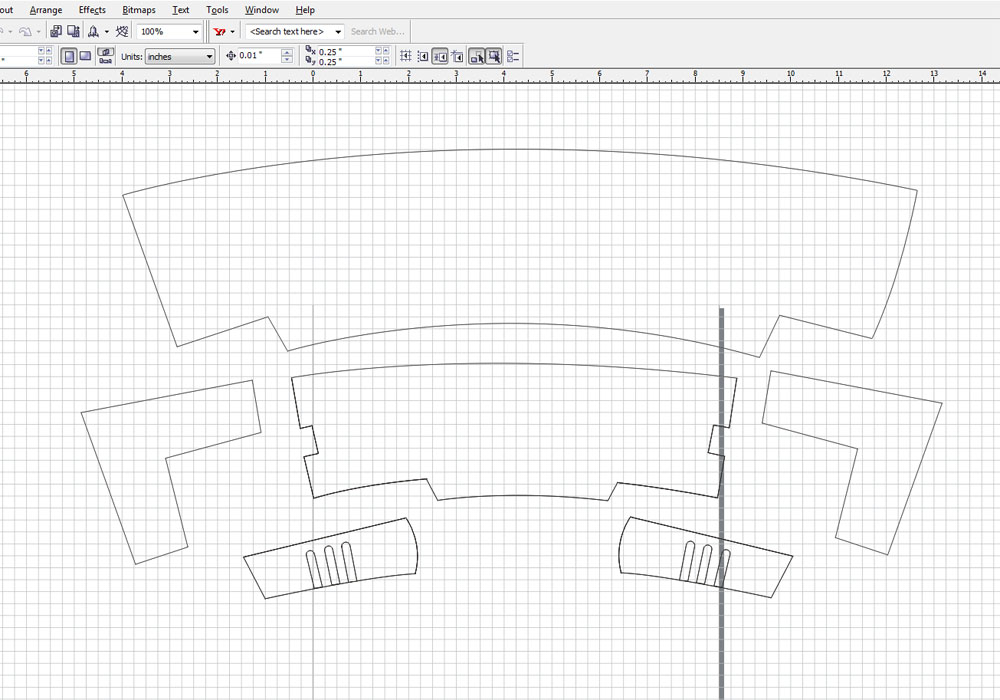
Below is the refined CAD vector file created for the laser cut process.
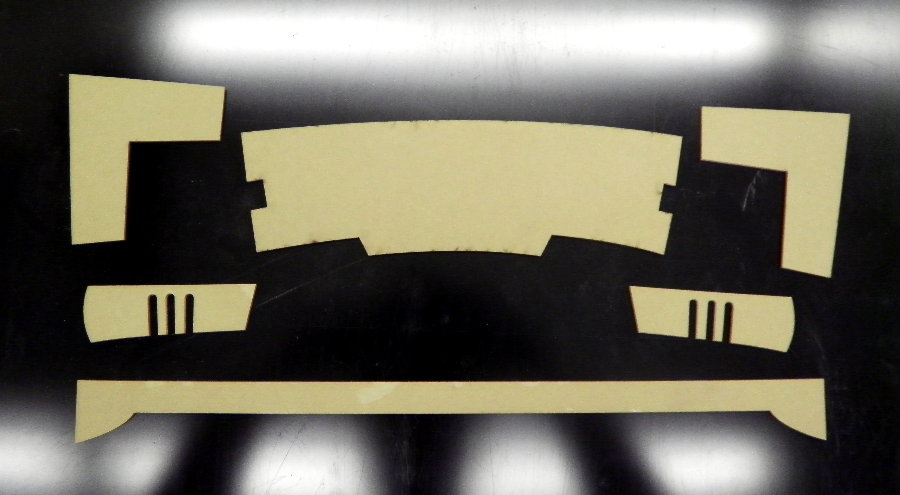
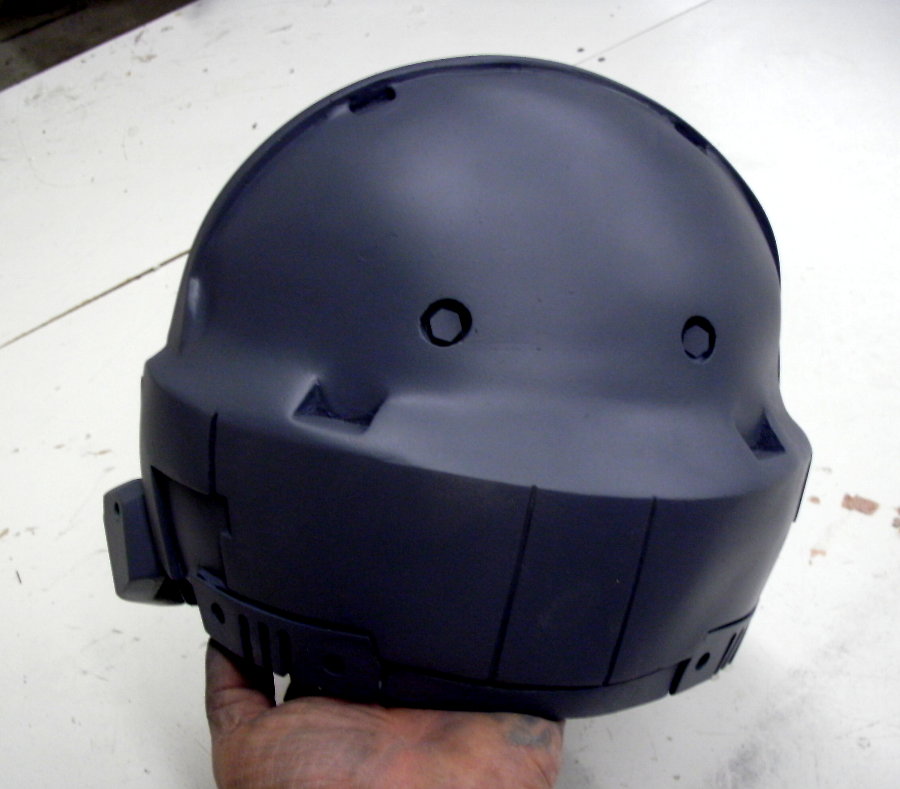
These are the laser-cut rear panel plates after trimming and curving them to the desired shape to fit the rear of the helmet:
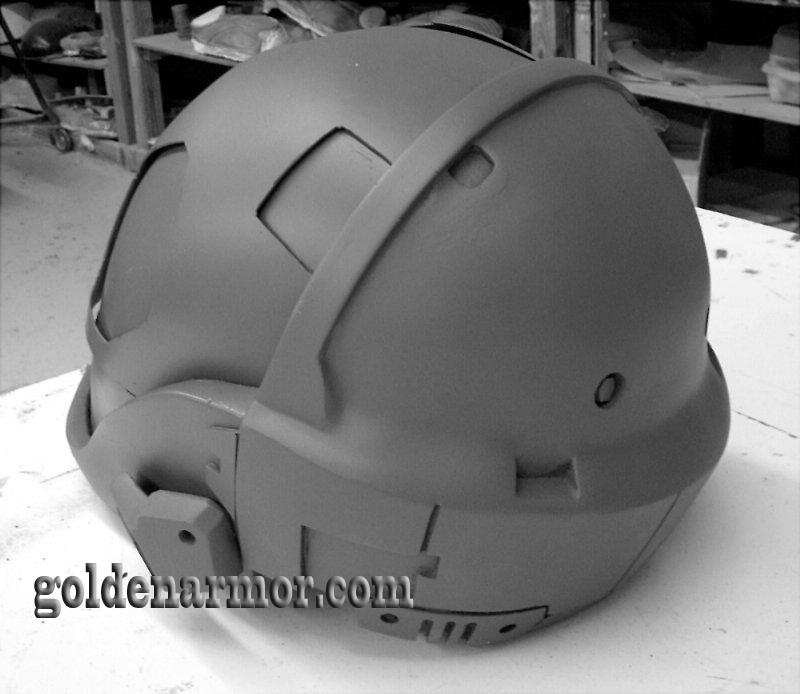
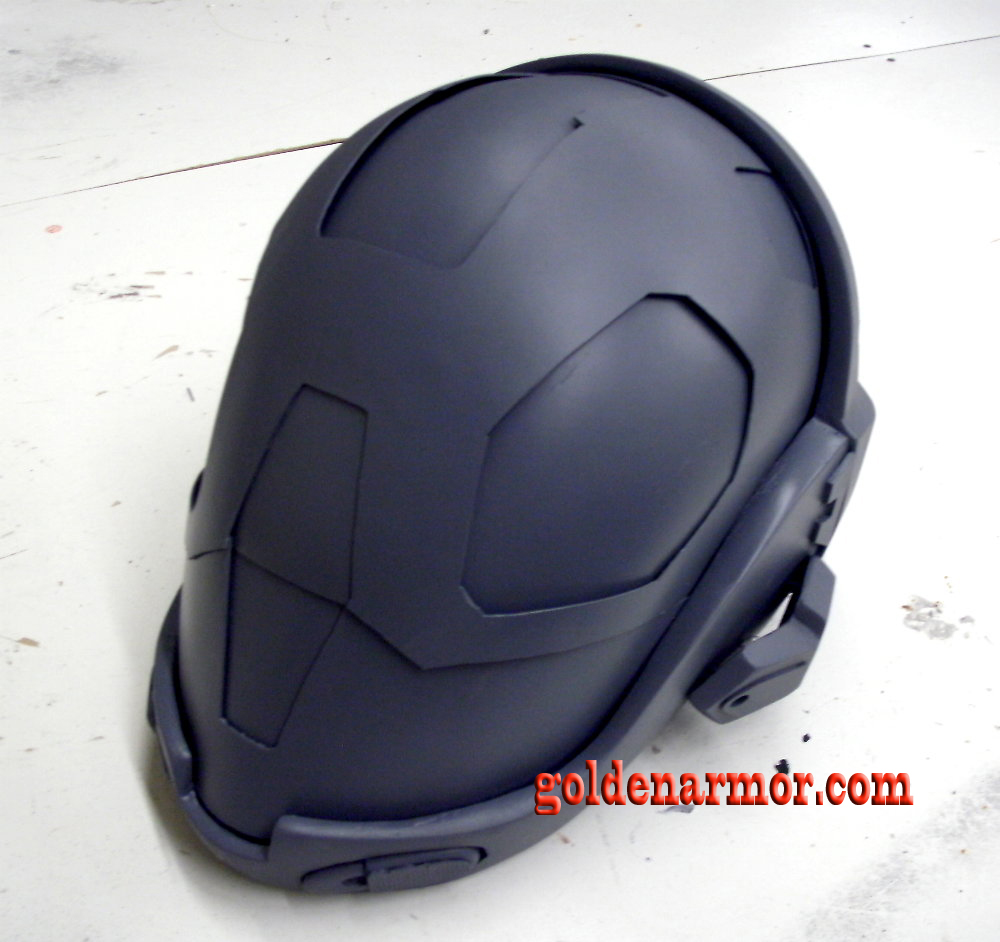
Panels fitted to the rear of the helmet:
Rough assembly:(the screws are just temporary, pins will be used in the final assembly).
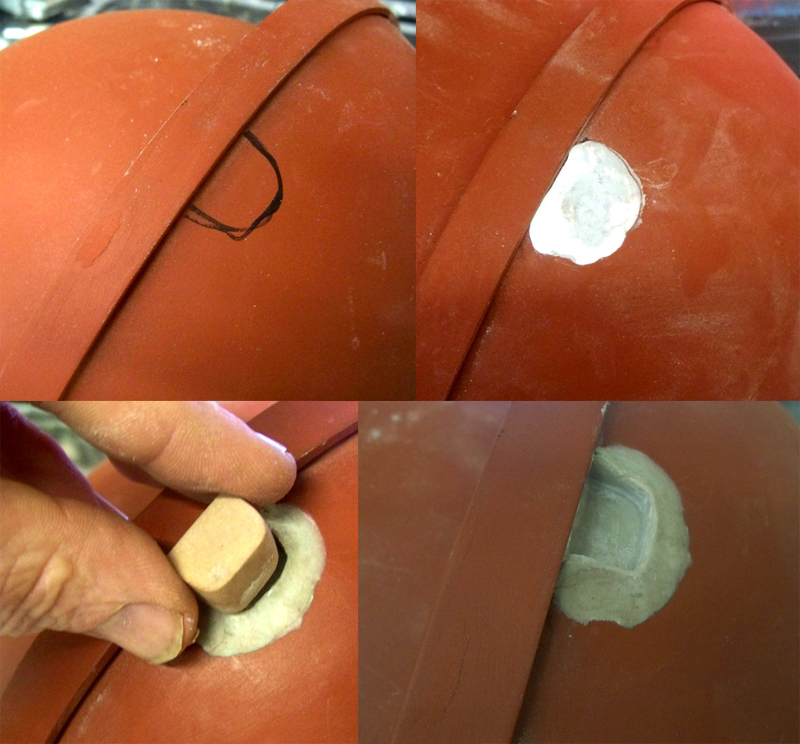
The photos show the fabrication of the helmet latches and some of the inset details. The latches were sculpted in closed cel foam, molded, duplicated and adjusted to fit.
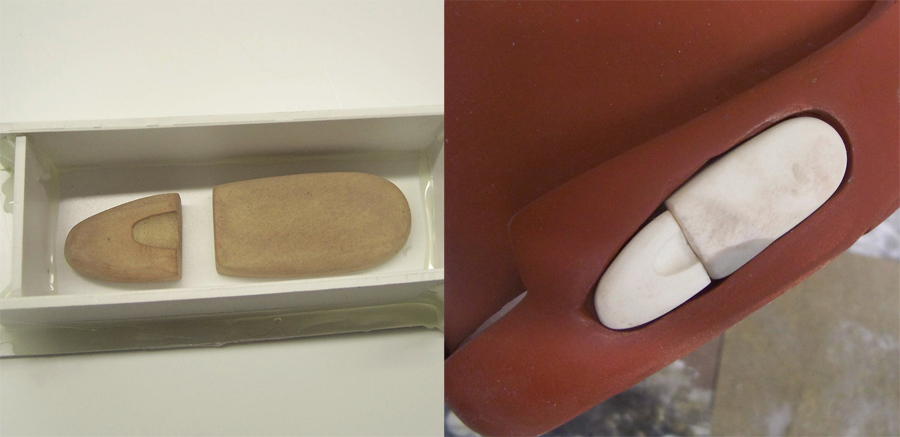
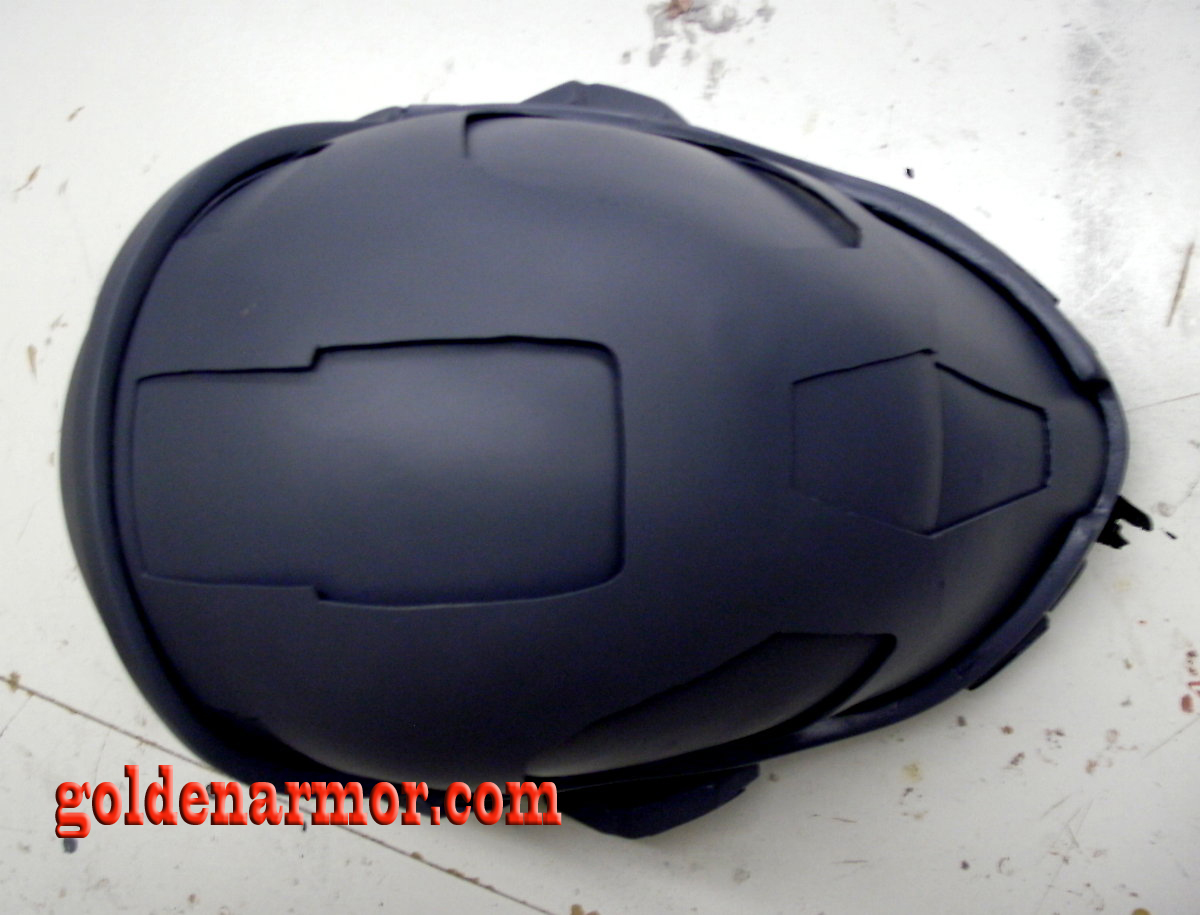
The inset details were created by first marking the area, then dremeling a deep pit. The pit was then filled with epoxy sculpting compound and shaped by using a template made of foam.
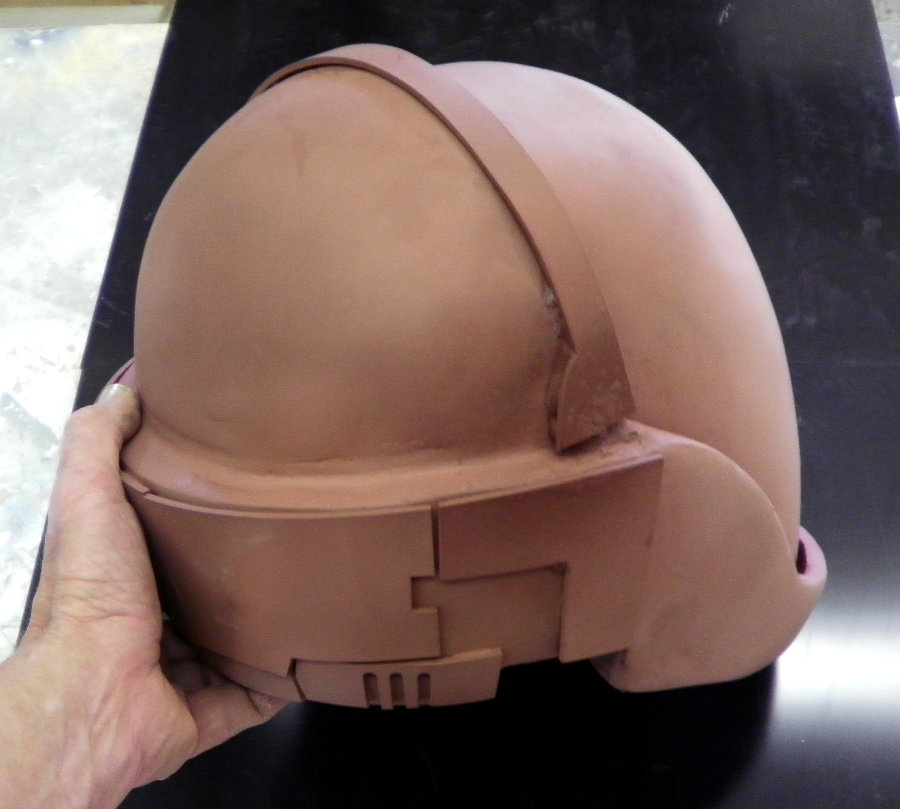
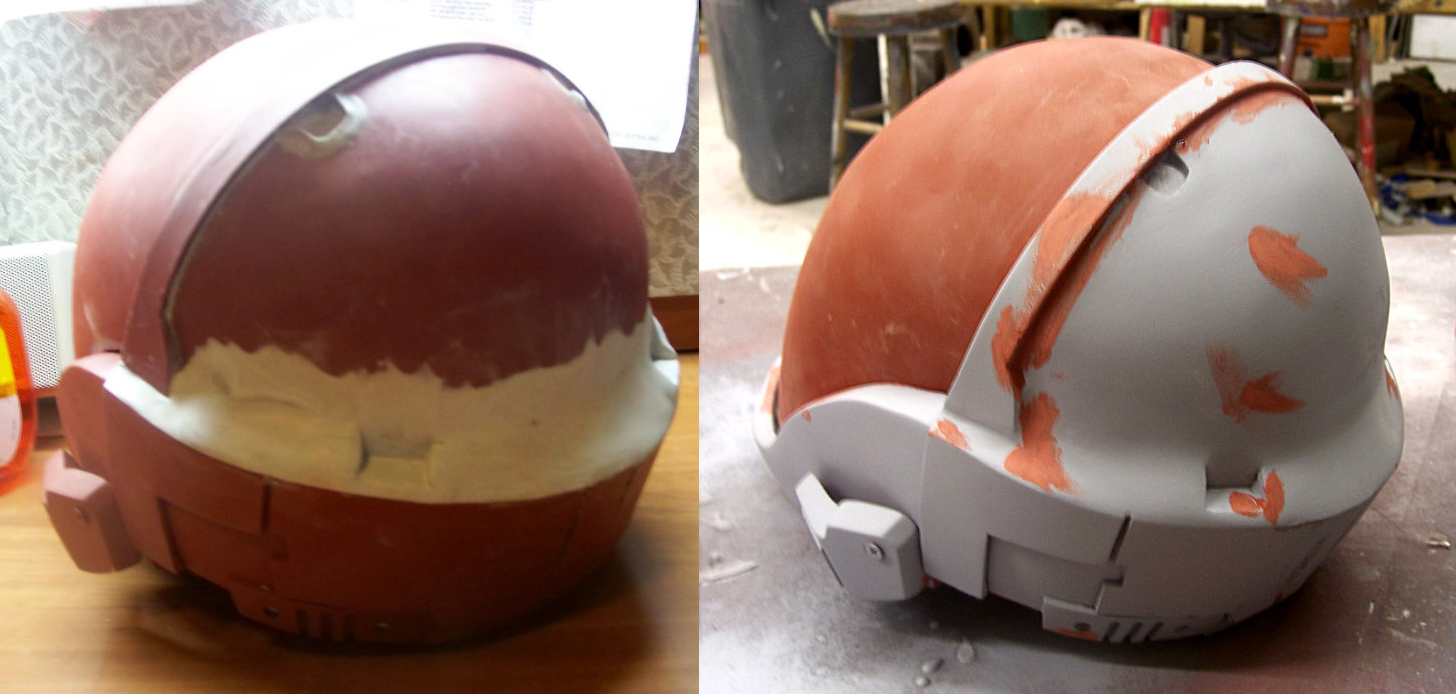
Now it's time to block in the slope shape at the rear of the helmet Instead of a 90 degree lip, there is a curve that meets with the helmet shell. The crest is detailed with two inset boxes which will be sculpted into the sloping shape. The top detail rib also needs bondo to blend it at the bottom.
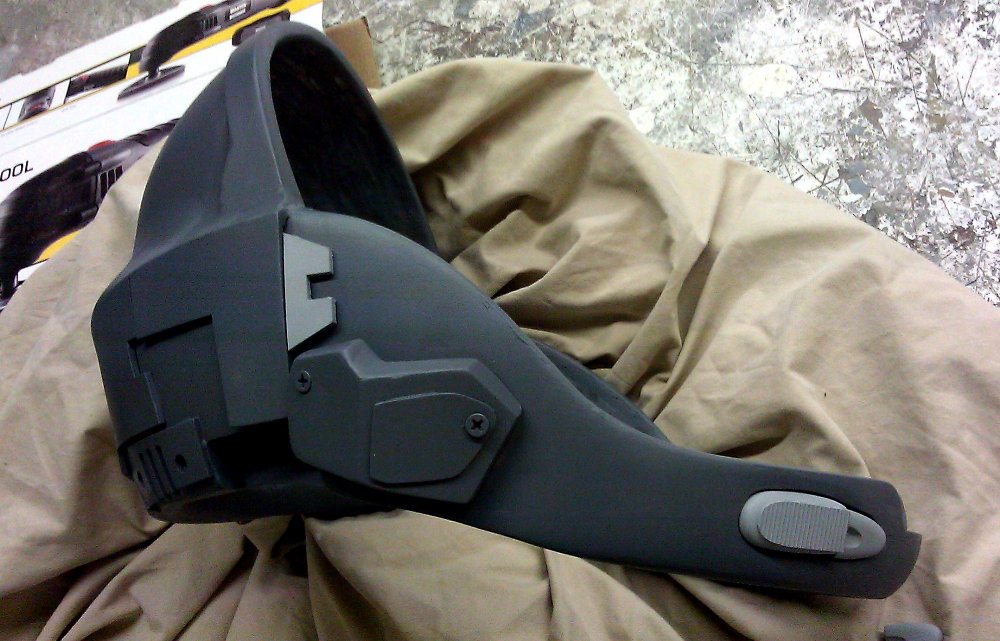
The screws holding the cheek details are temporary. These will be replaced with mini hex nuts.
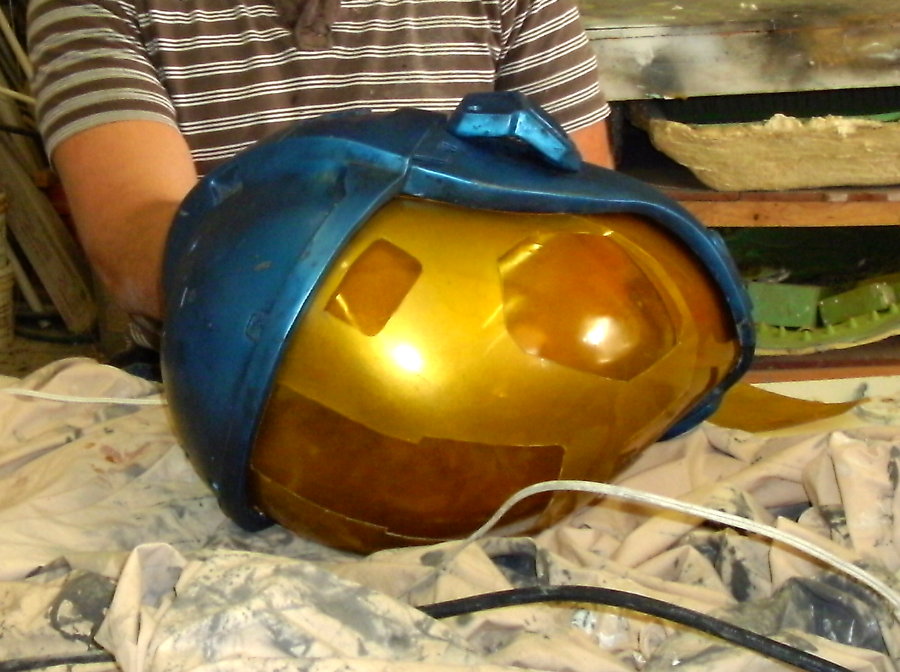
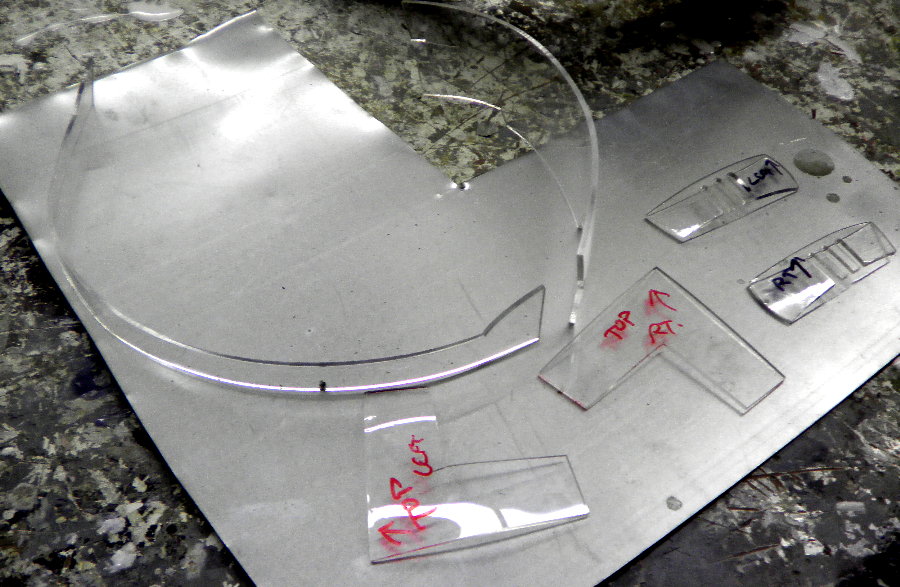
The visor is layered in 3 sections.
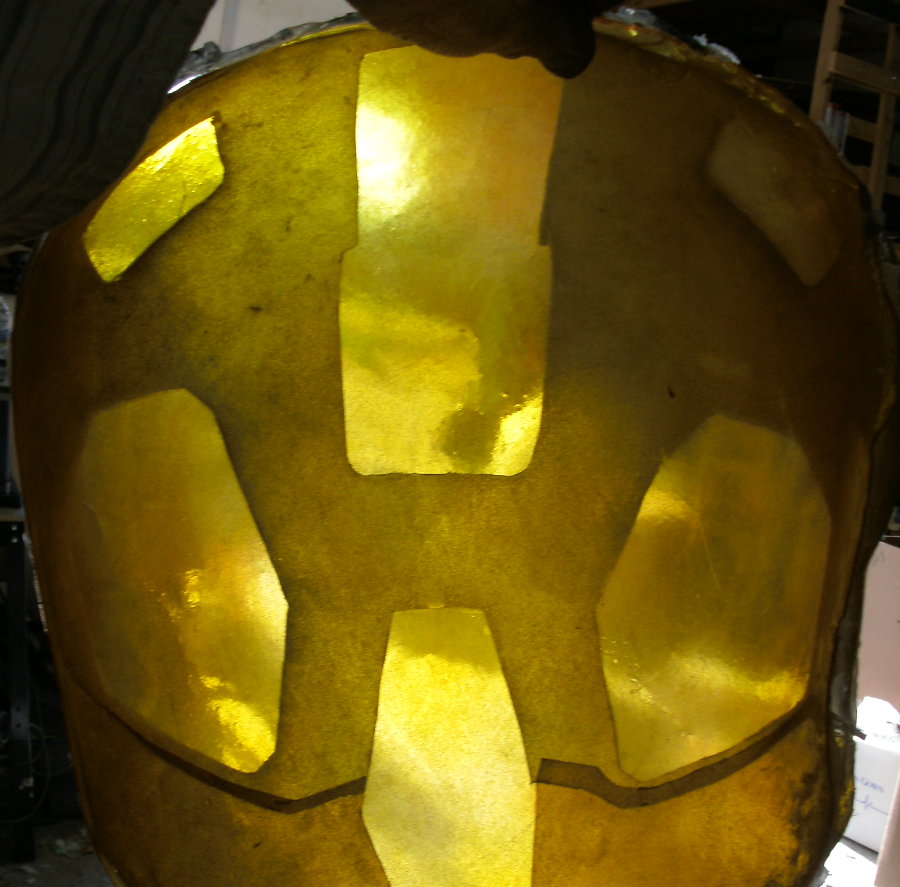
It took alot of R&D, time and funds to figure out a solution to making these visor bucks GOLDEN but also see-through. I finally came up with a solution using a frosting silvering method and translucent paints. Here's the results:
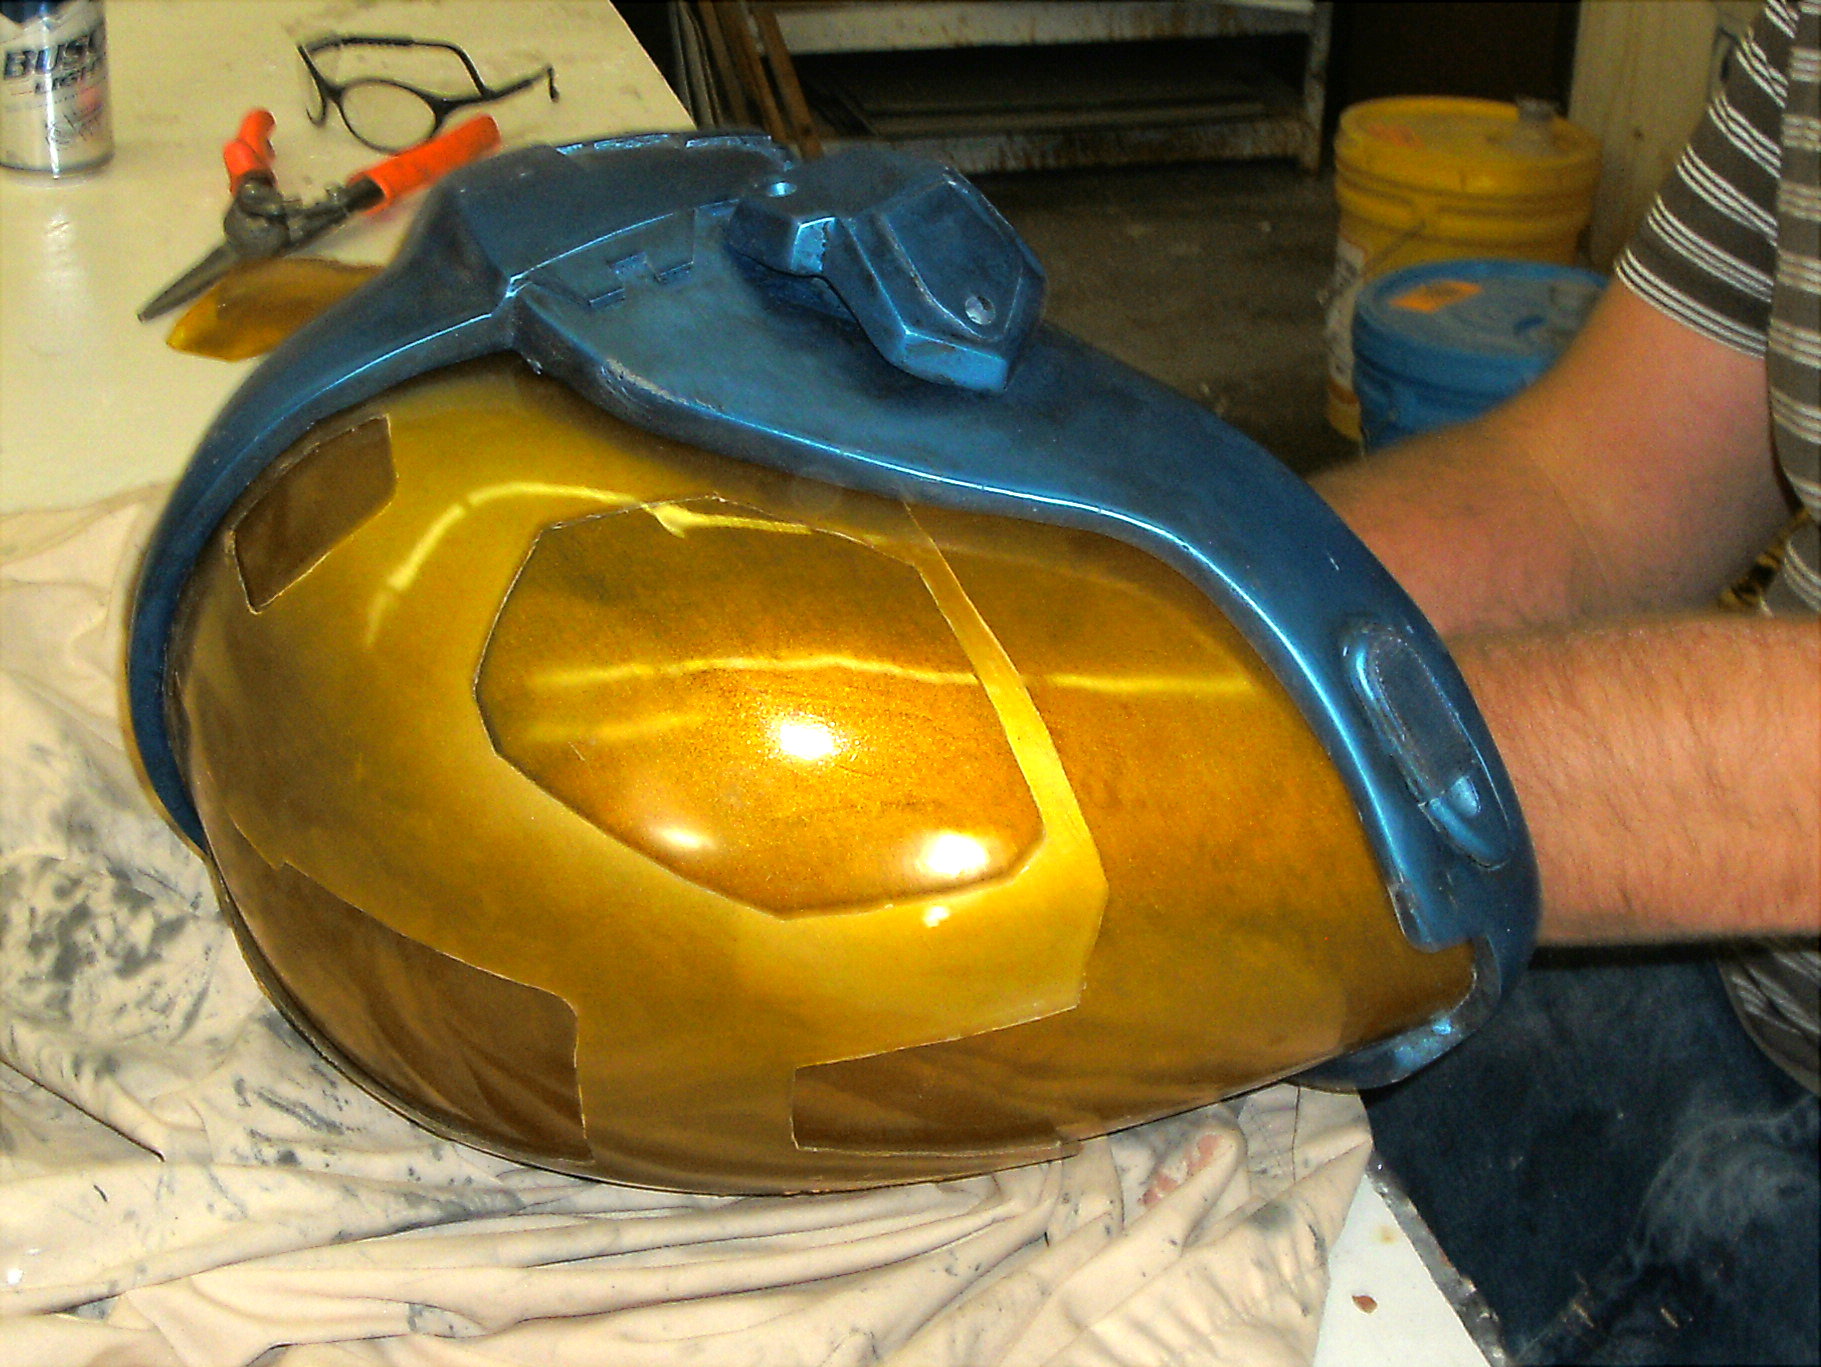
Ths vision is a bit foggy but clear enough to see everything around you while completely obscuring your face behind a golden visor.
RELATED LINKS:
KILLZONE REPLICAS!
CLICK ME to visit the WEAPONS page
VISIT THE SABERBOT PAGE:
INDIANA JONES FANS CLICK here:
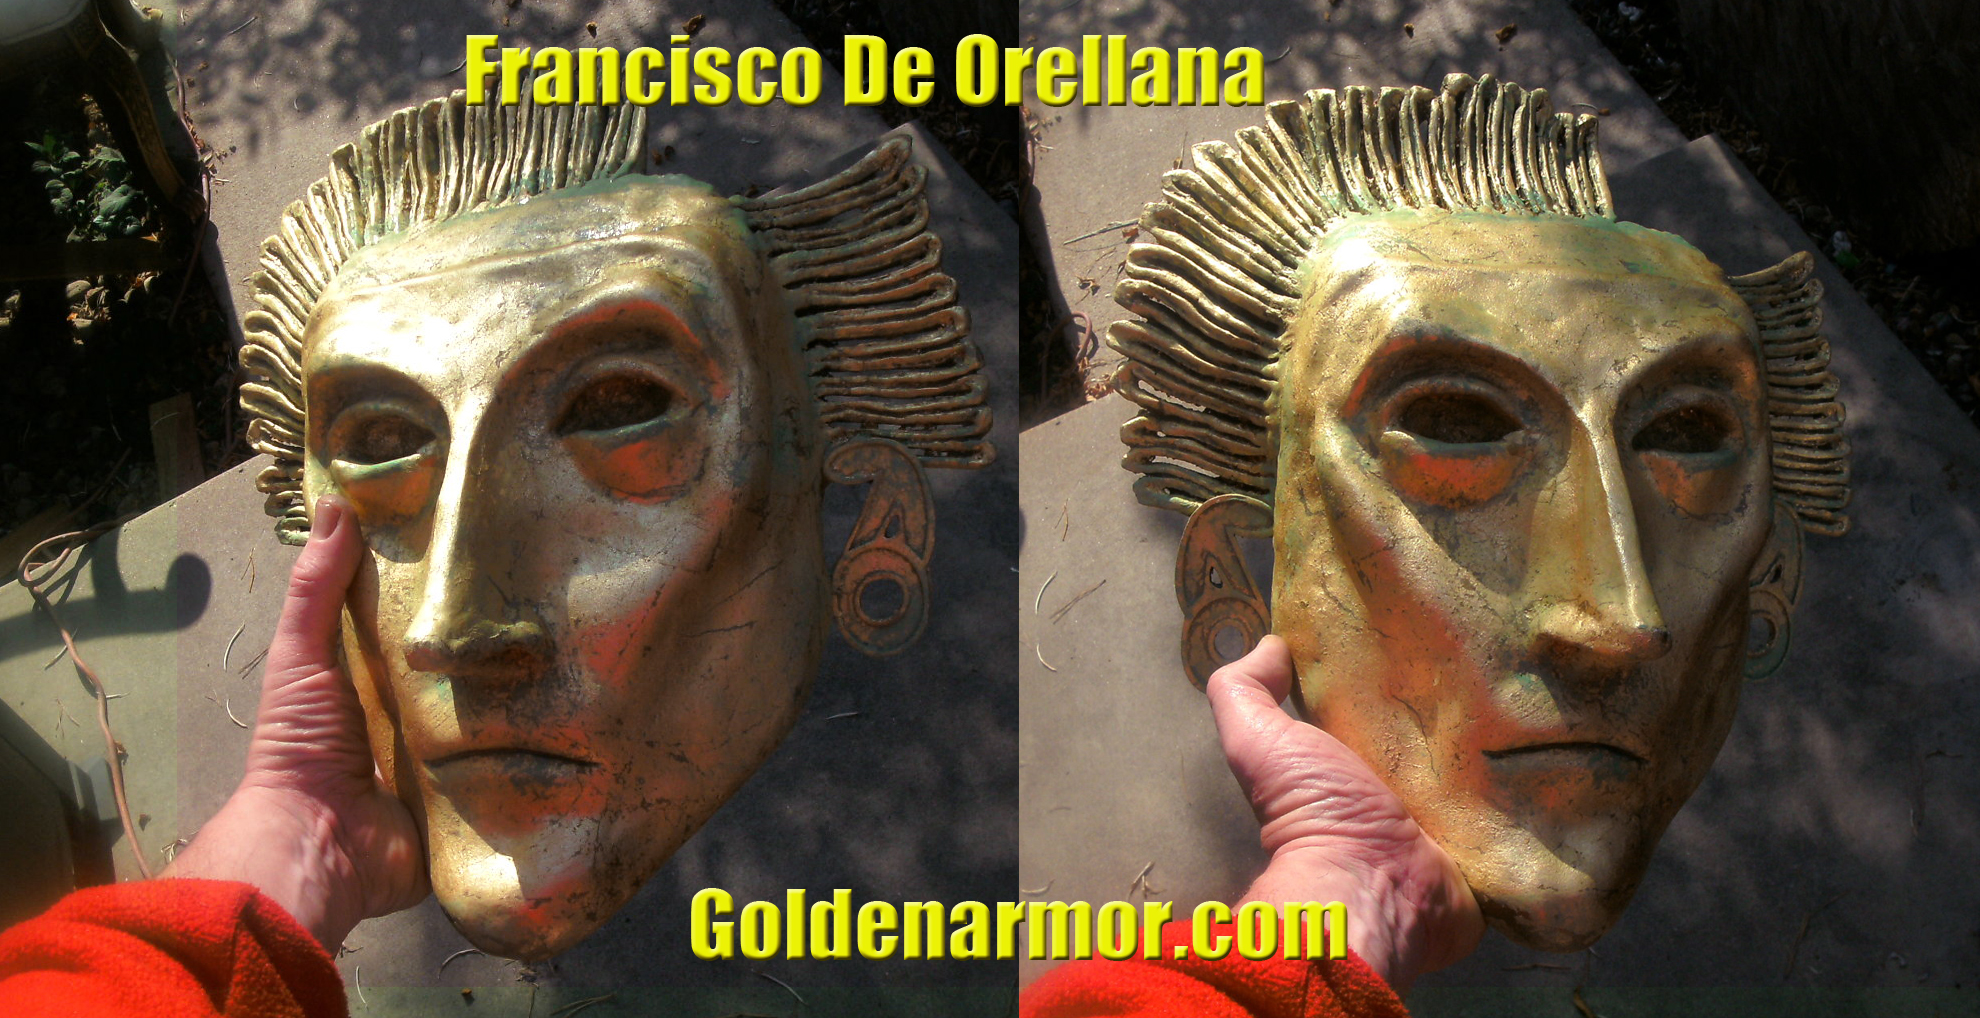
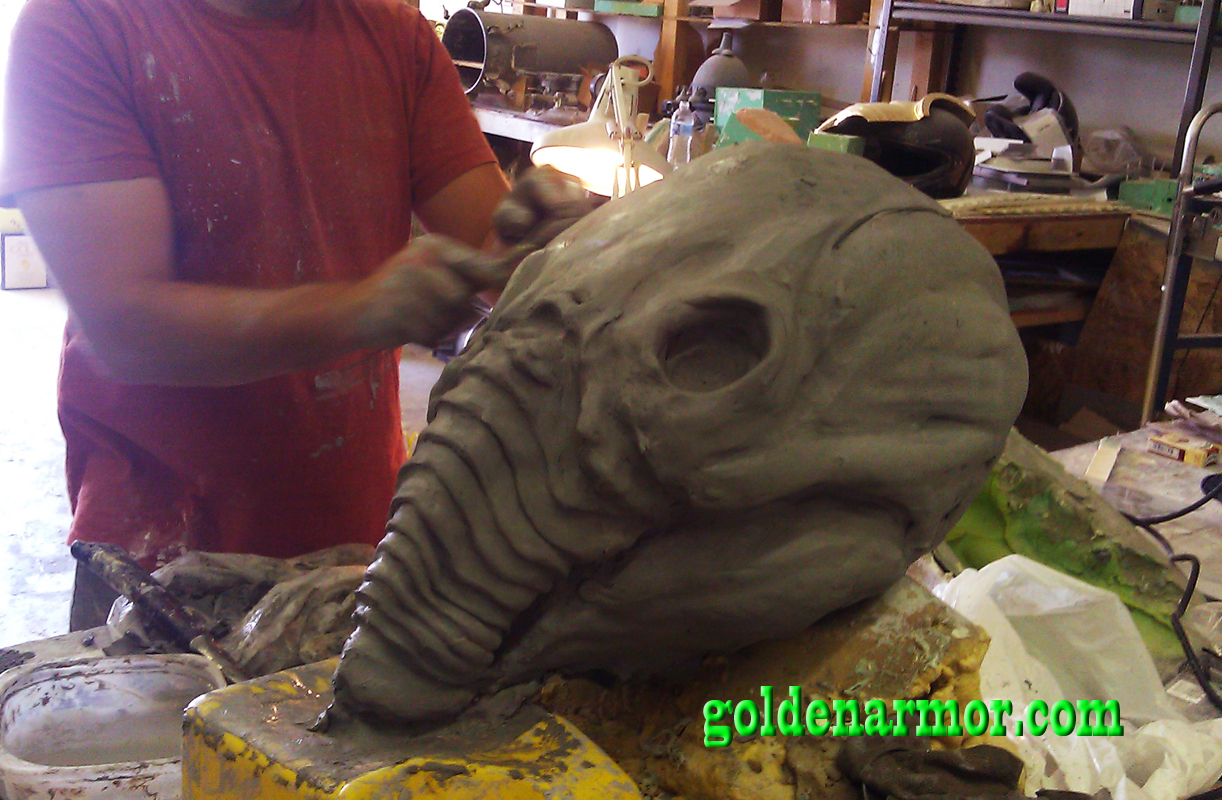
Francisco De Orellana TOMB MASK