
3D PRINTING
As the years go by, 3D printing has become a more and more an important part of my workflow. My first practical use of 3D printing came in 1996 when I had a few parts made for me at hightly inflated prices!
Then in 2005 I began playing around in 3Dstudio max and designed and printed parts for my BATTERIES NOT INCLUDED ROBOTS. Another year rolled by and I begin hiring other artists to design for me and I outsourced printing services via imaterialize and shapeways. Visit the DRONE page to see a sample of this.
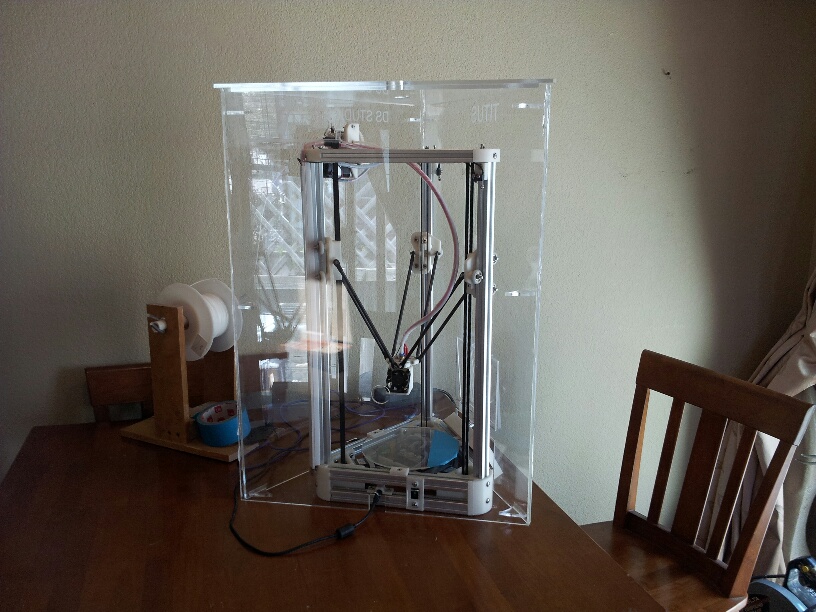
Then by the time 2013 rolled around I invested in my own FDM 3D printer and began producing my own parts in tinkercad. My use of 3d printing was still very limited and was useful in only 1 or 2 projects per year. See the INFINITY ORB.
In 2015 I began using higher quality printers at maker spaces and produced components for MR KIM'S BOAT that year. 2016 and 2017 were hiatus years for me, while I concentrated on finding vendors to finally complete the TAXI PROJECT.
In 2018, after years of research, I invested in my first LIQUID RESIN PRINTER!!!! The Peopoly Moai. OMG I just love how tech improves and costs go down. This printer, 5 years ago, was 20 times the cost. Now it's in my studio helping me print my own super high quality parts!!
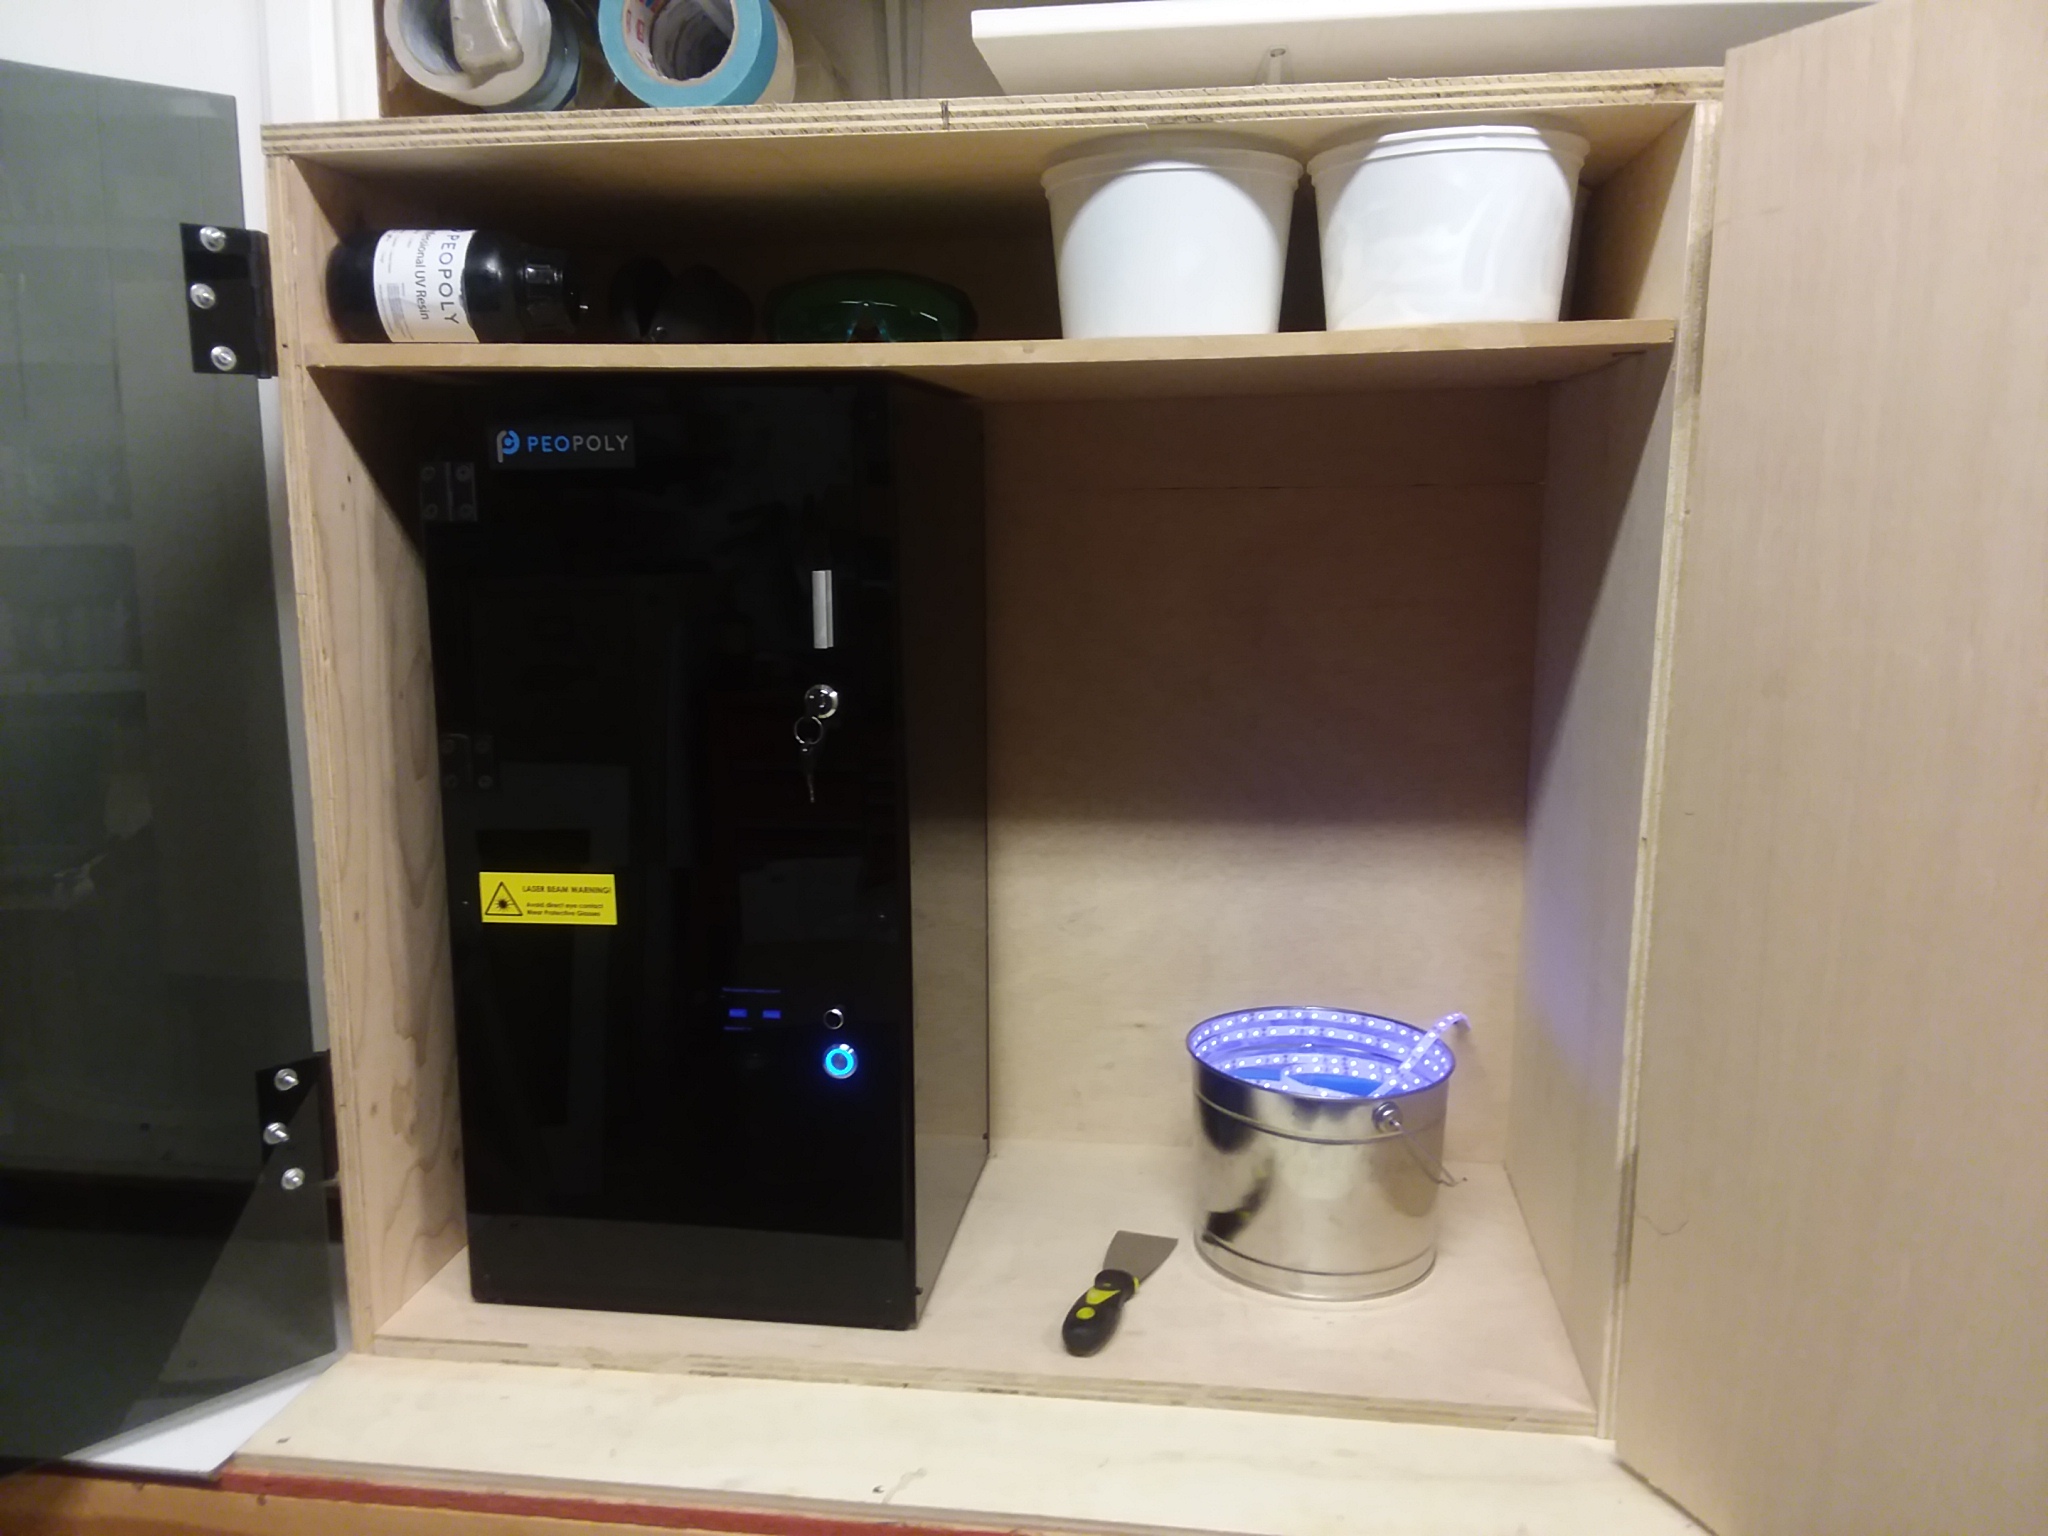
The first projects are in the pipeline for this printer: THE ATLANTEAN IDOL, interior parts for KORBEN'S TAXI, and parts for the FETT JETPACK! Several new helmets are also being developed by my 3D artist.
The full process looks like this:
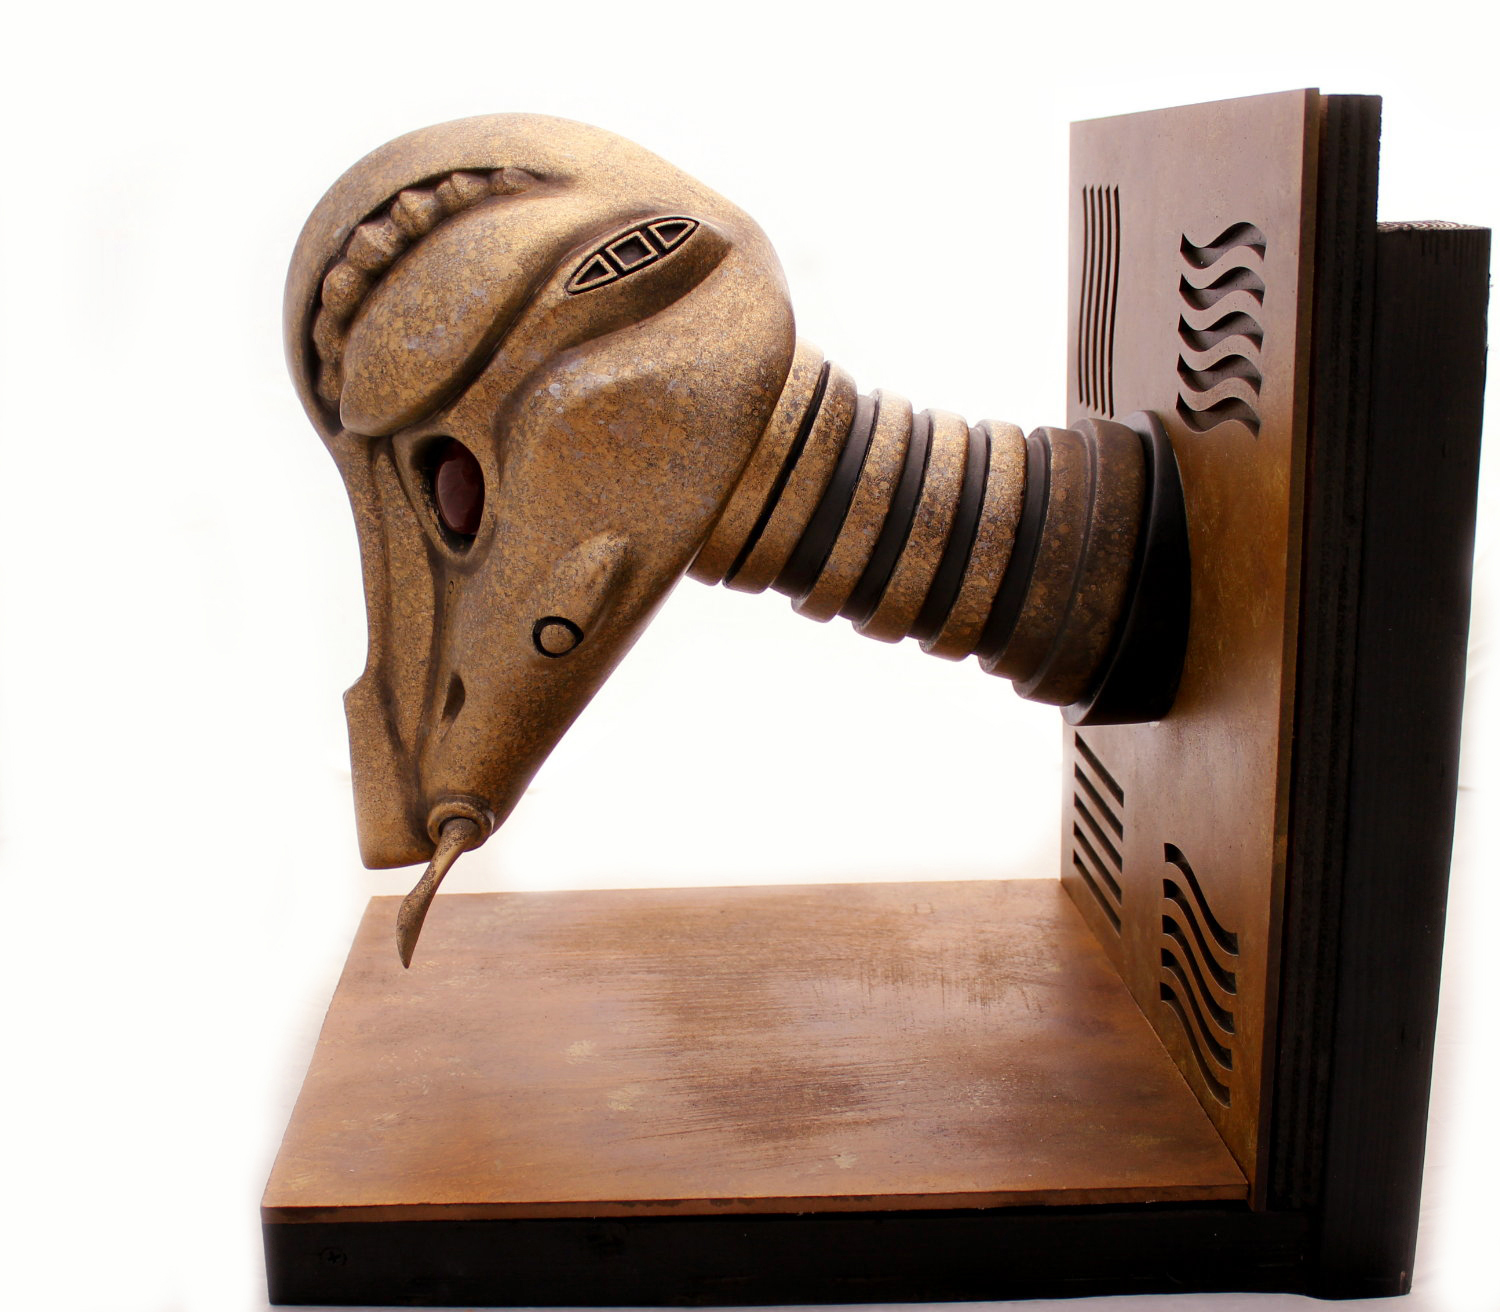
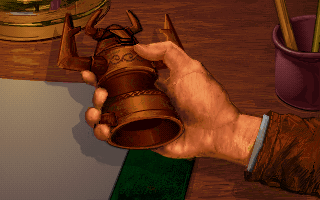
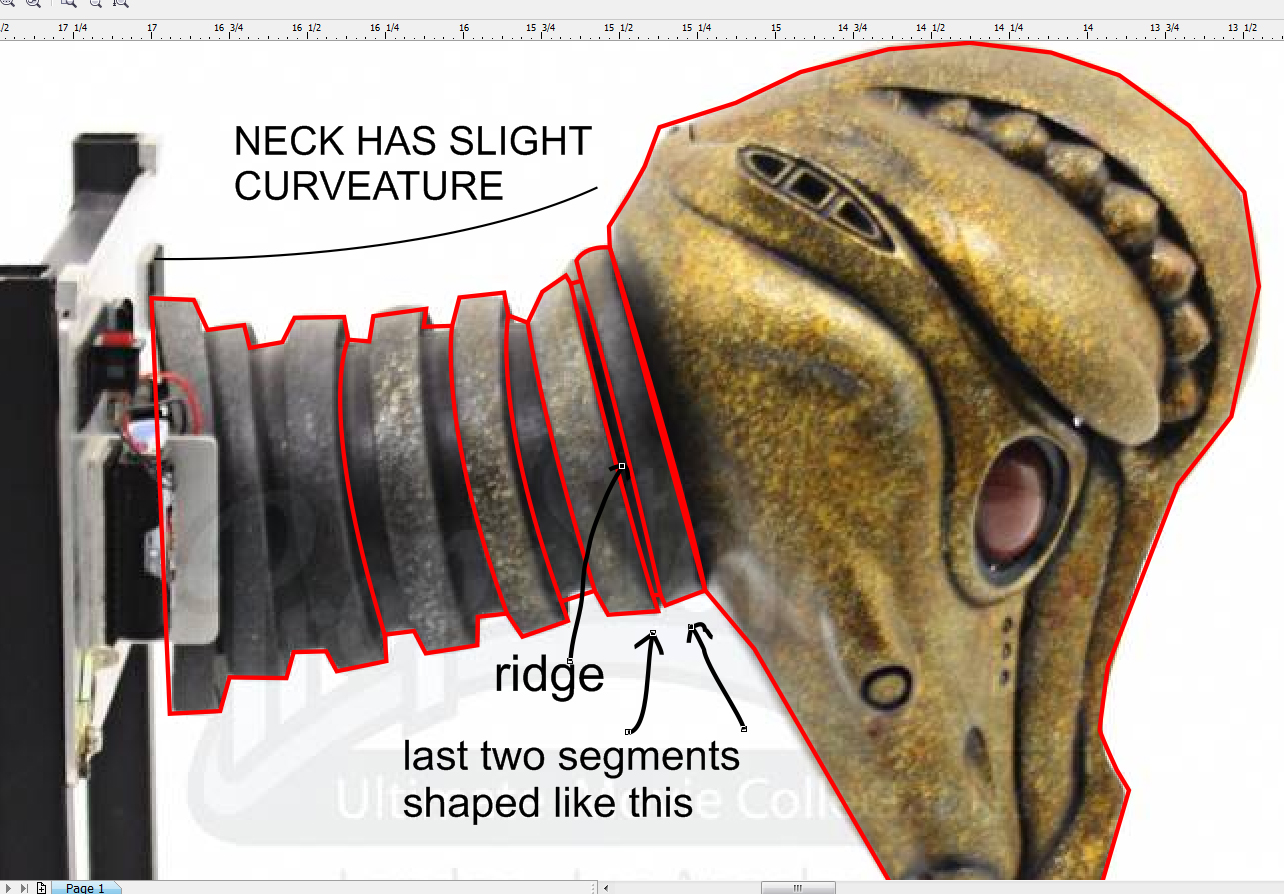
I gather as many reference photos and information on measurements as I can possibly find. As an example I'll use this ATLANTIAN IDO, though this is the only reference I could find:
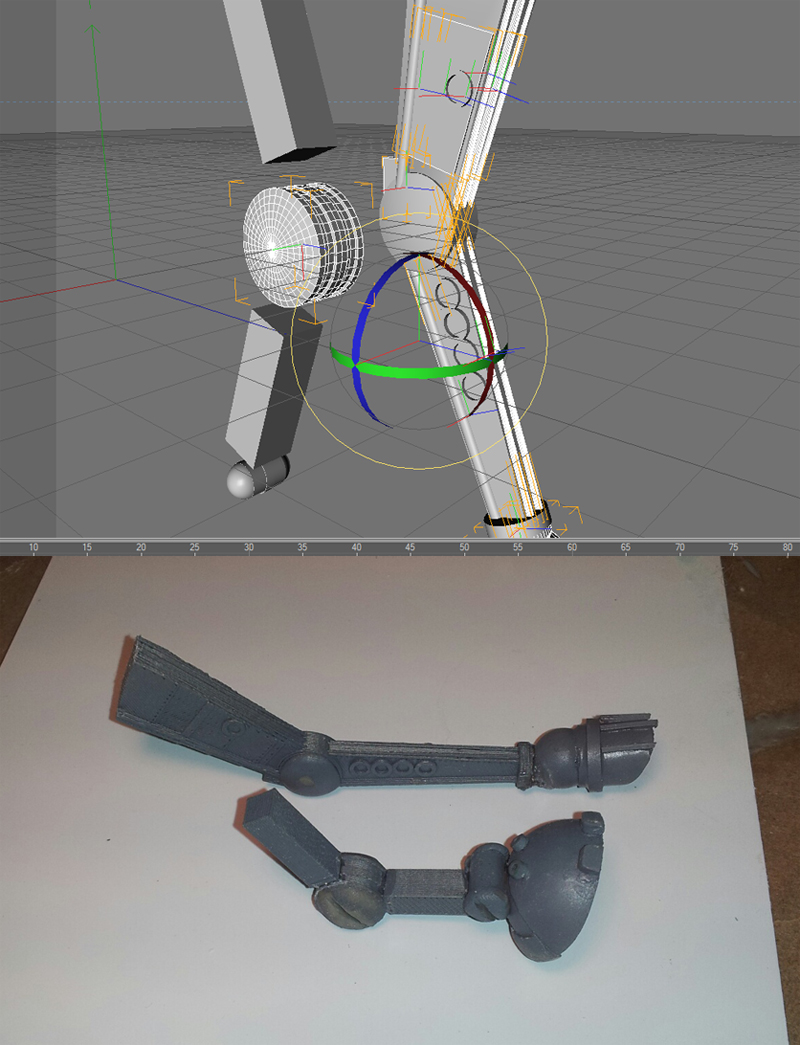
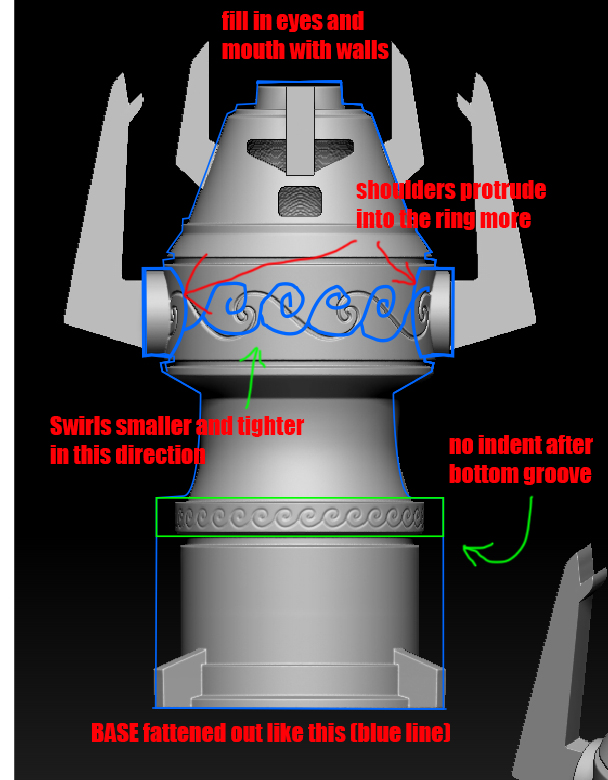
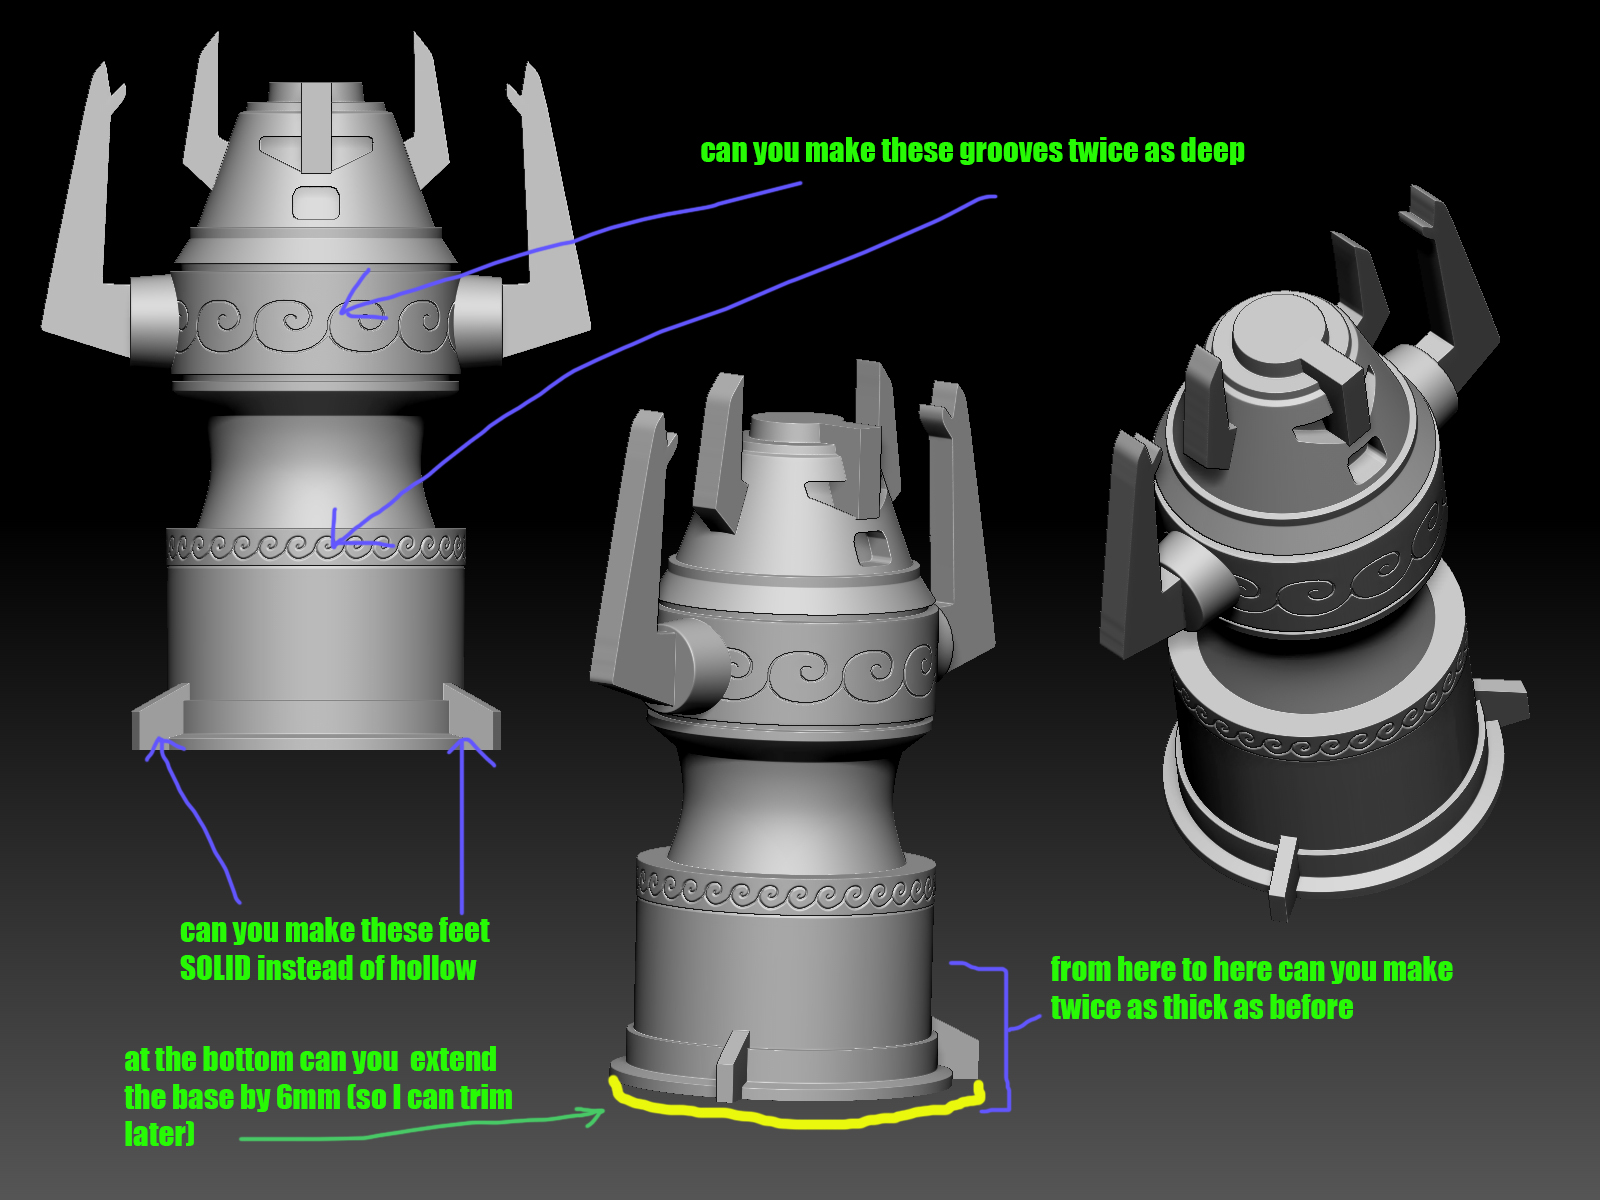
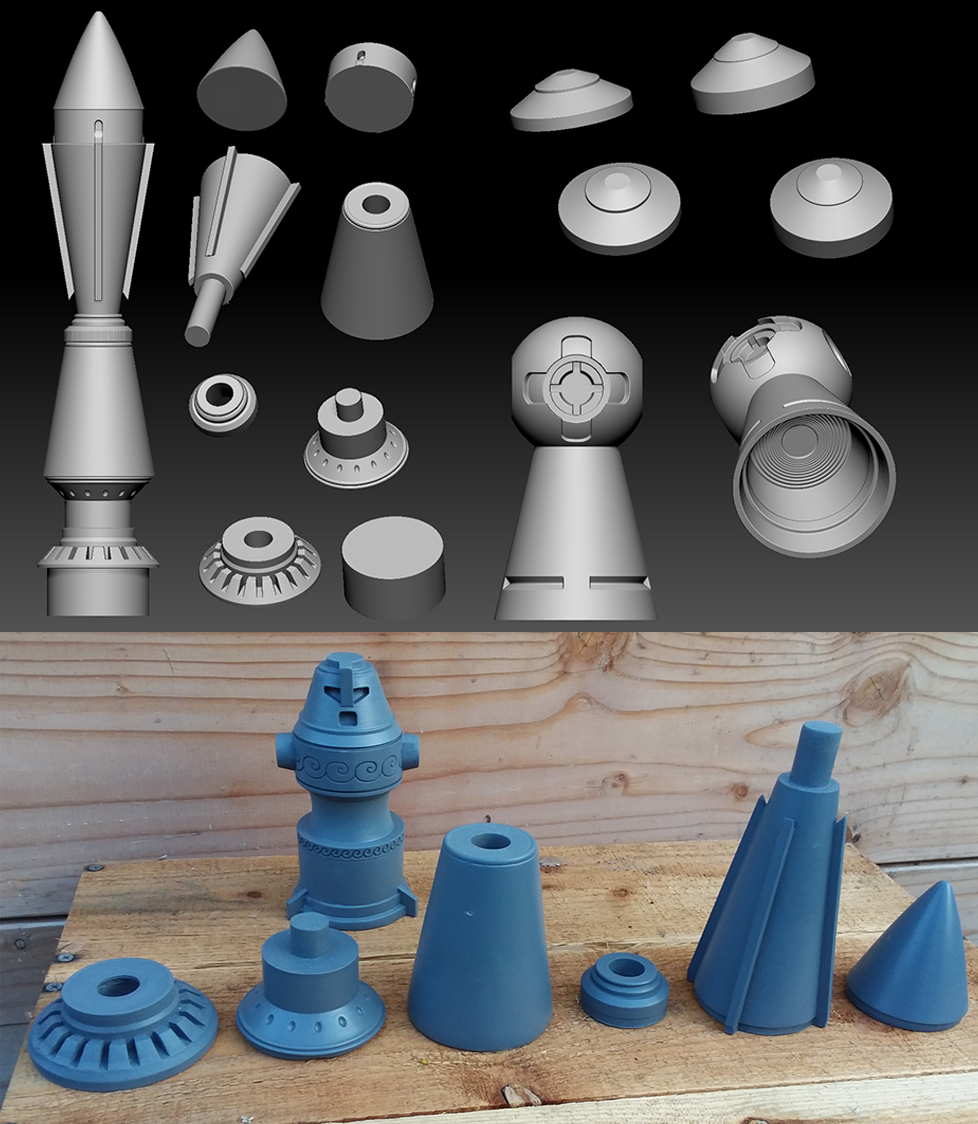
Then I commission my artist to render the object in 3D dimensions using the latest model programs.
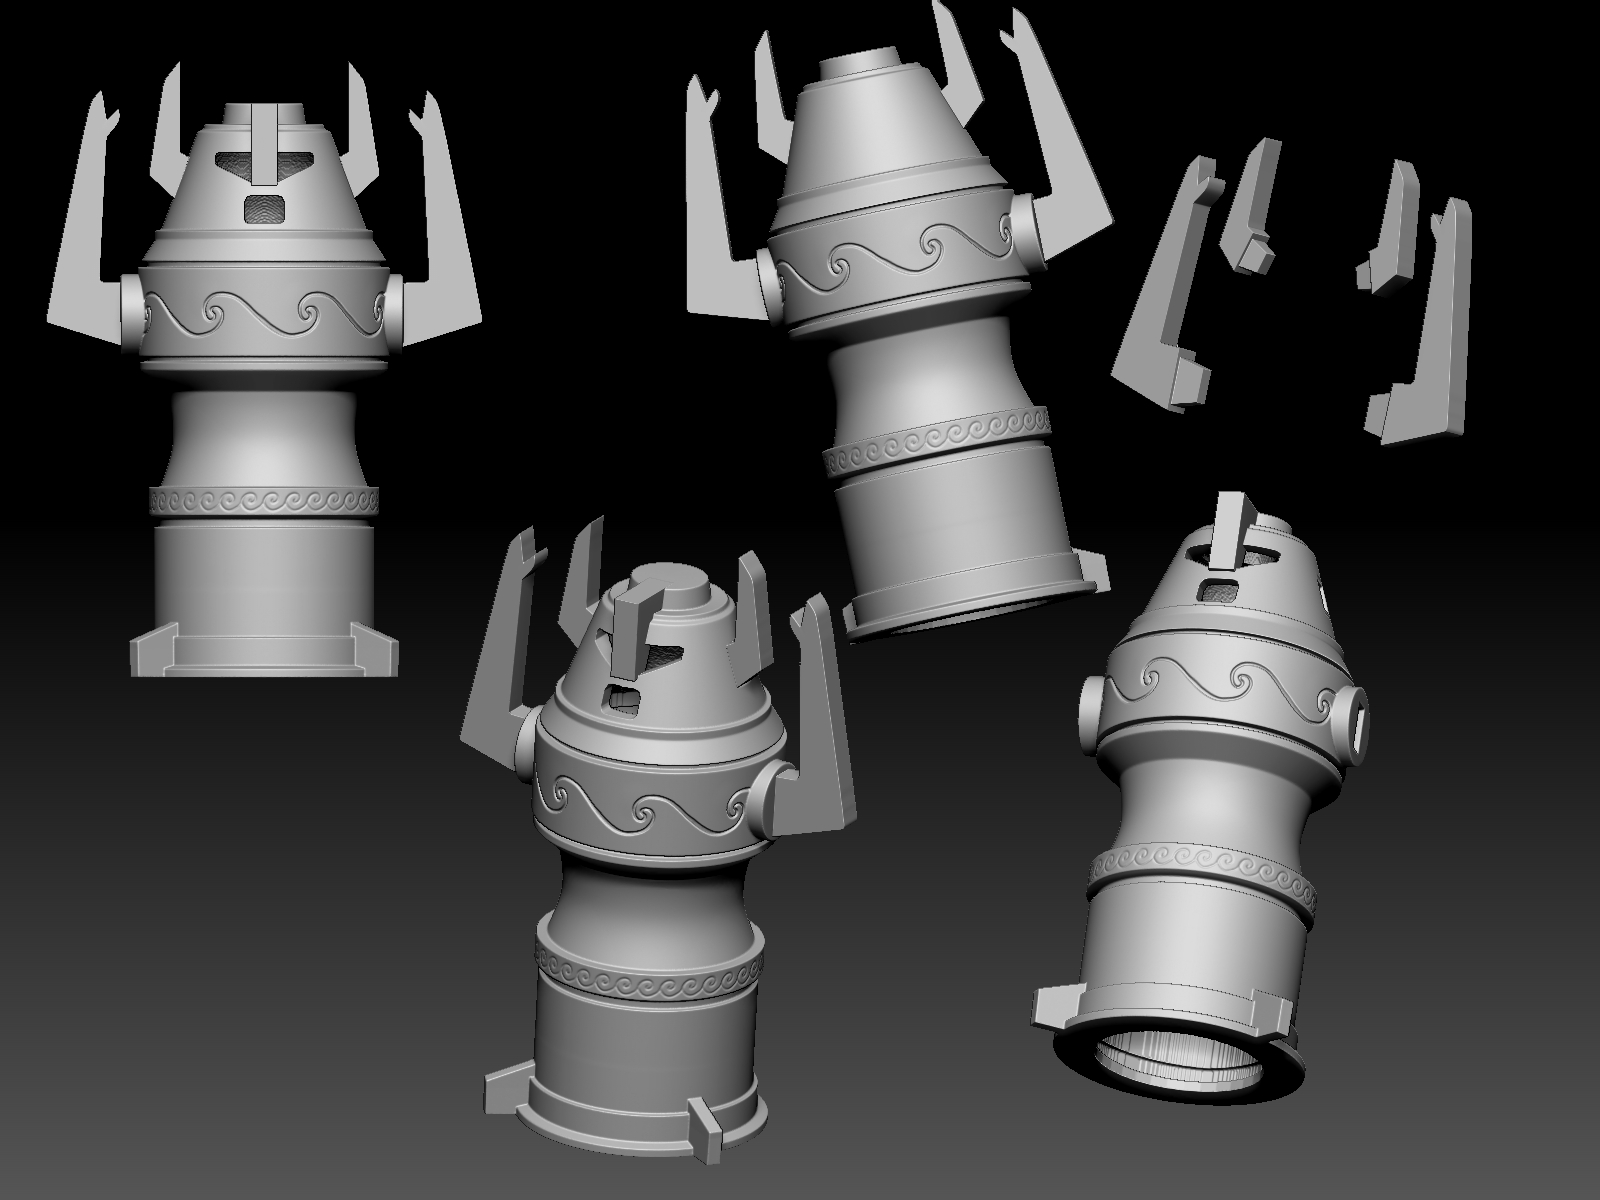
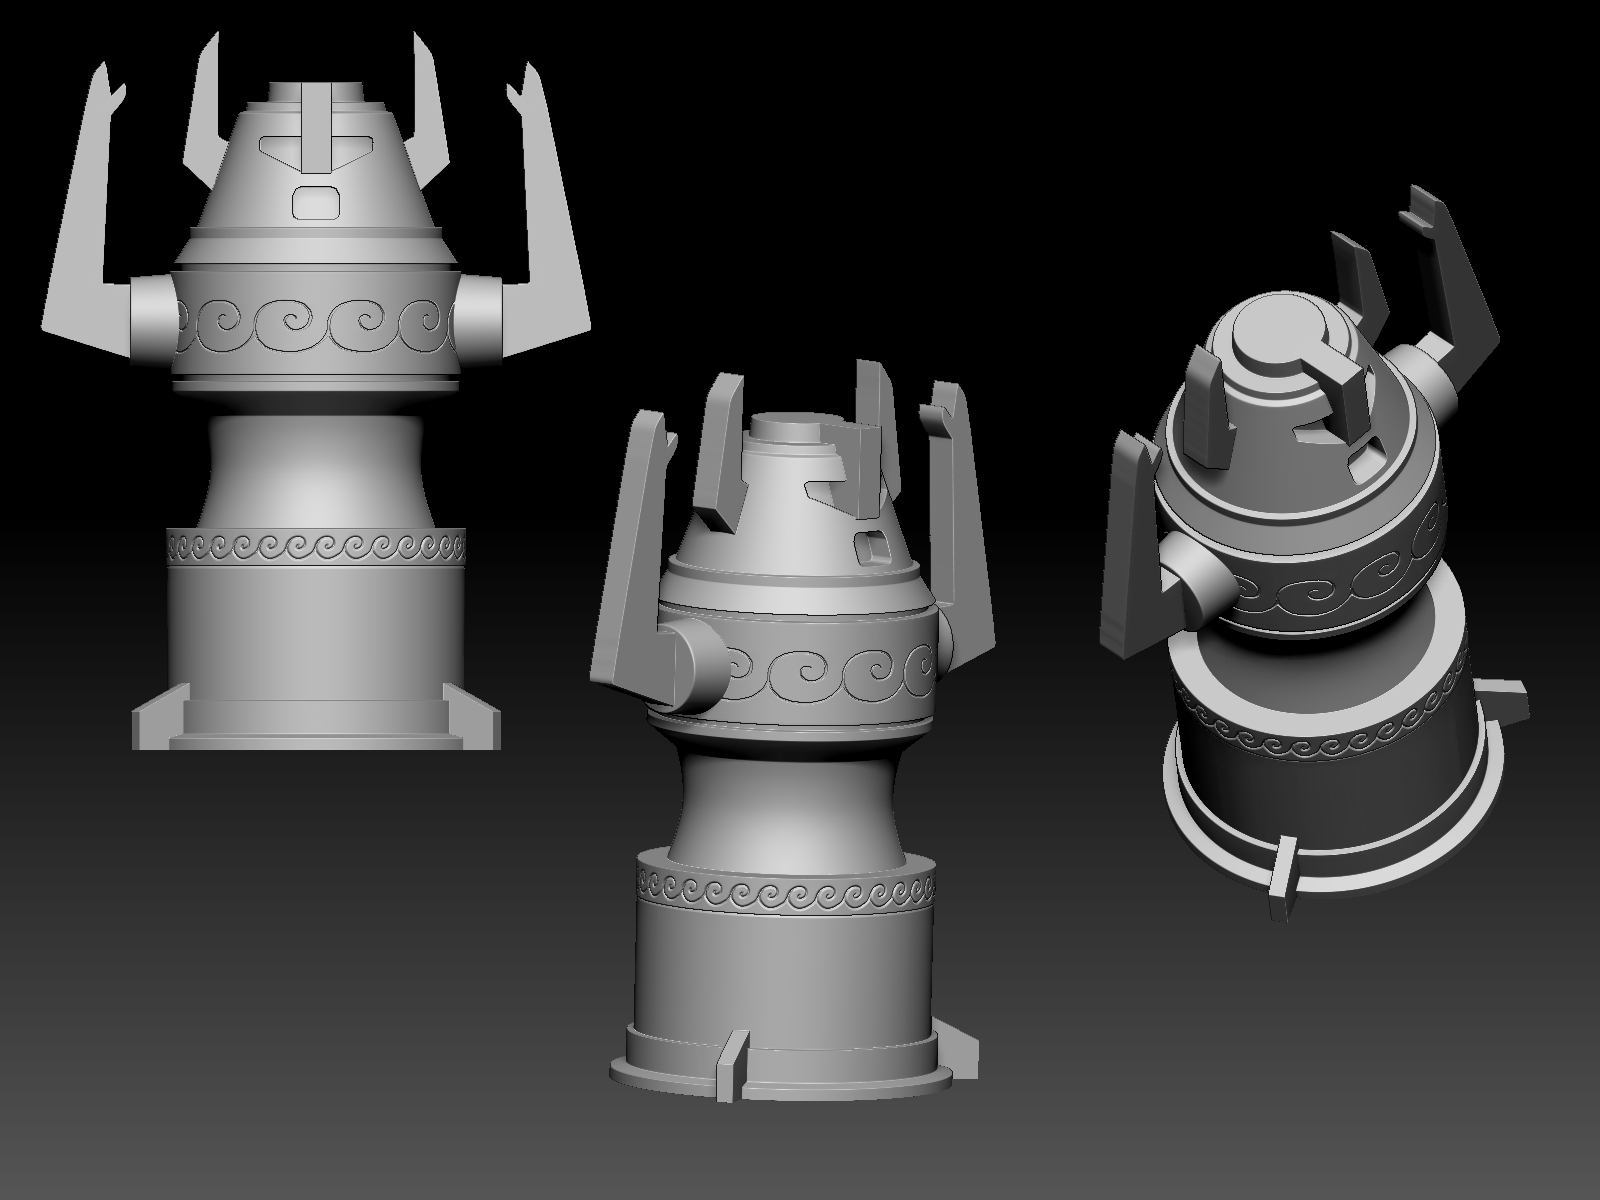
After a few rounds of adjustments I lock the design..
From there I process the model through a few programs to prepare it for printing. This includes separating the model, manifolding the shells, introducing supports and drain holes as necessary.
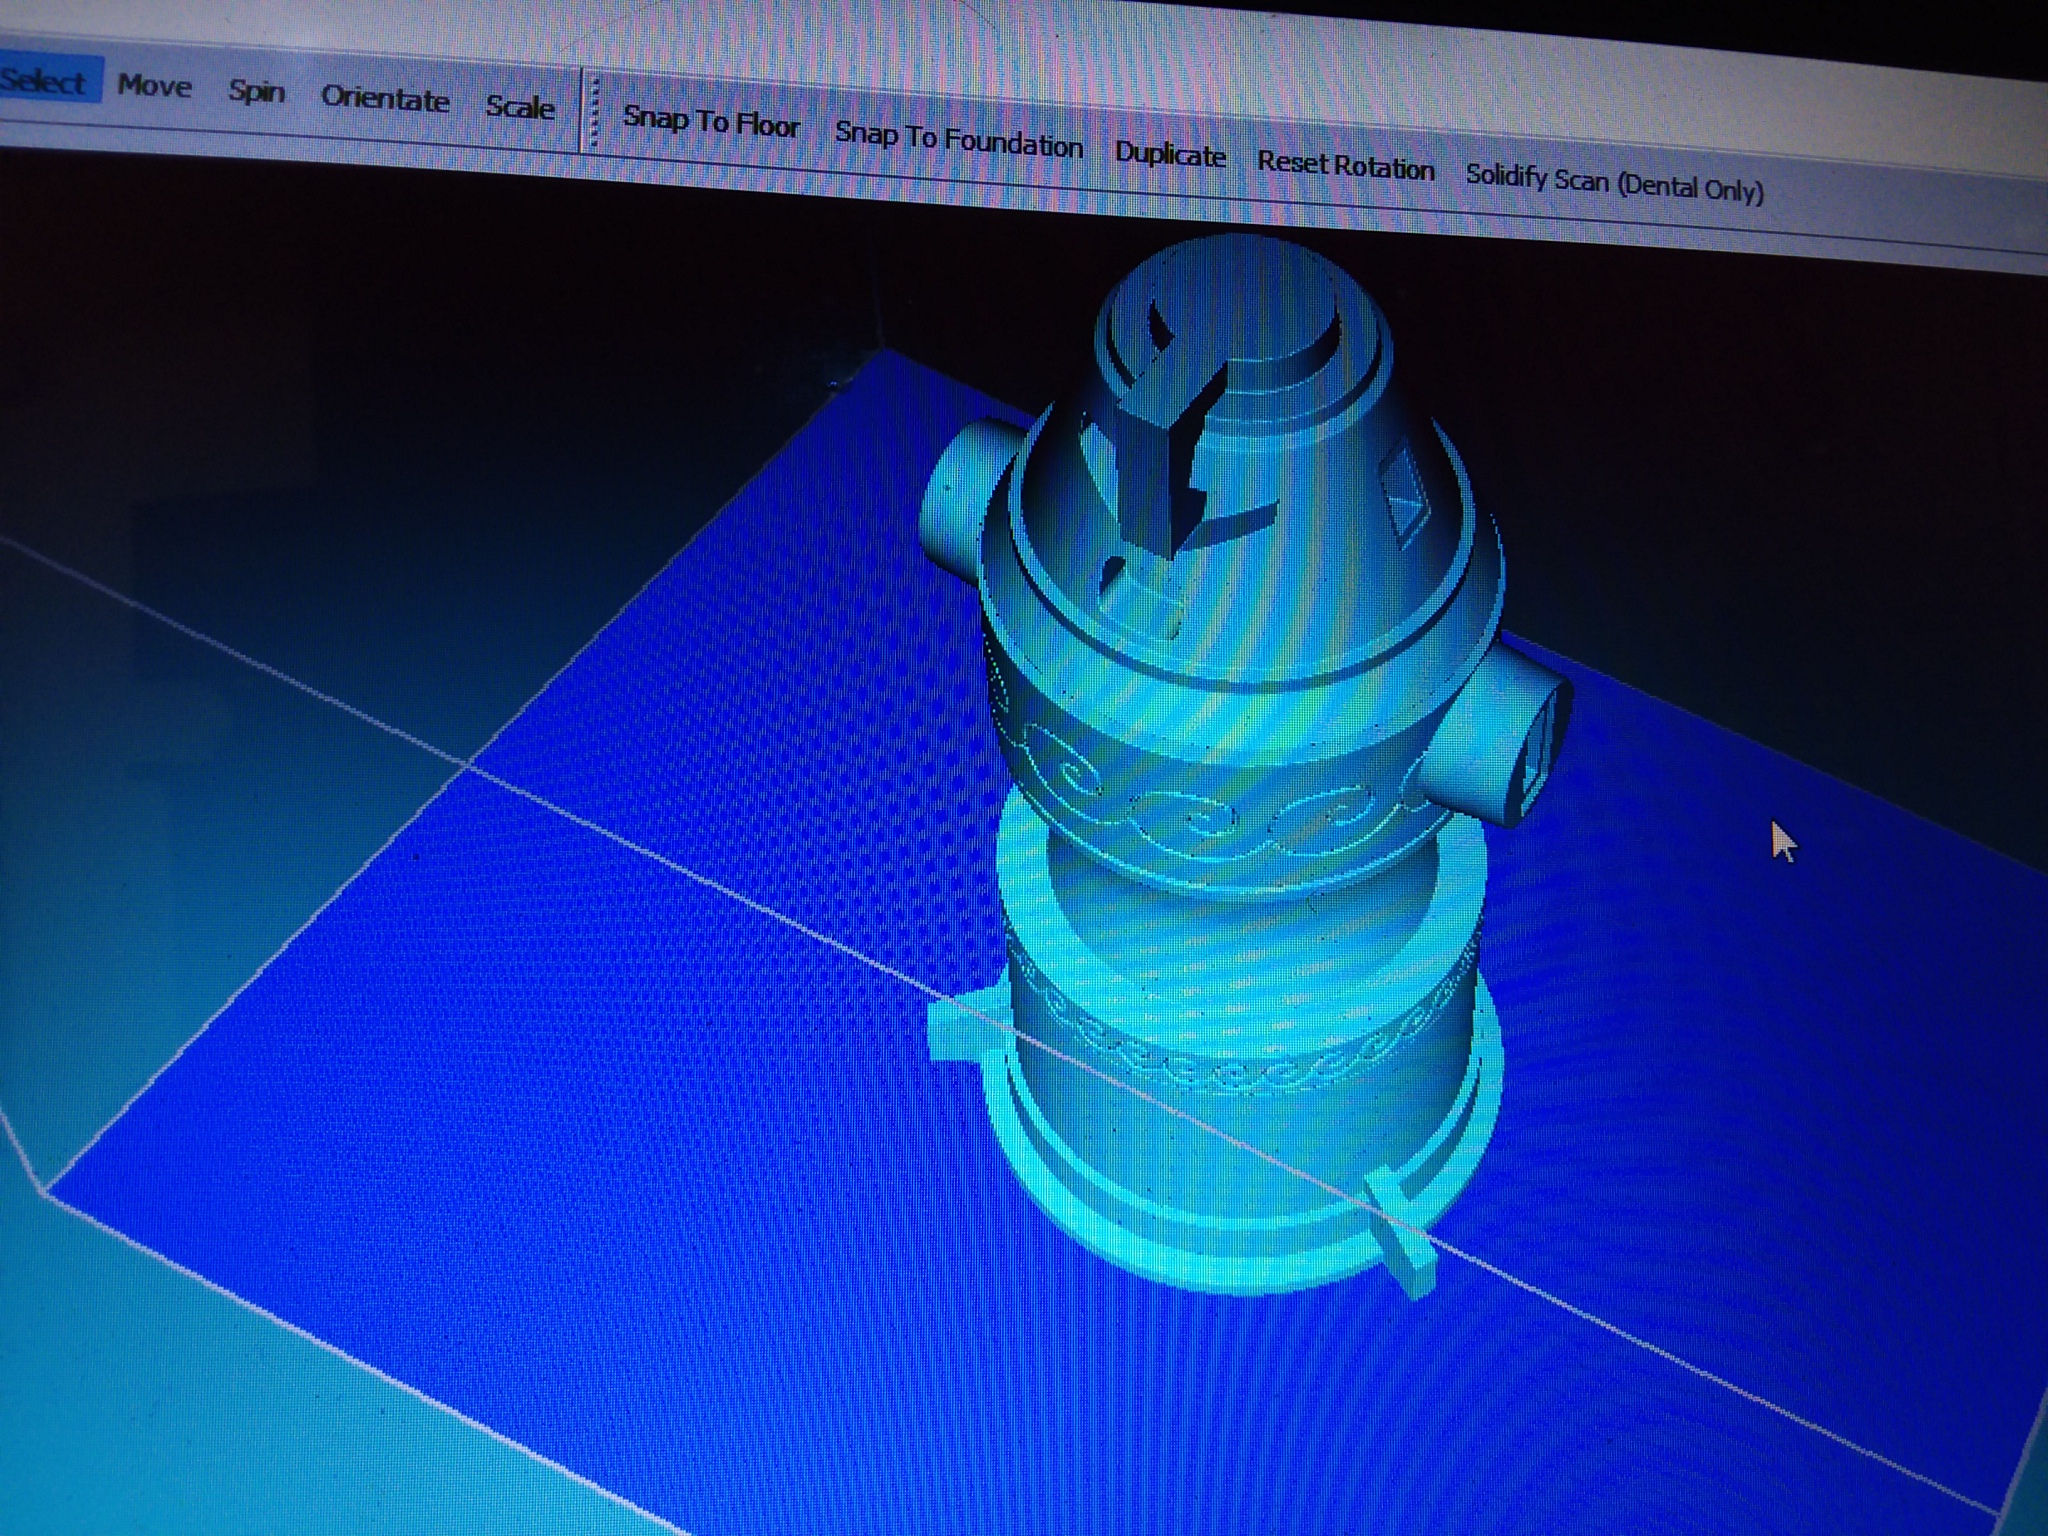
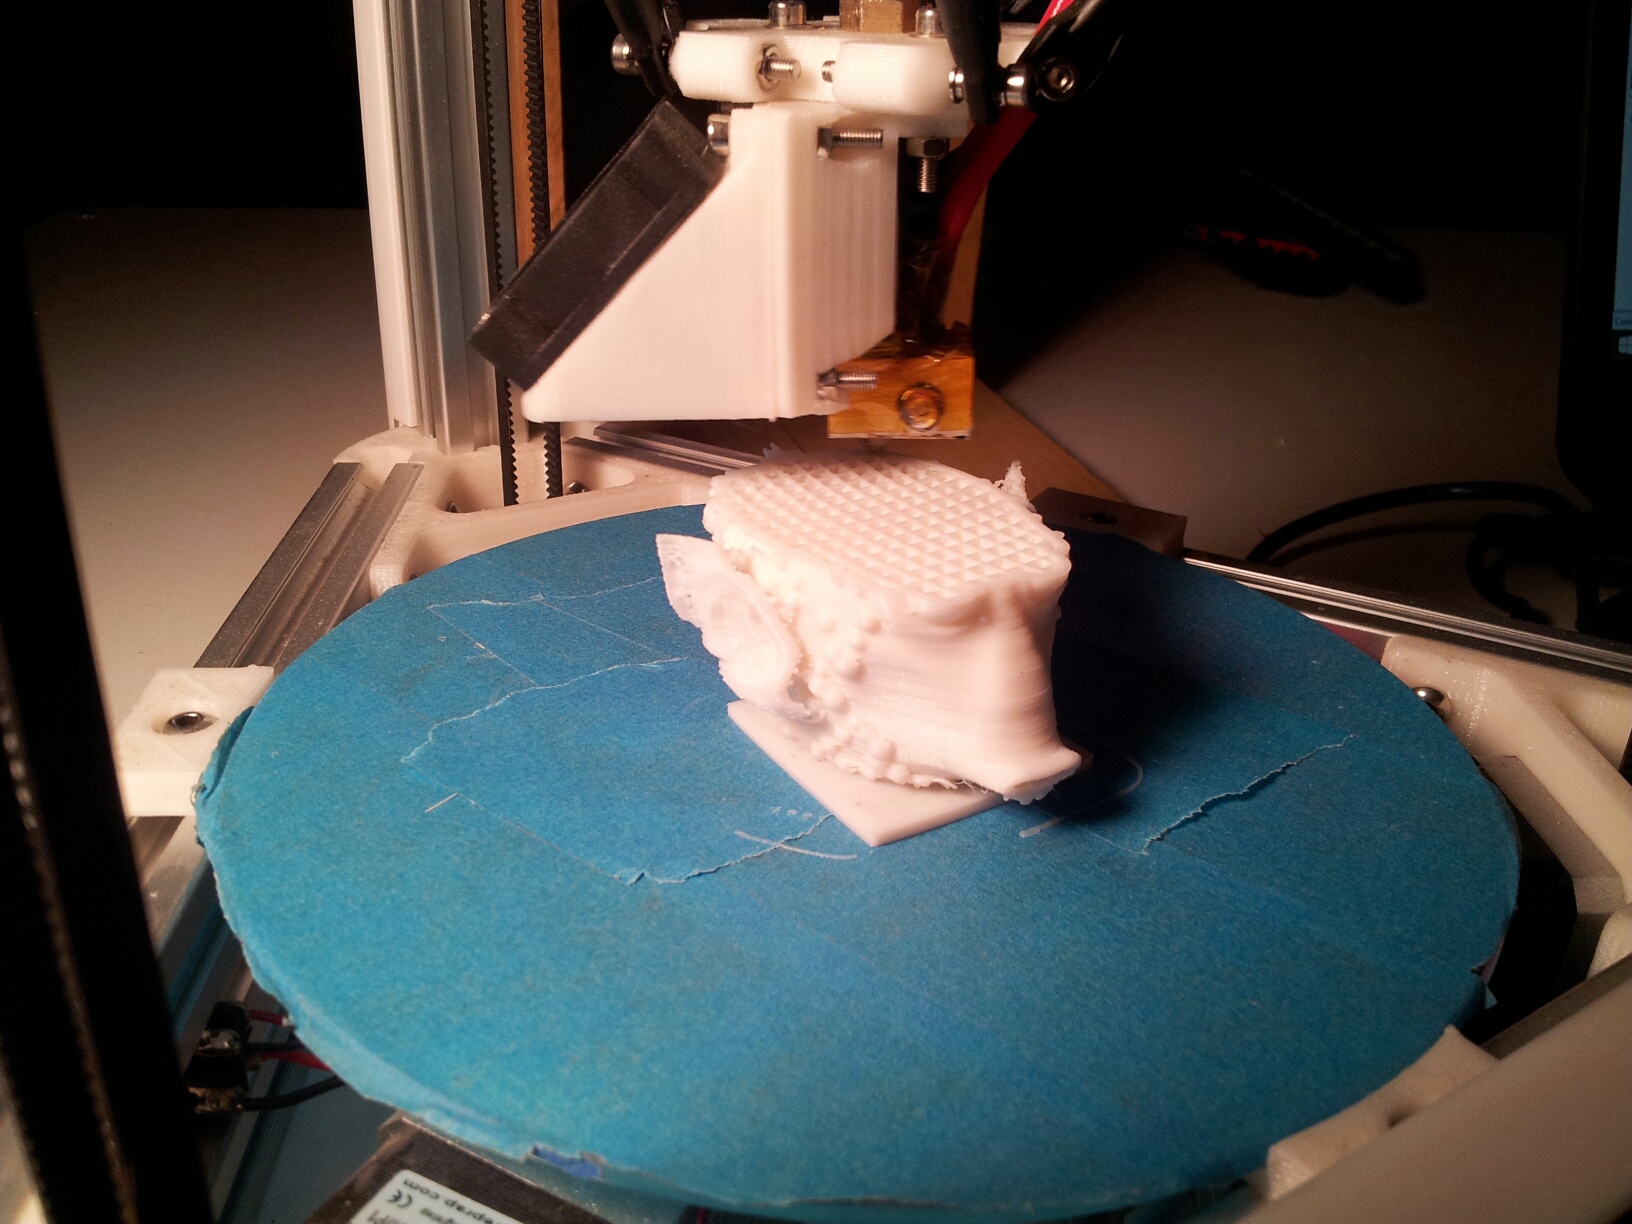
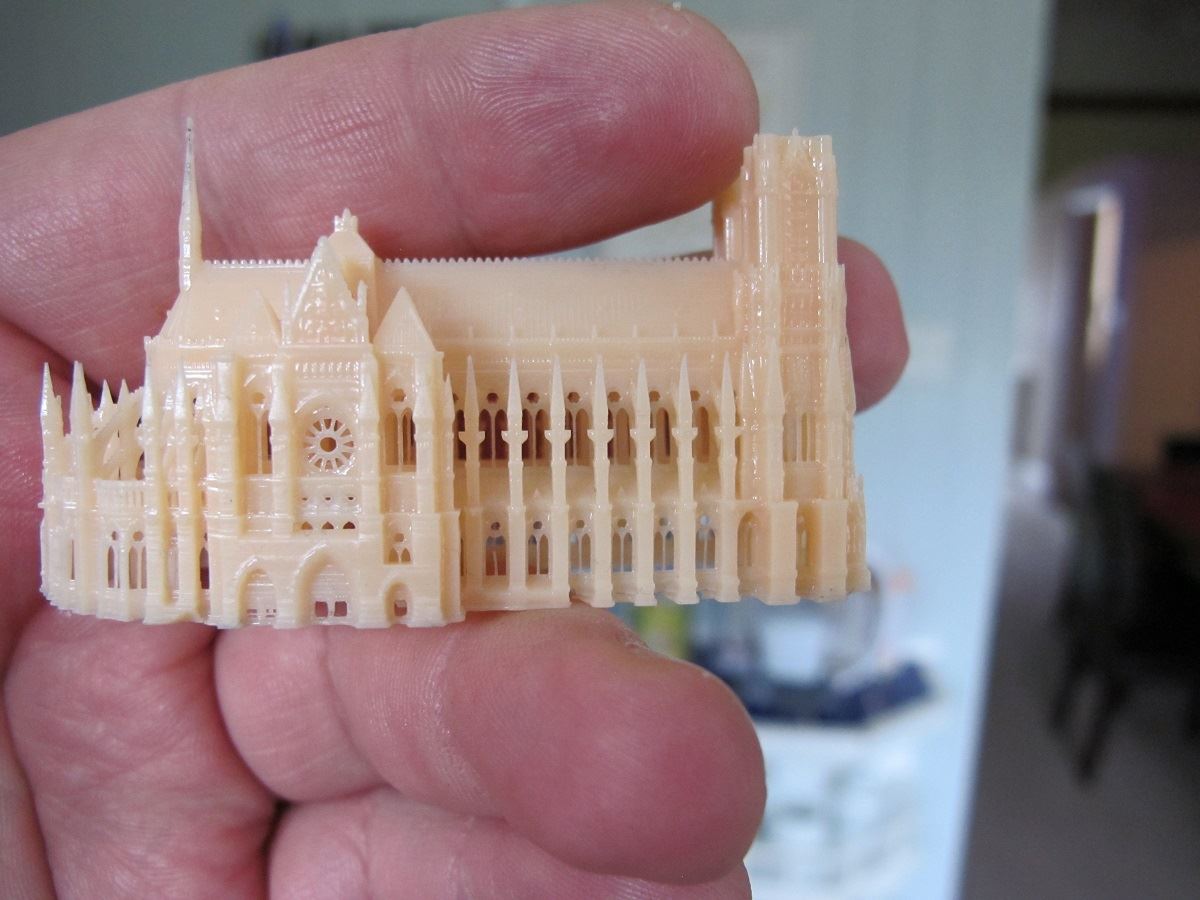
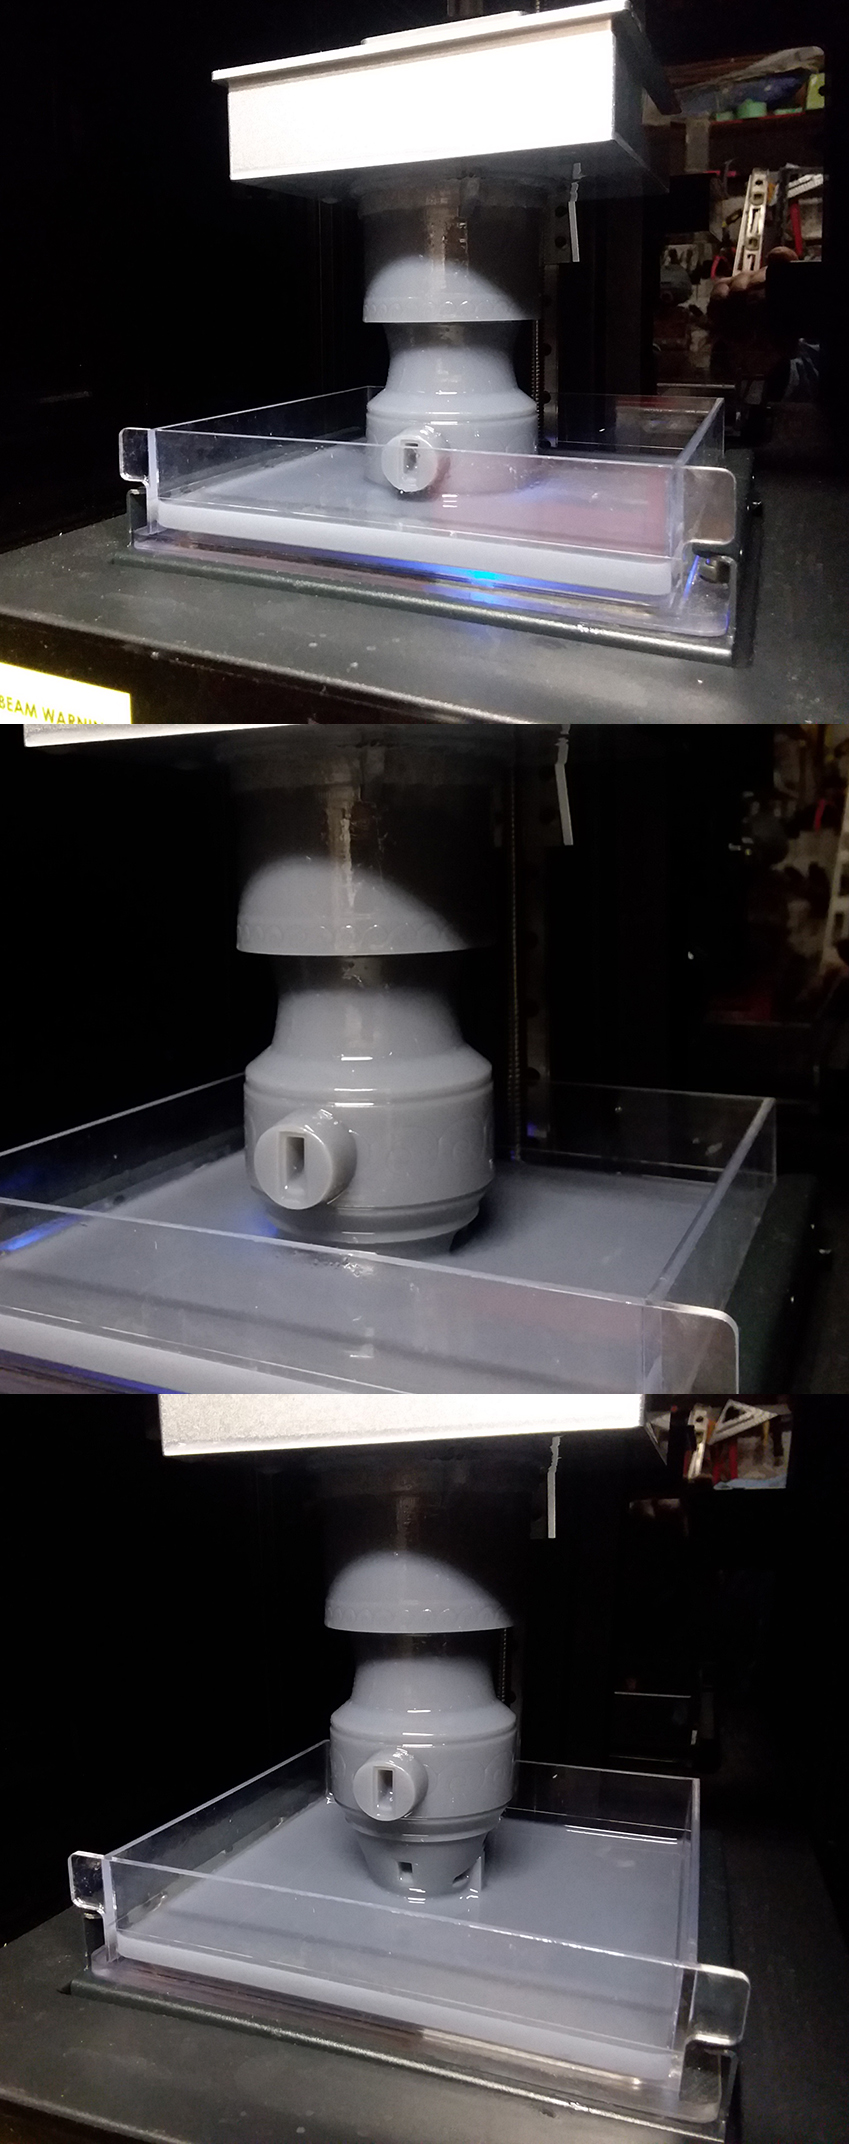
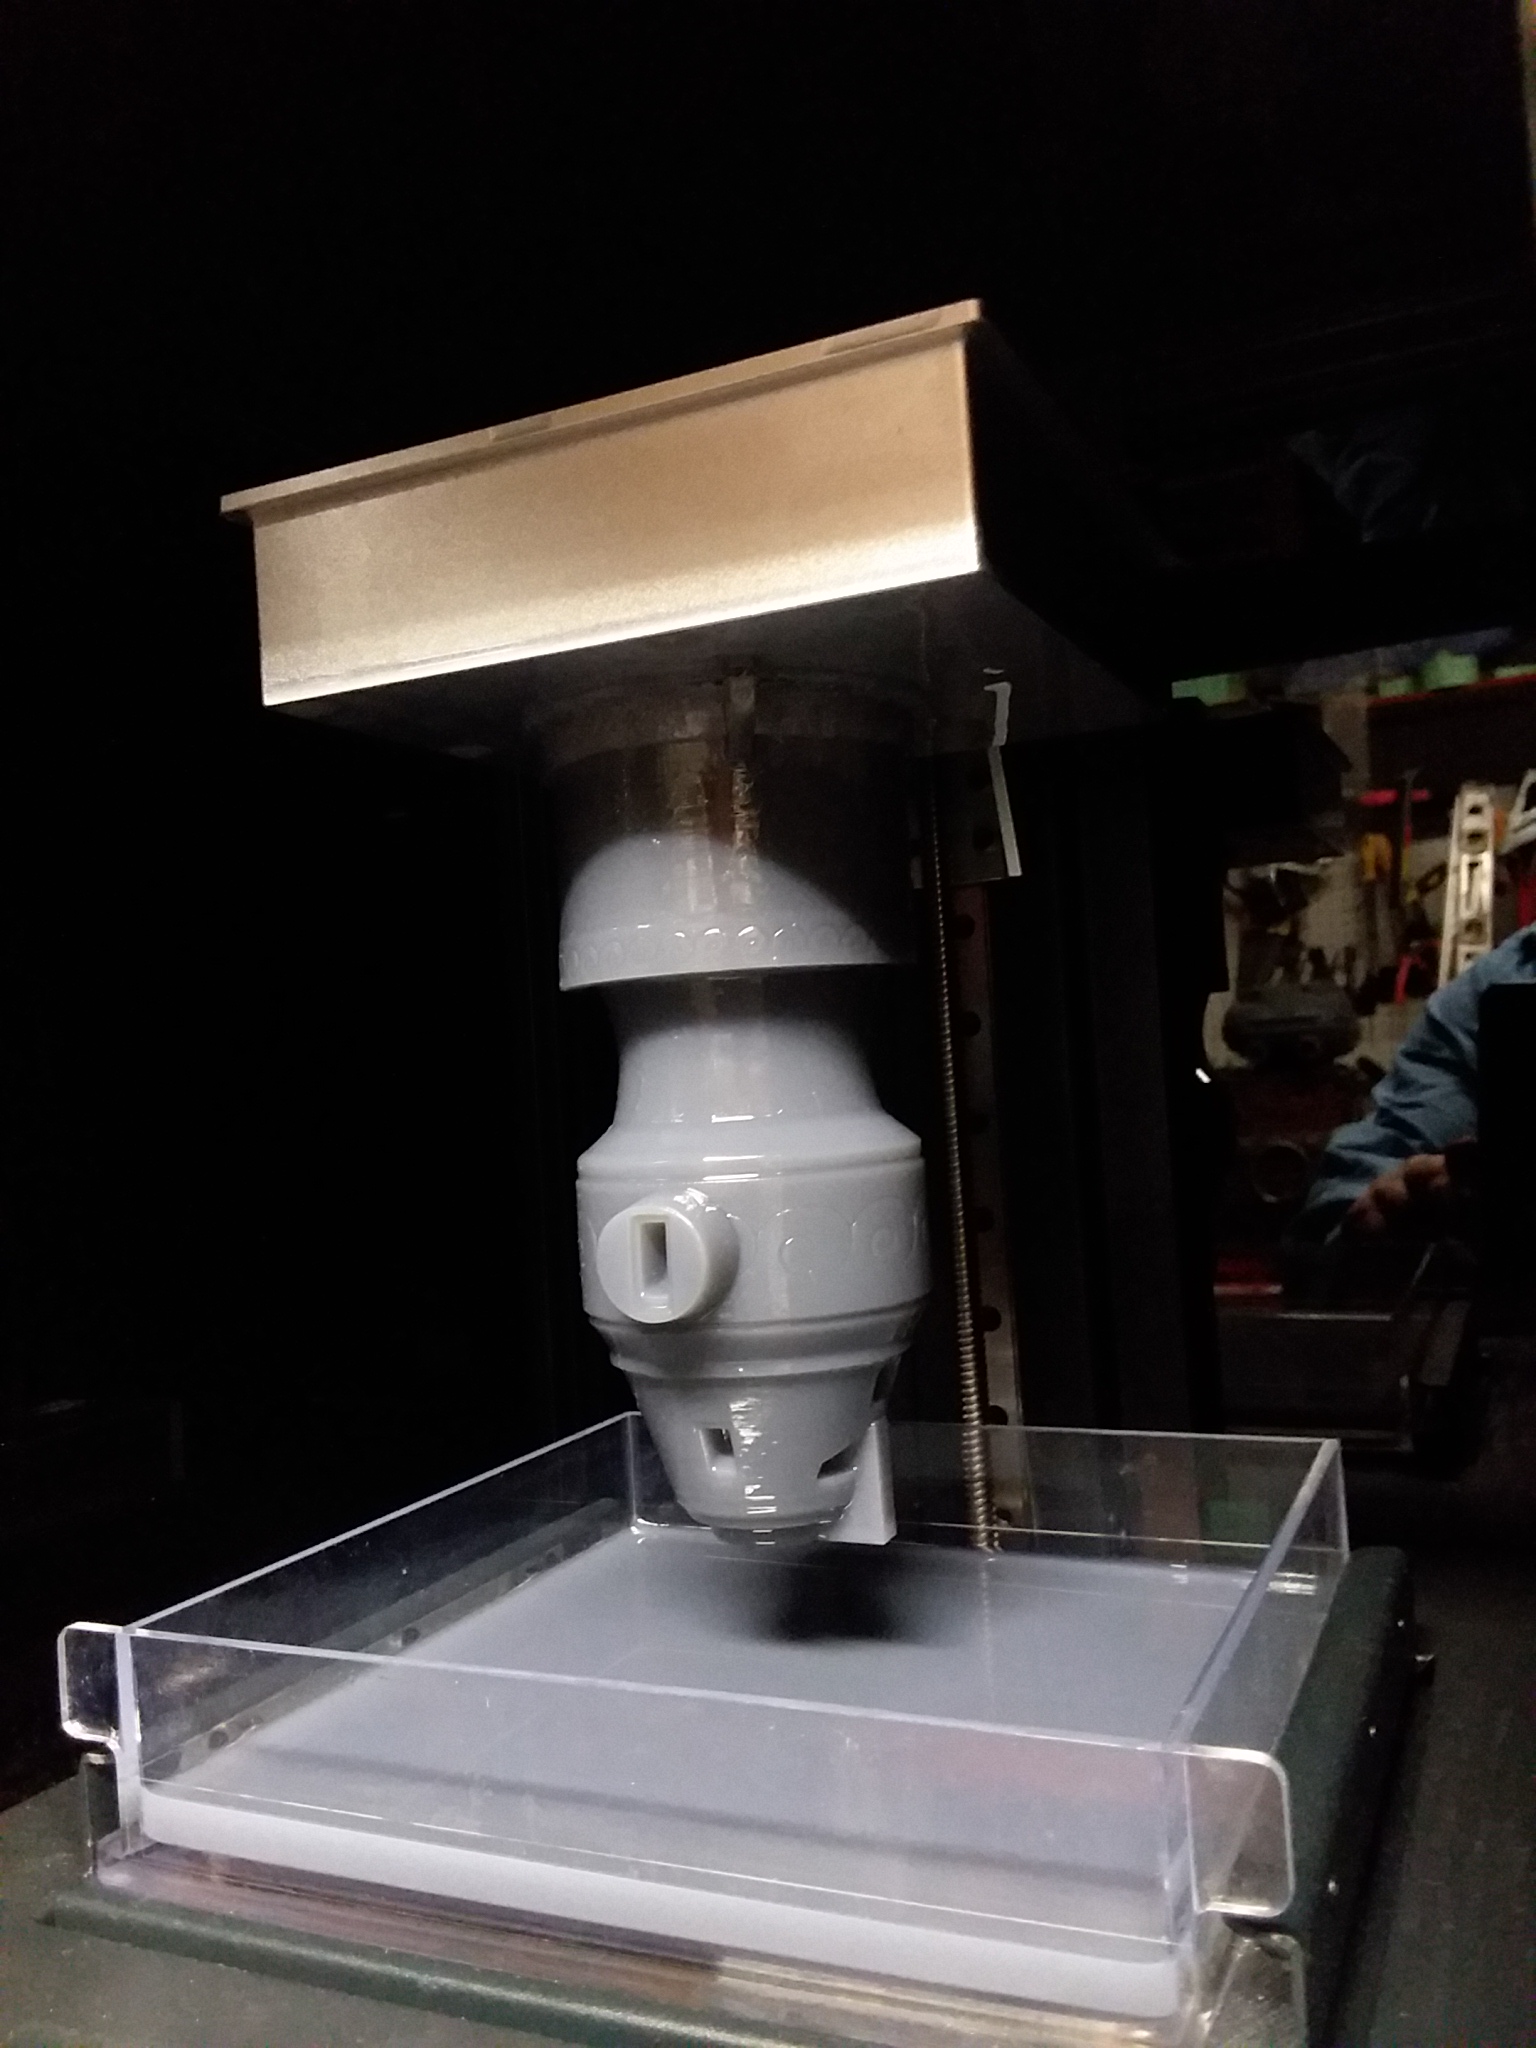
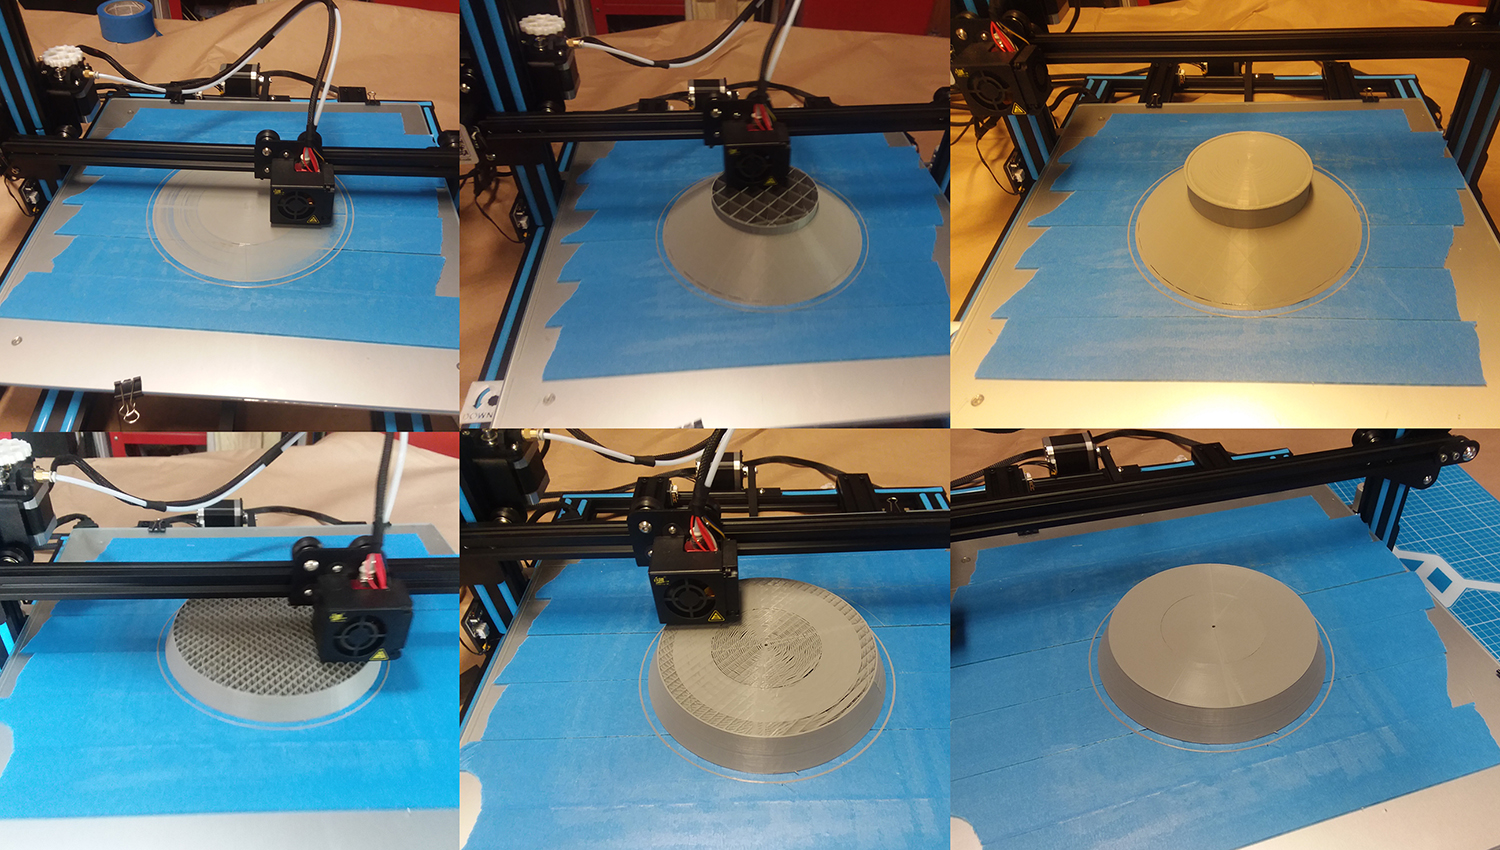
The sliced file is then sent to my 3D printer and that's where the magic happens.
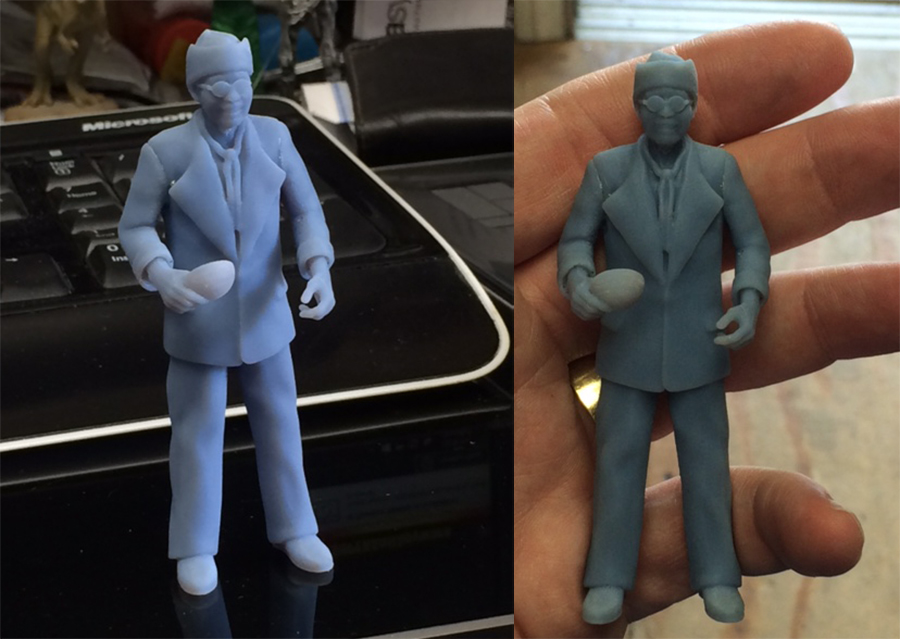
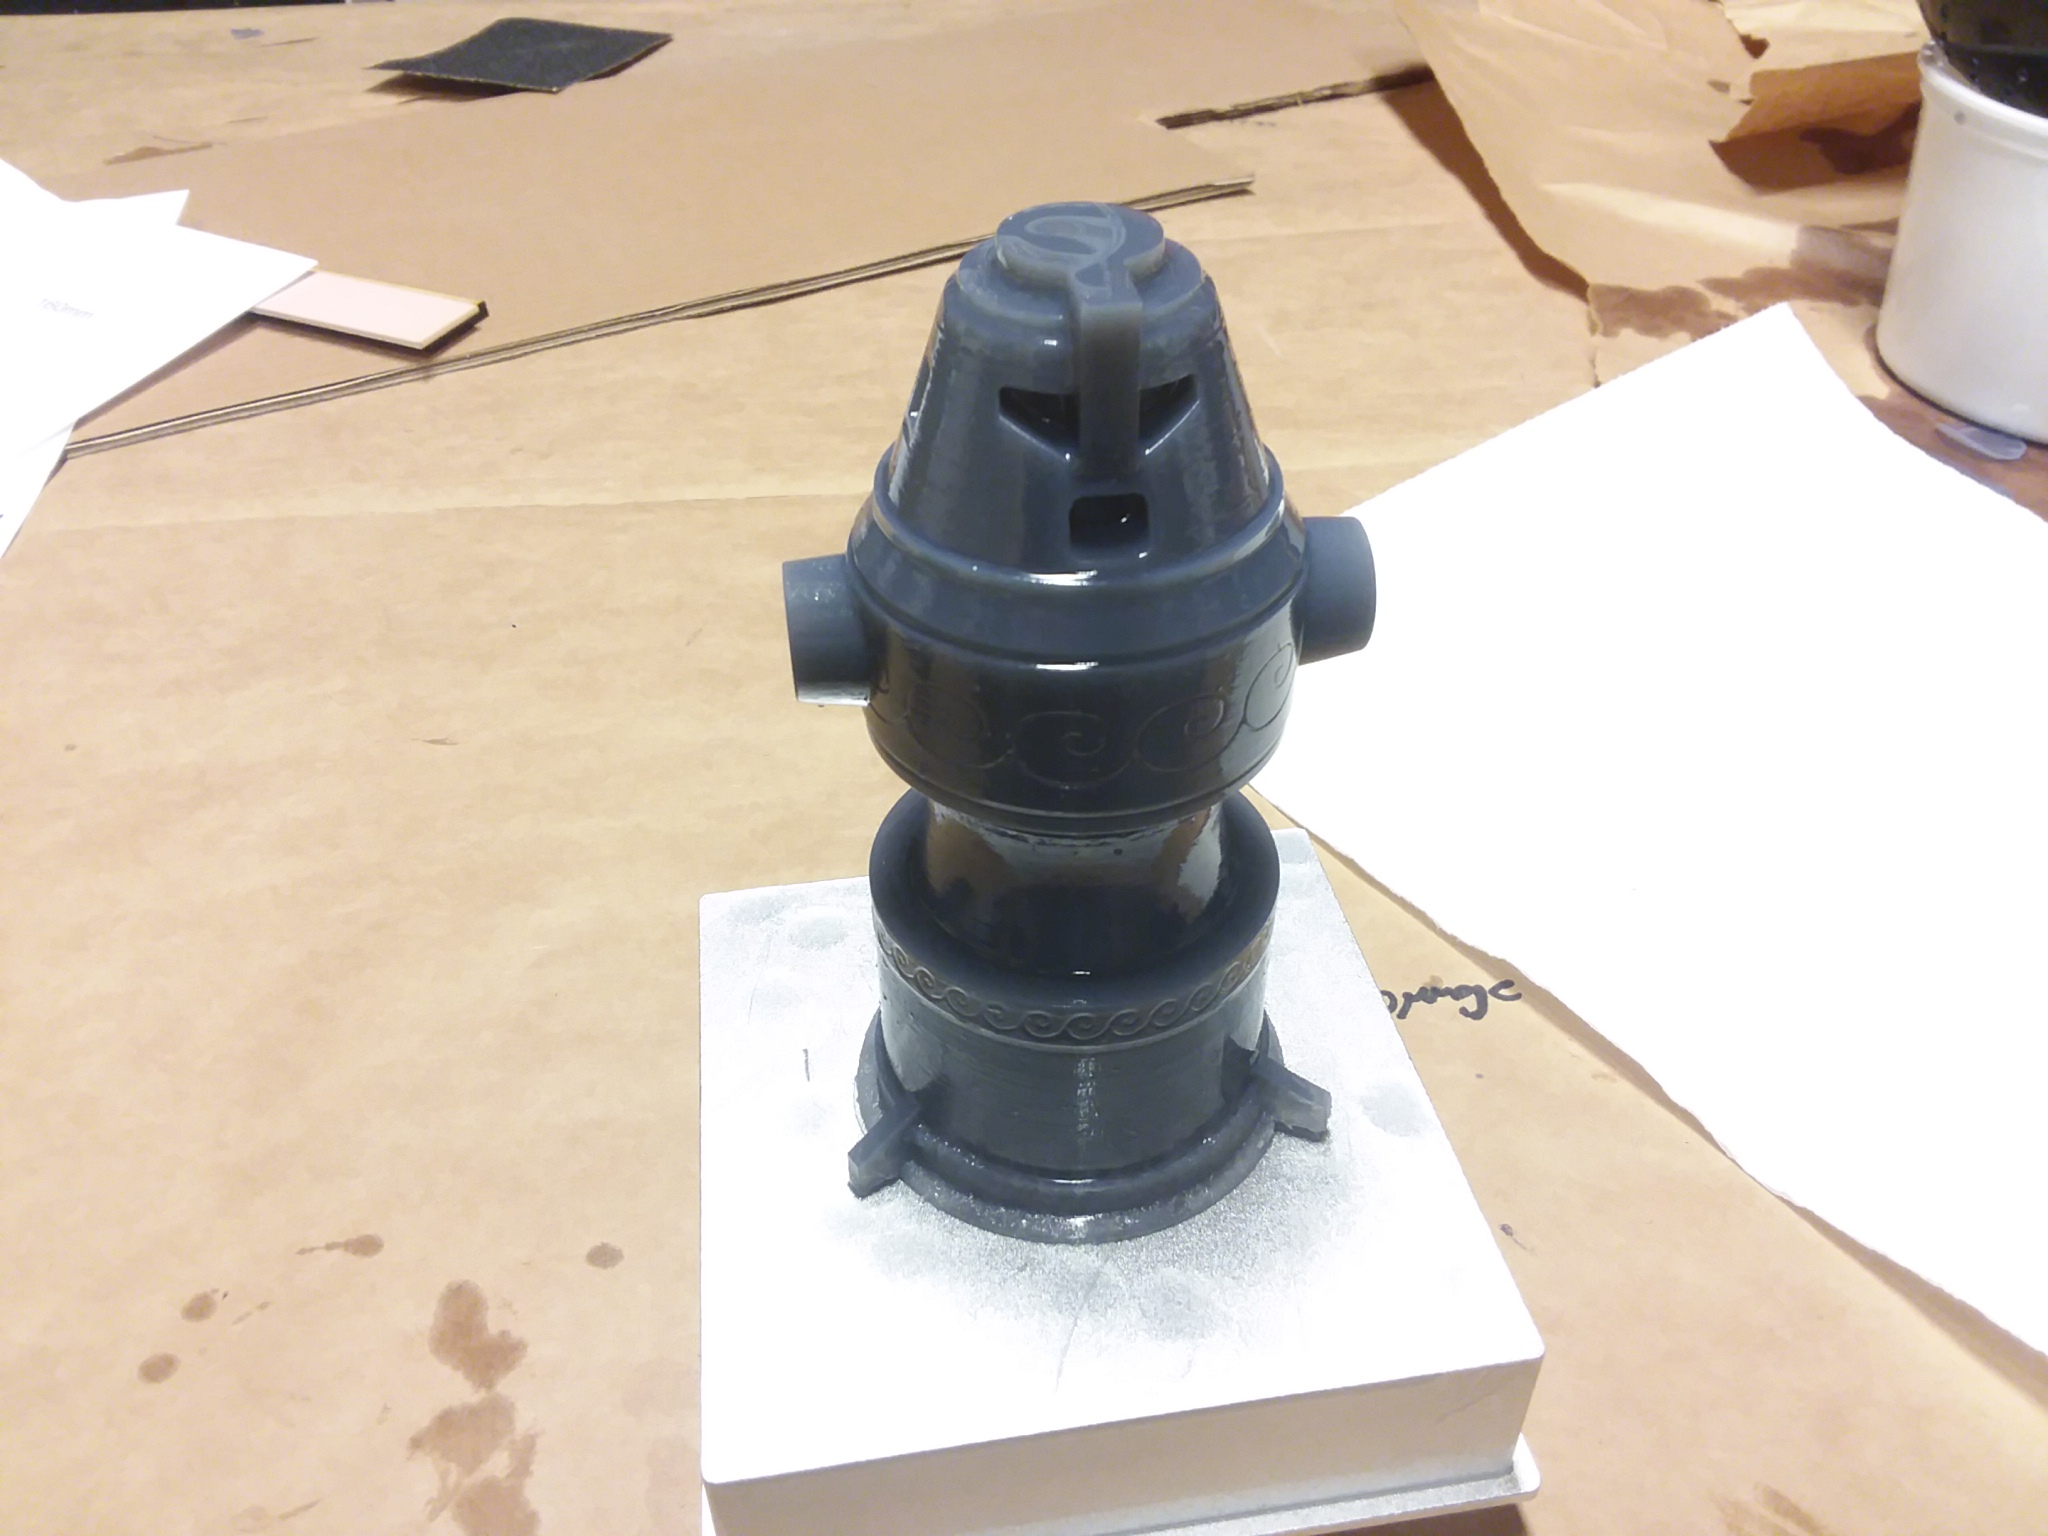
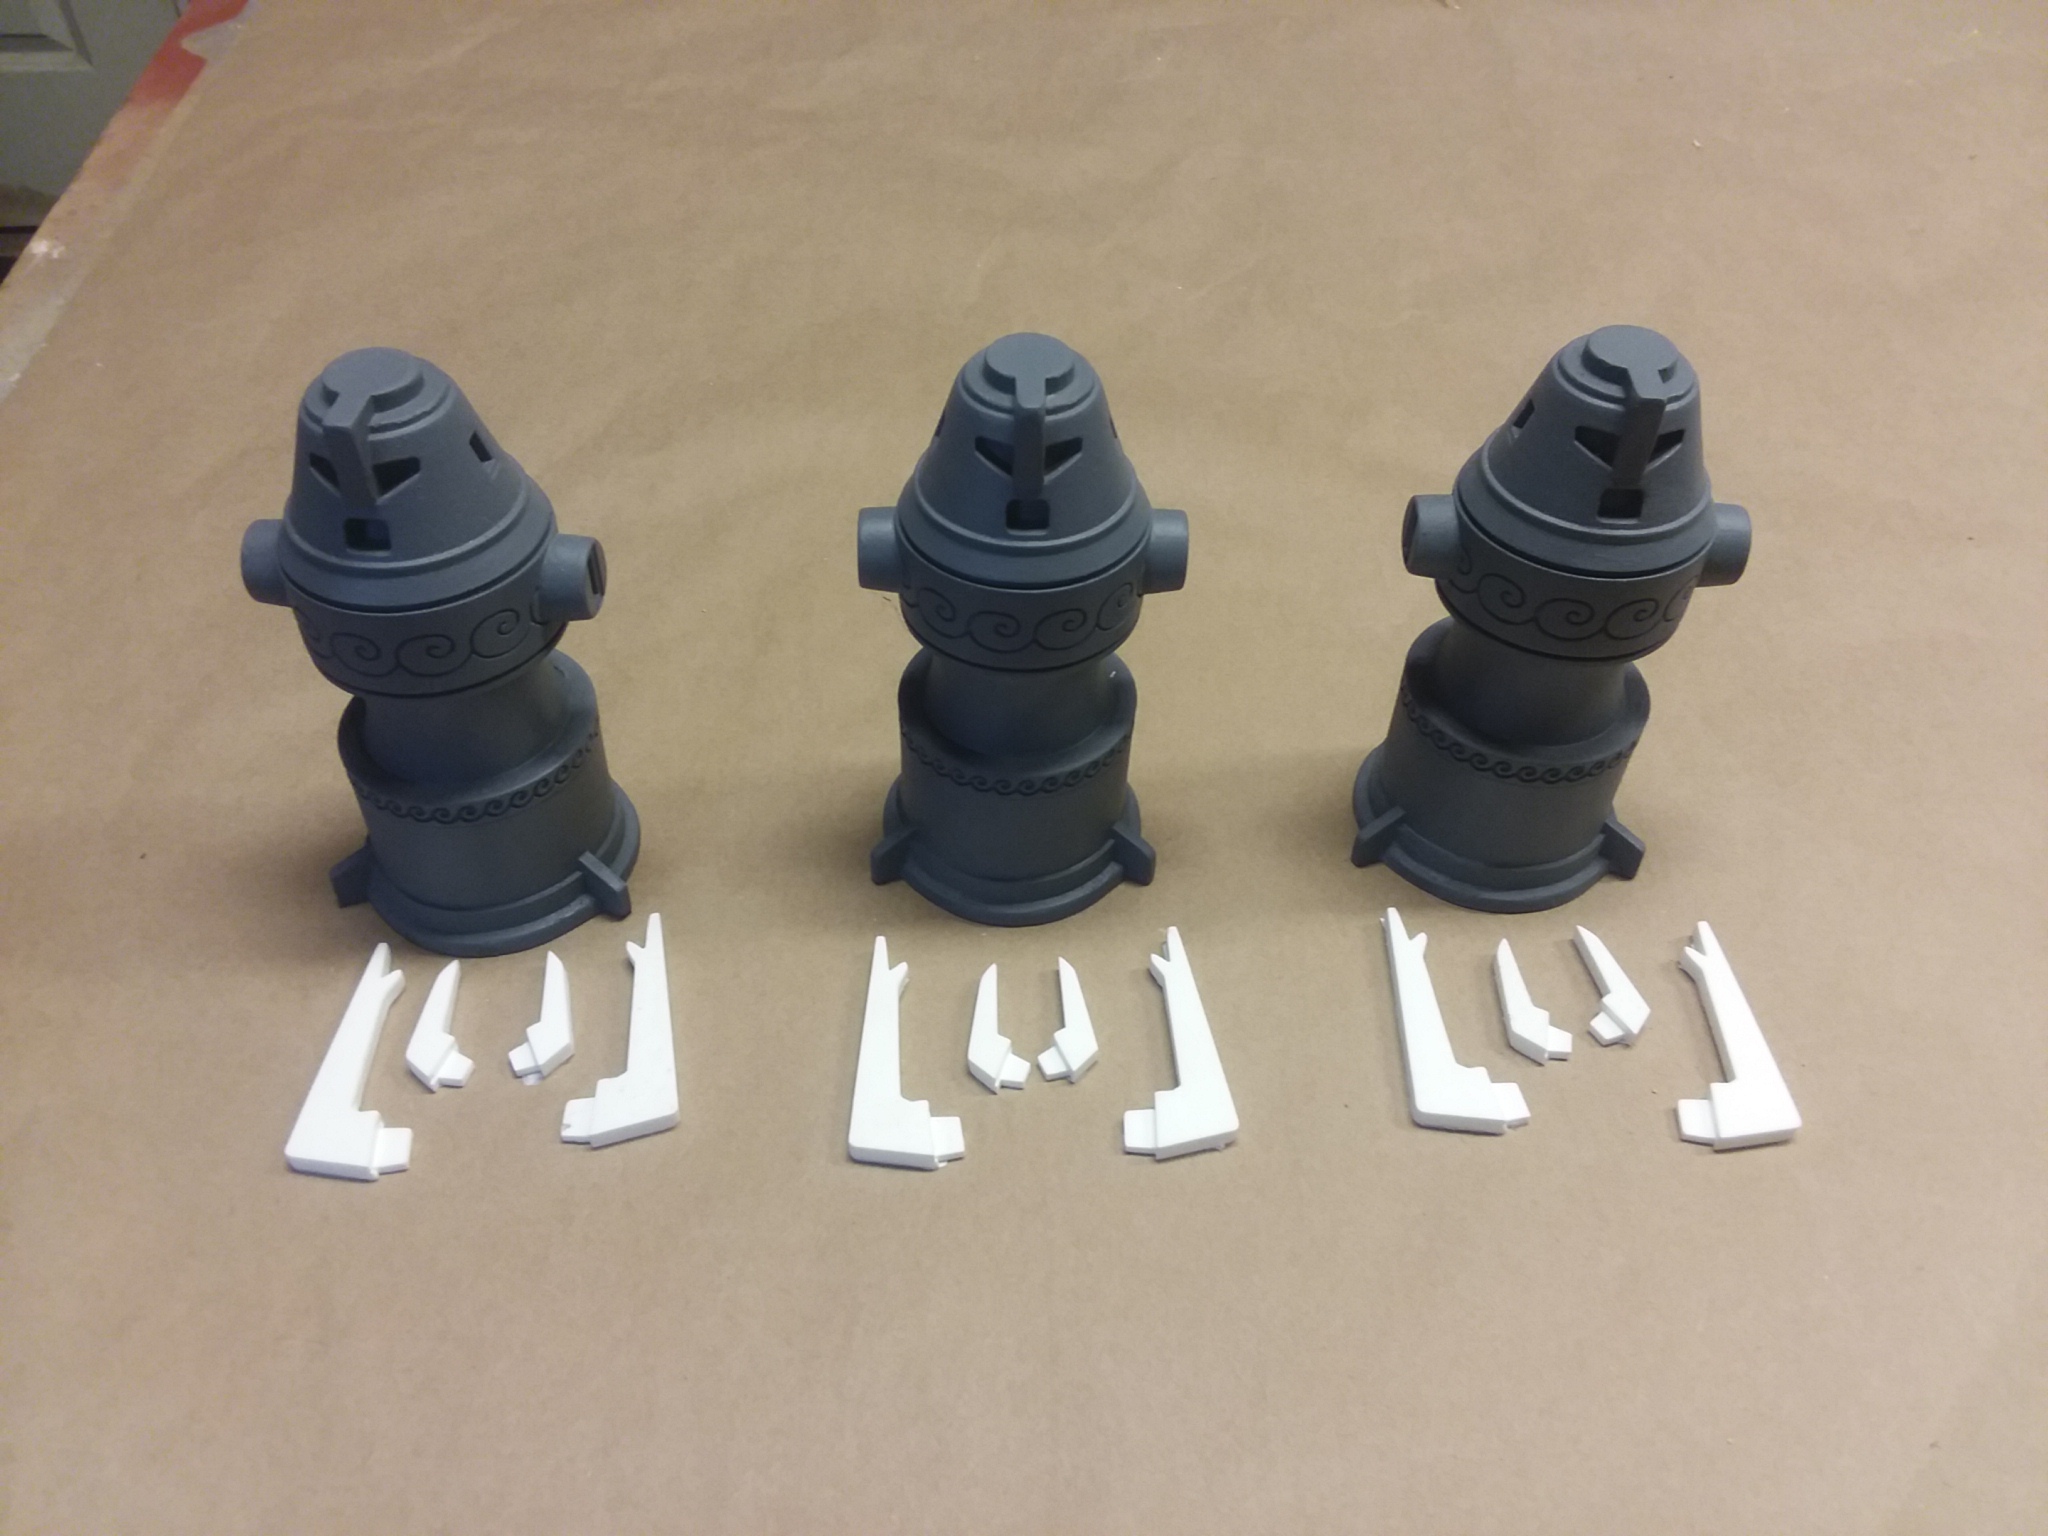
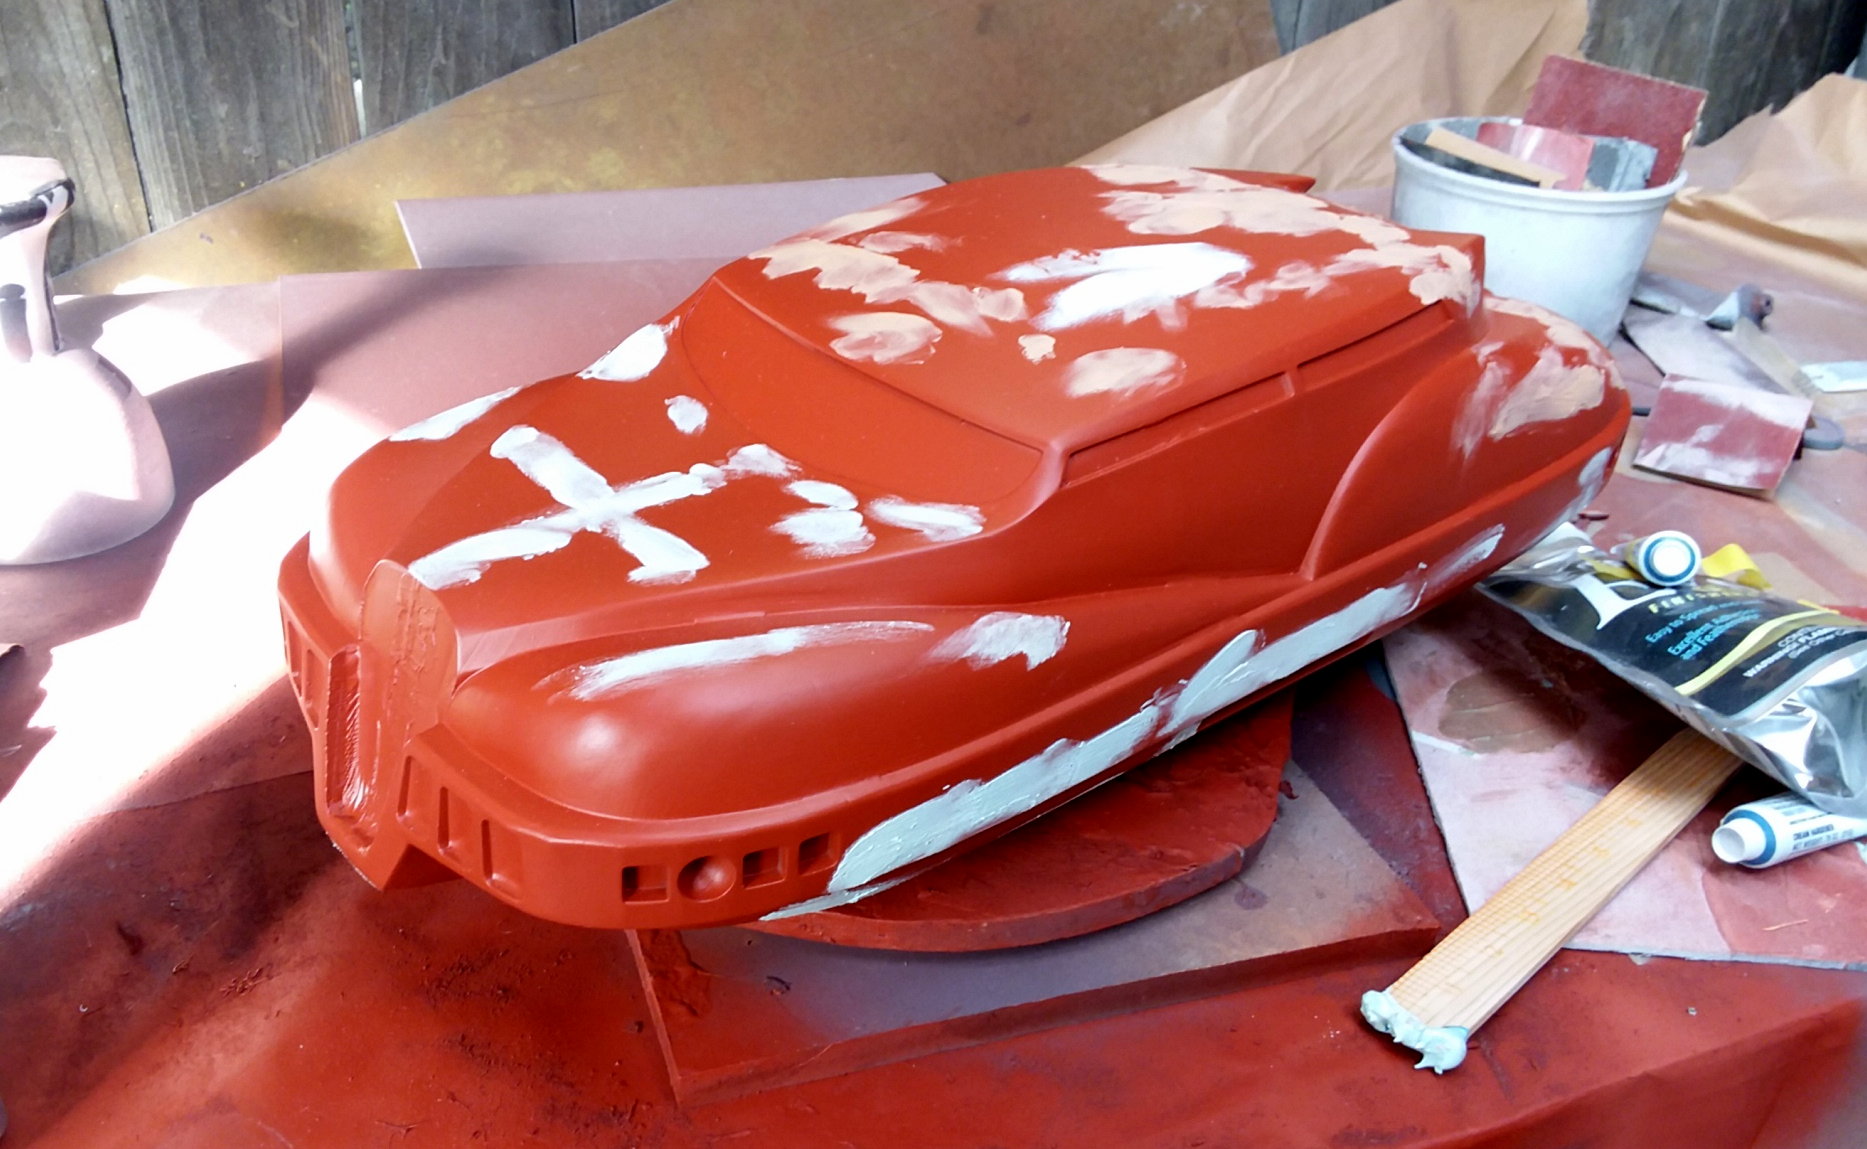
The print is then cleaned up and prepared for molding.

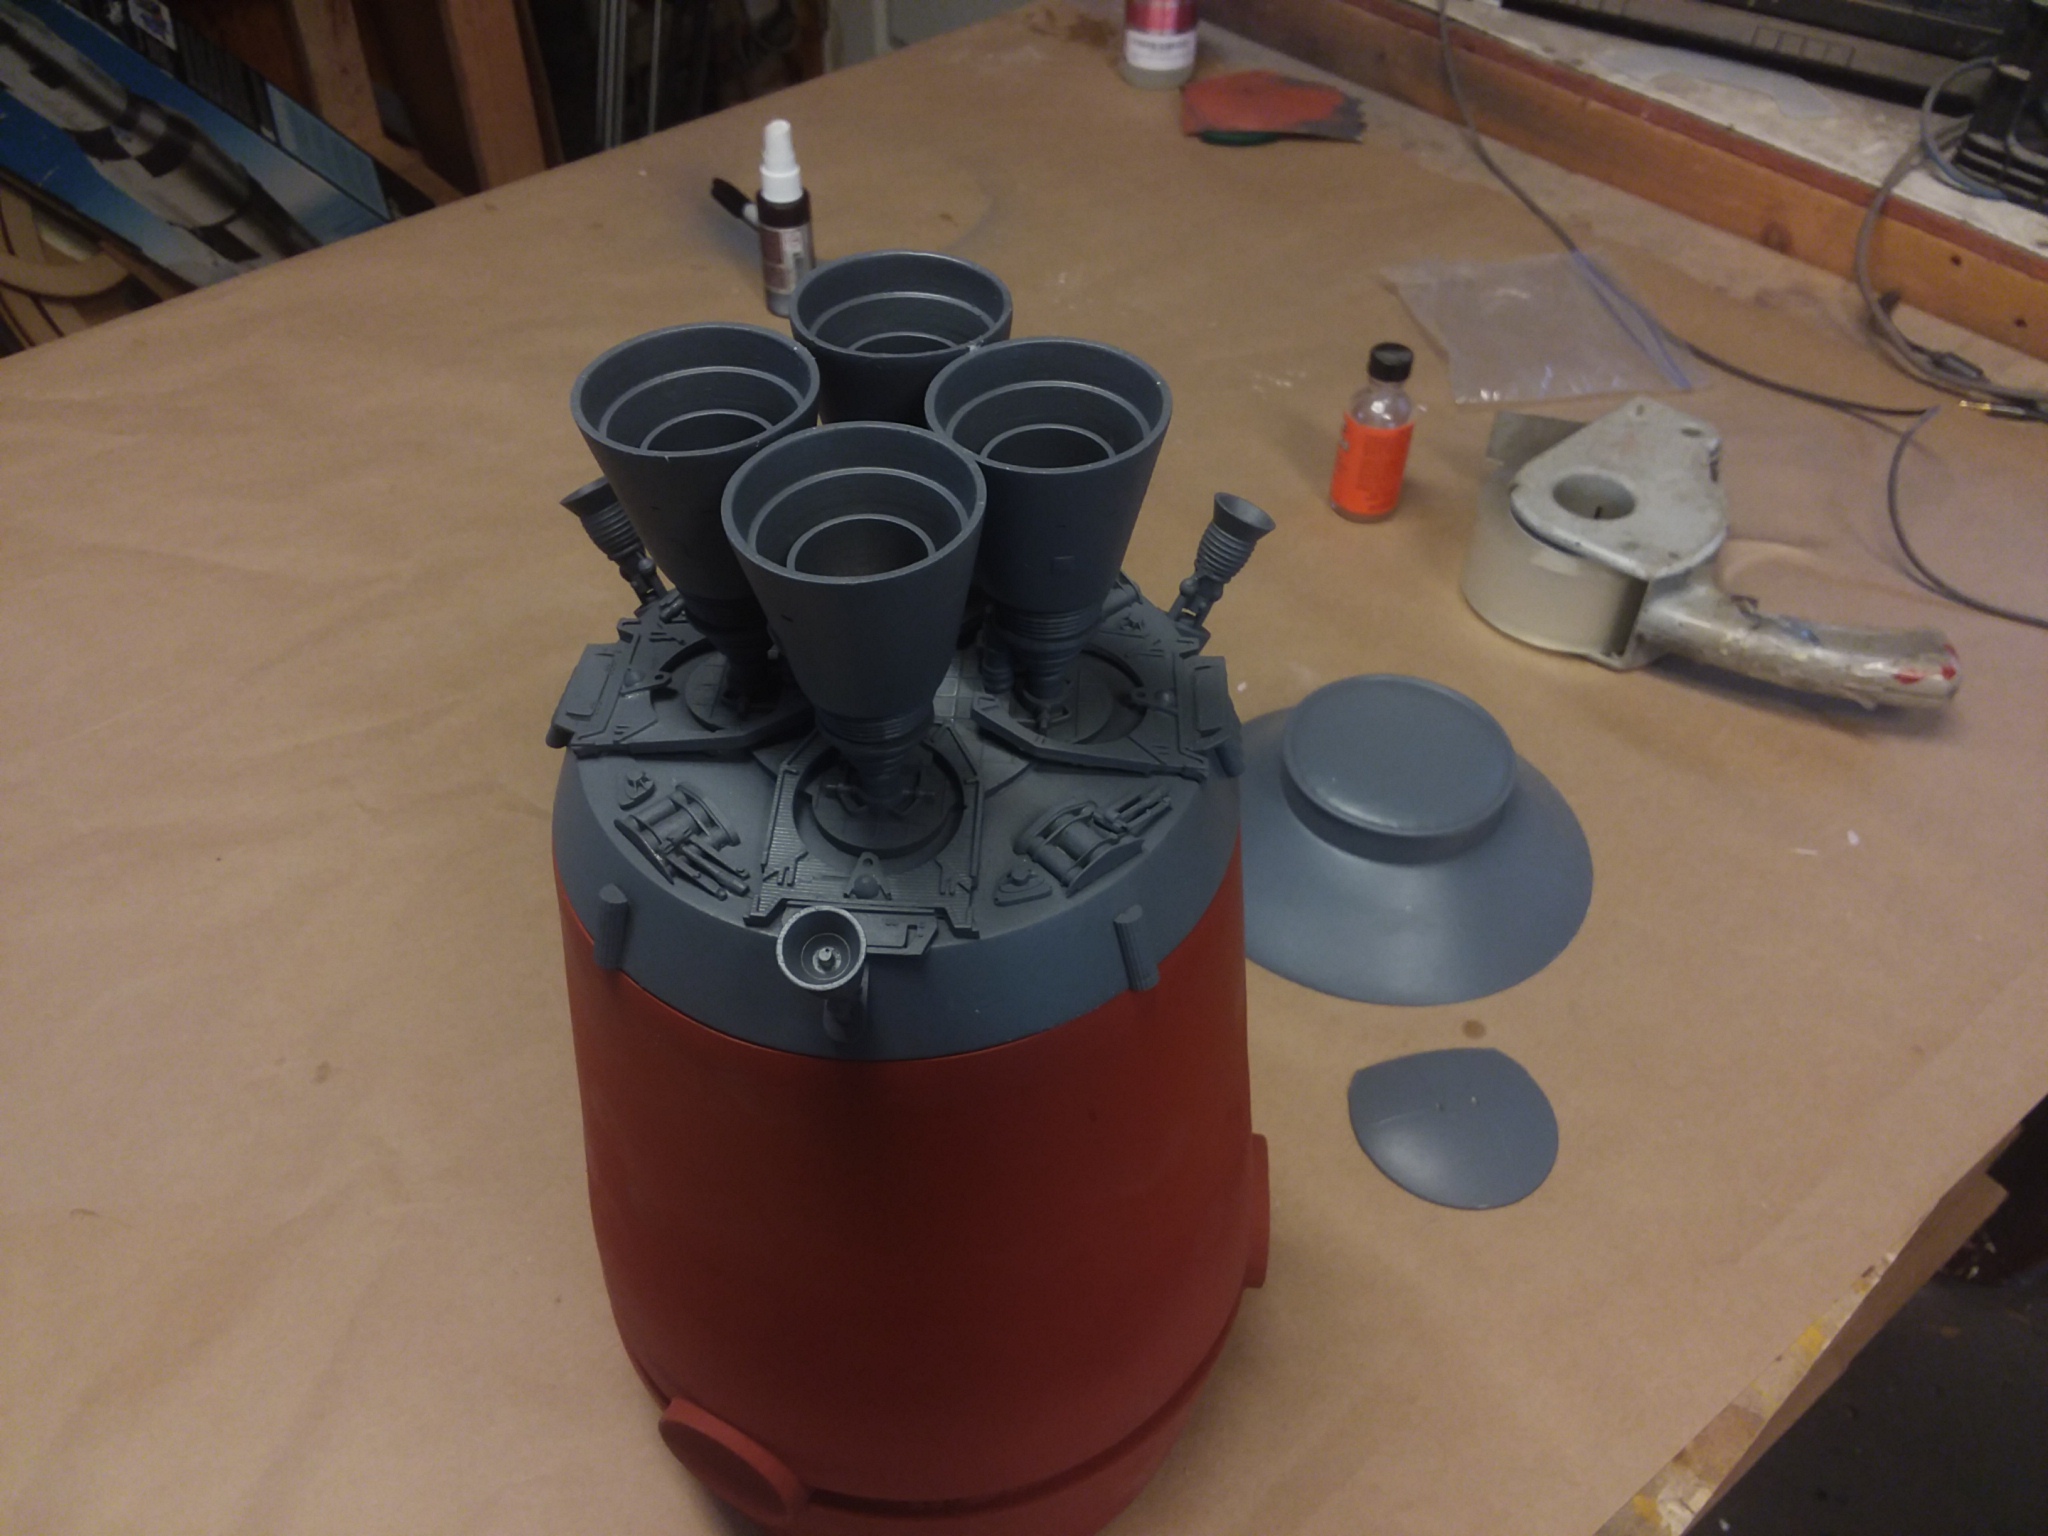
For larger parts, like this rocket, the pieces are separated, printed, and then assembled into the single large object.
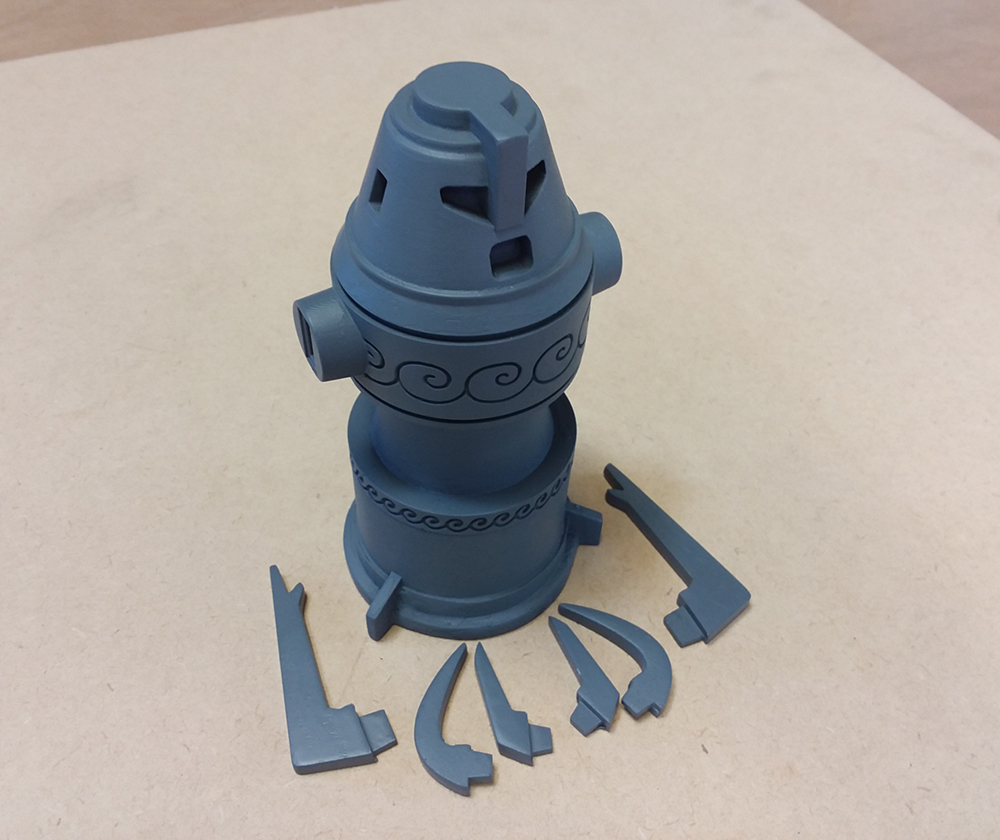
Each part is molded in a special RTV rubber and duplicate parts are hand-cast and sold to clients.
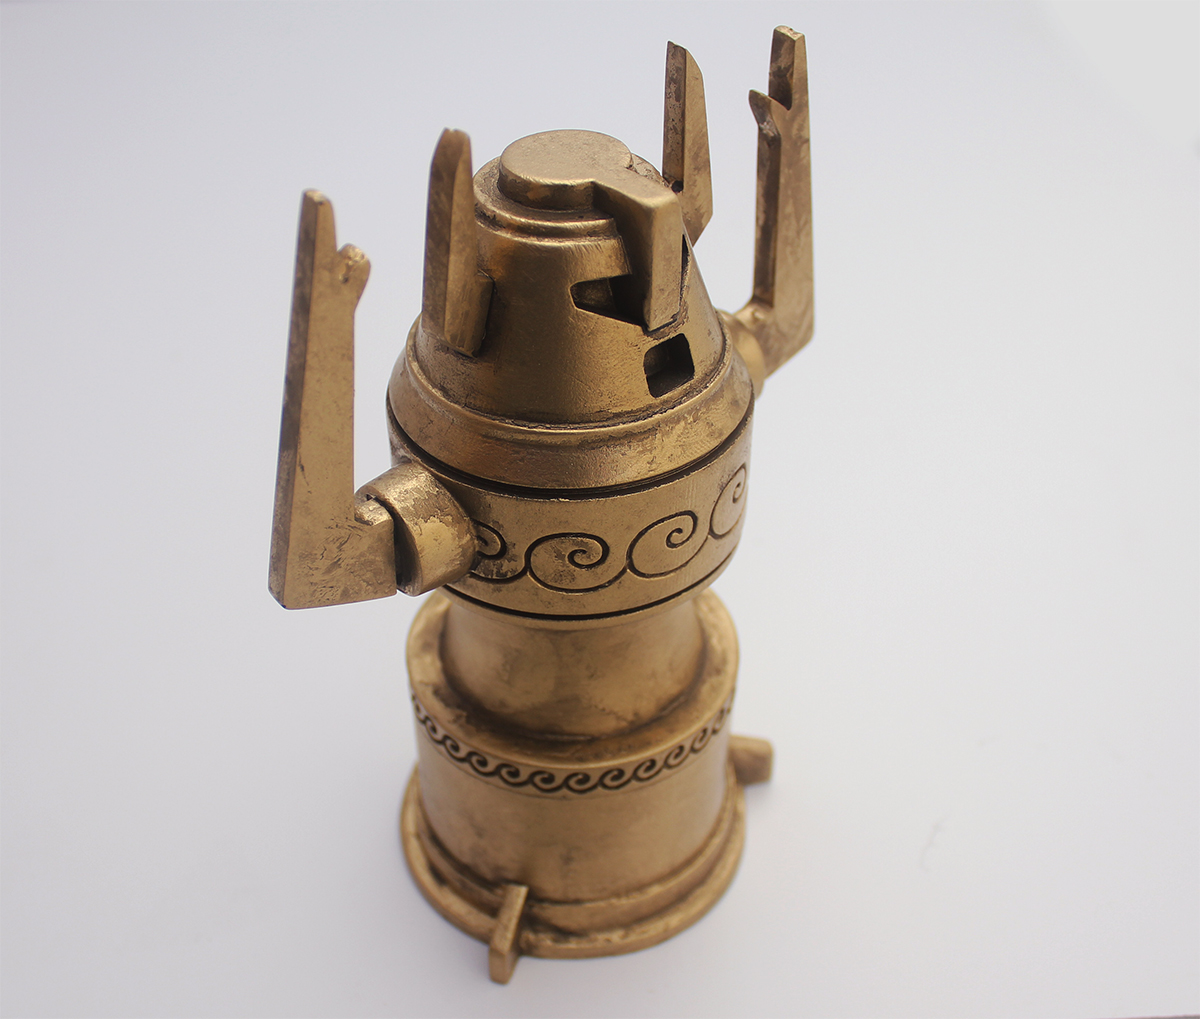
Finished example (click to visit the FATE OF ATLANTIS PAGE:
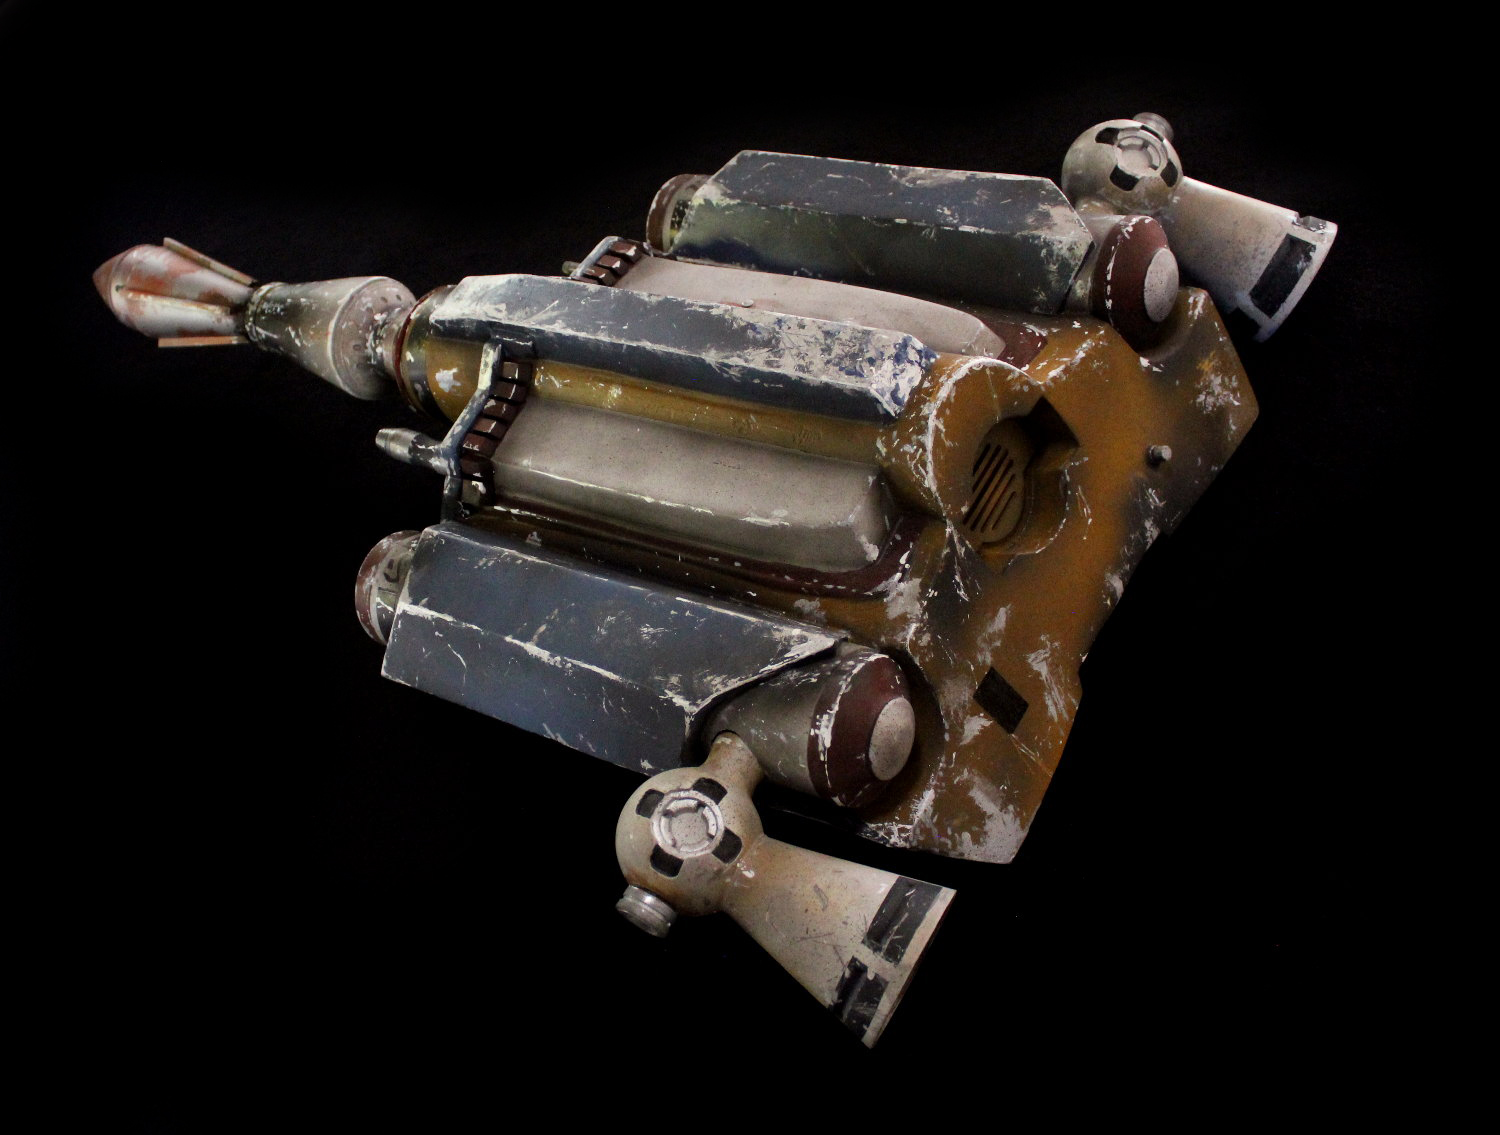
For the JETPACK PROJECT, the tank caps, thruster cones and thruster assemblies, rockets, greebles and all small details were produced on my SLA printer.
COMPLETED JETPACK (click the links to see in more detail)
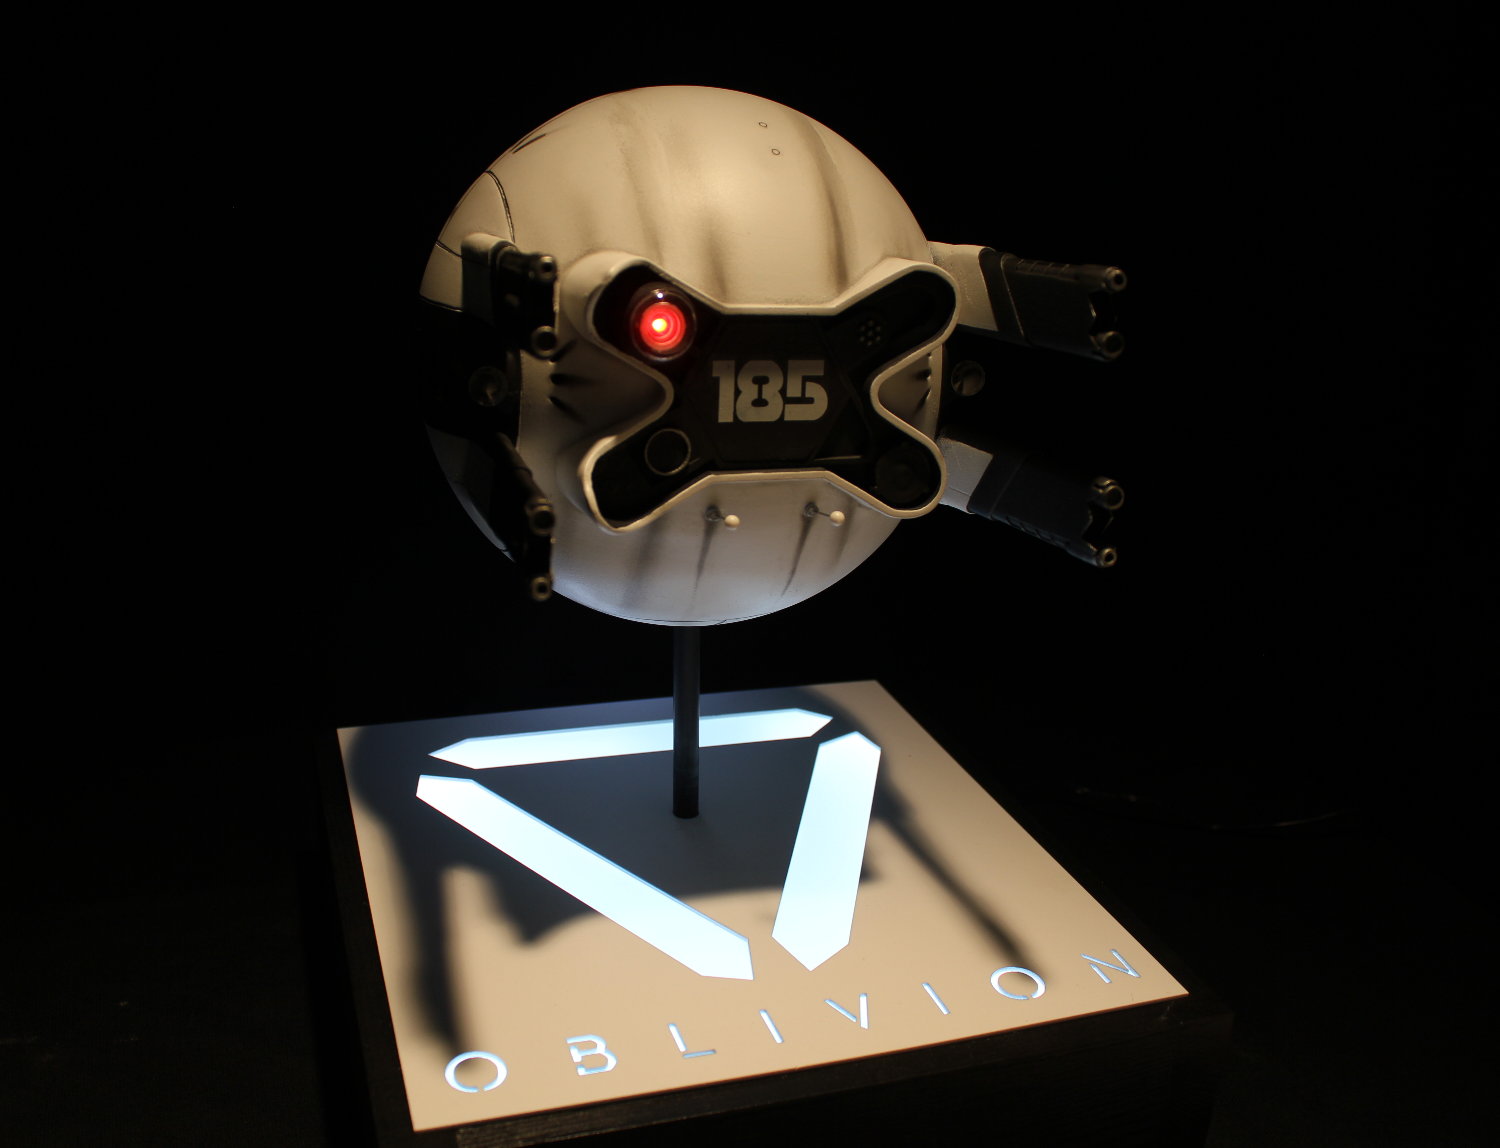
In 2018 I stepped back into FDM printing specifically for the STUDIO SCALE ESCAPE POD PROJECT
I acquired a CR-10S4 which has a printing volume of a foot and a half in every direction.
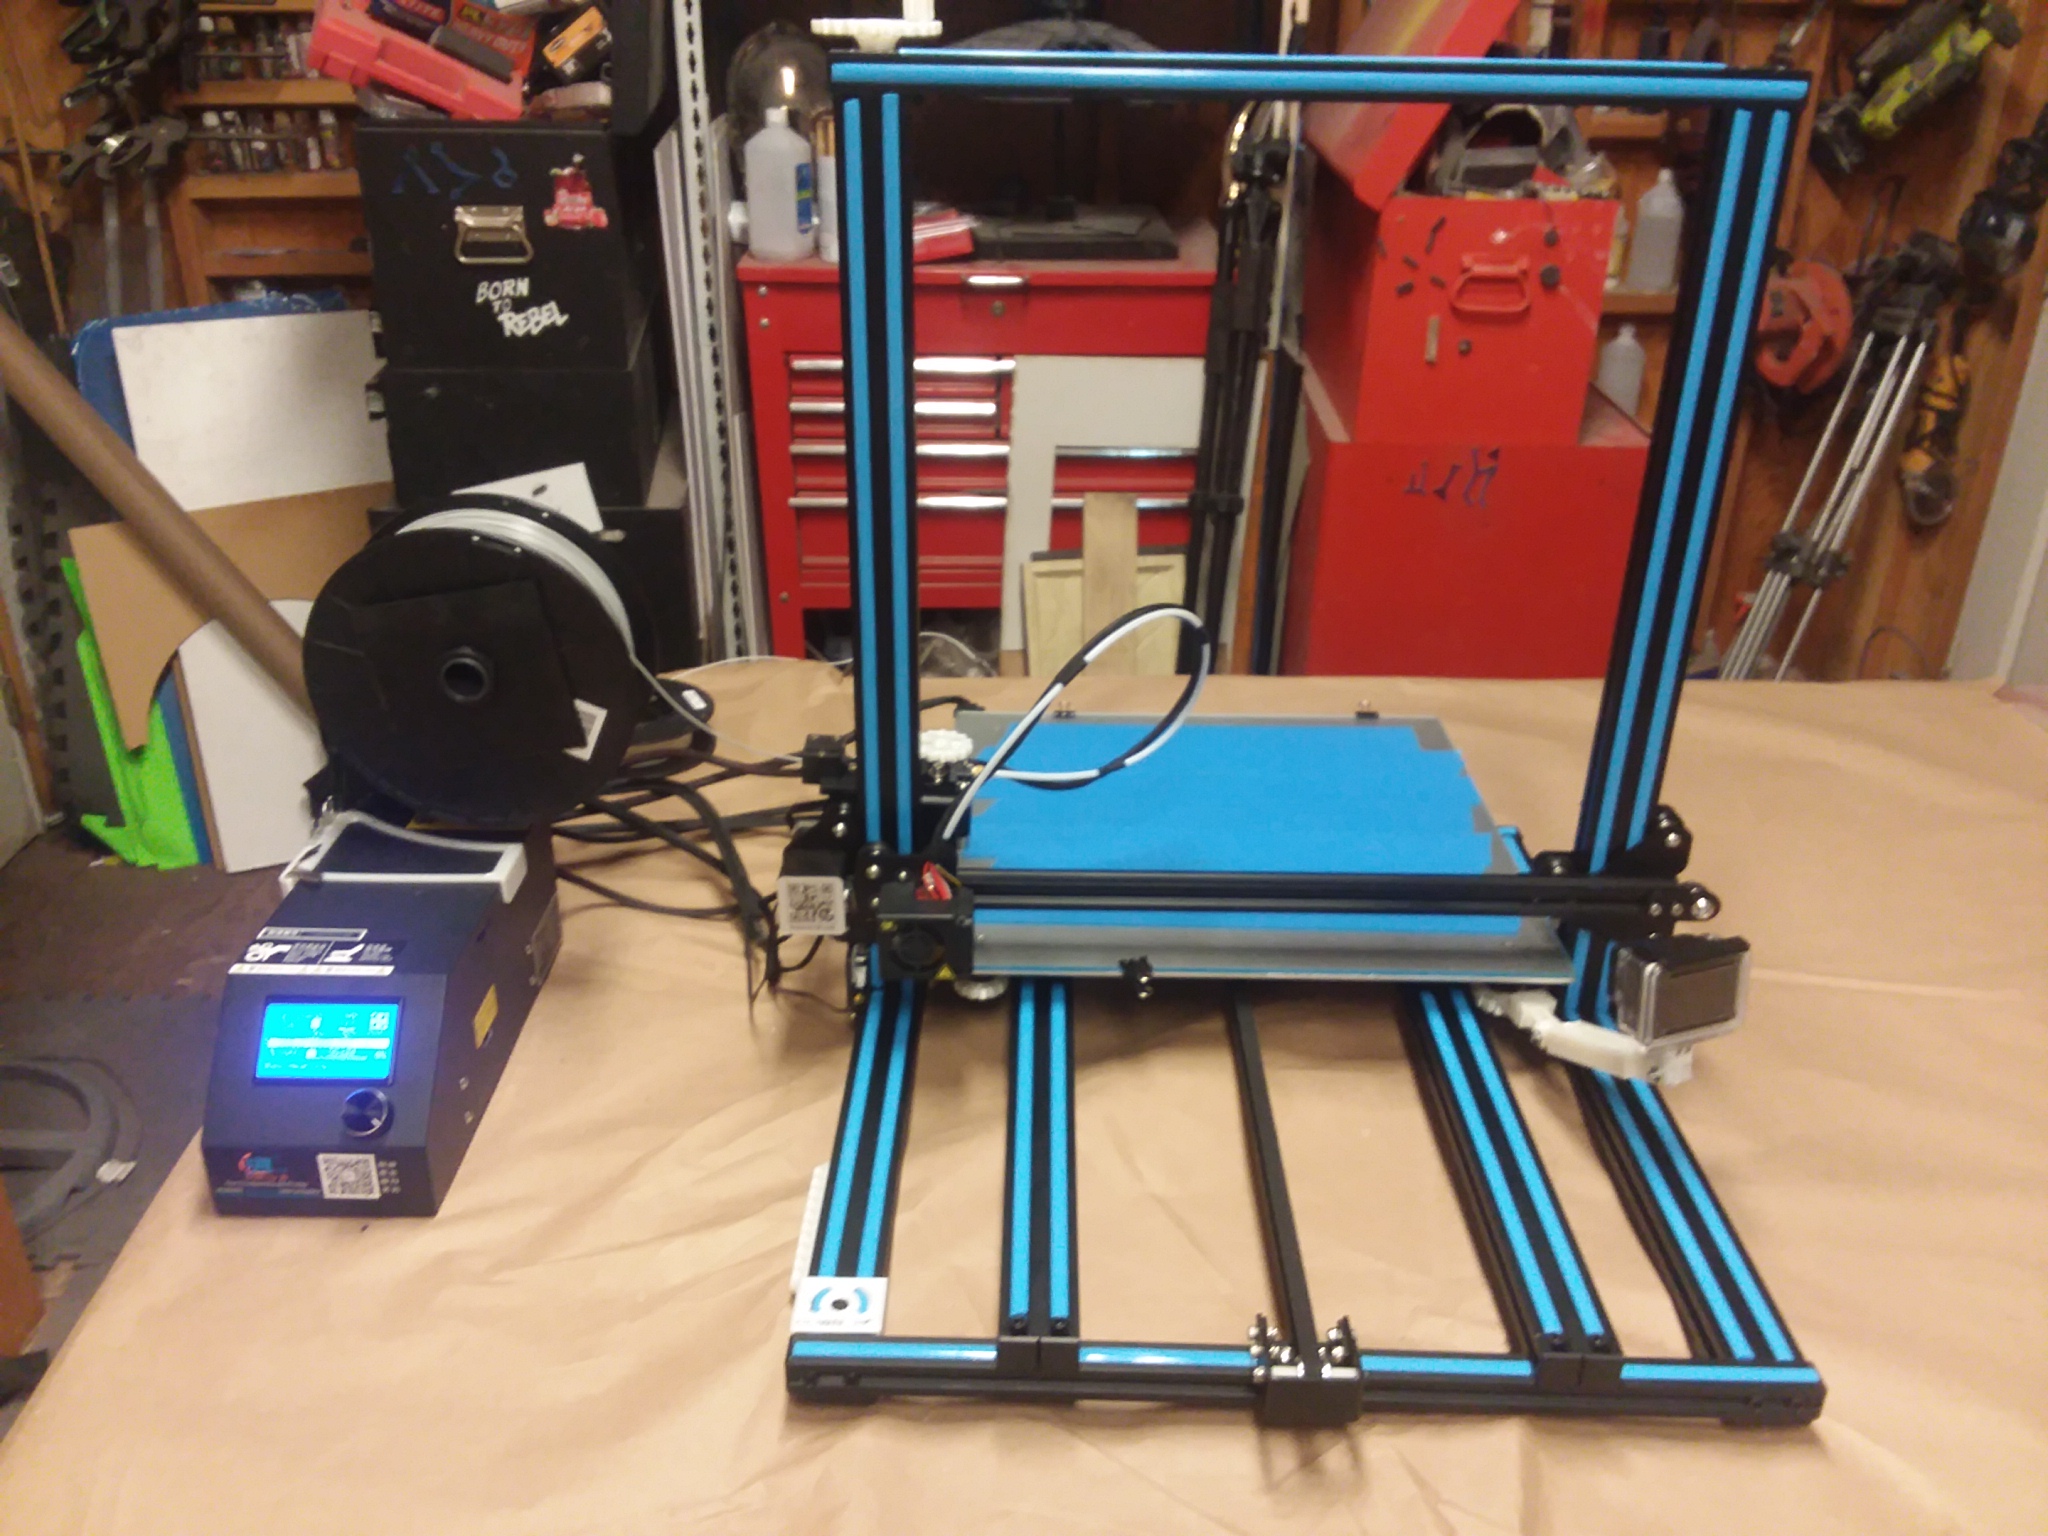
I could have printed the large hull sections in small parts and joined them together, but I wanted to attempt to print entire parts as one piece. The sides are smooth with minimal detail so an FDM application of these parts would be perfect.
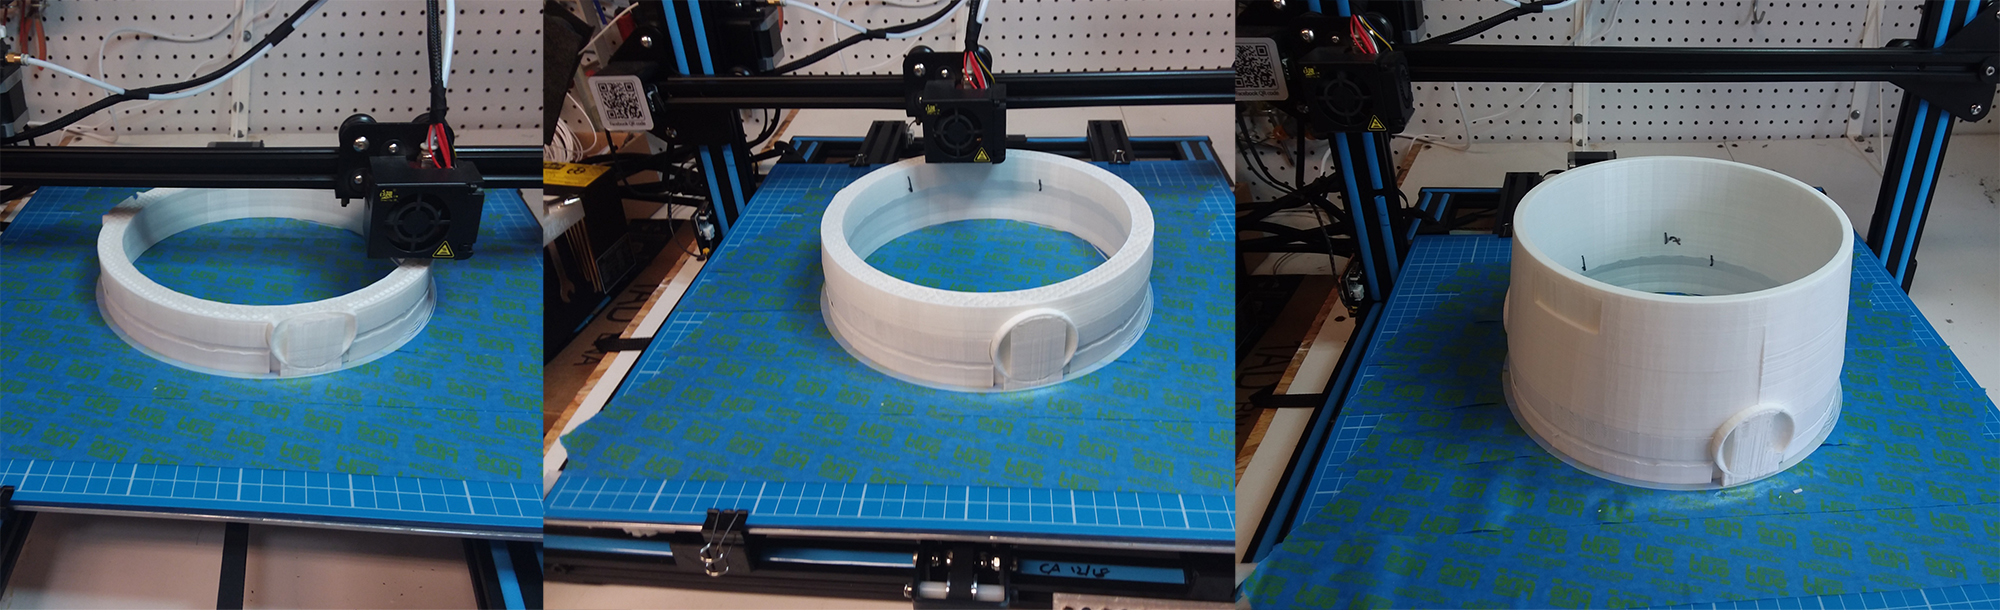
CLICK on the photo link to see the Studio Scale Escape Pod project!
Other 3D PRINTING RELATED PROJECTS:
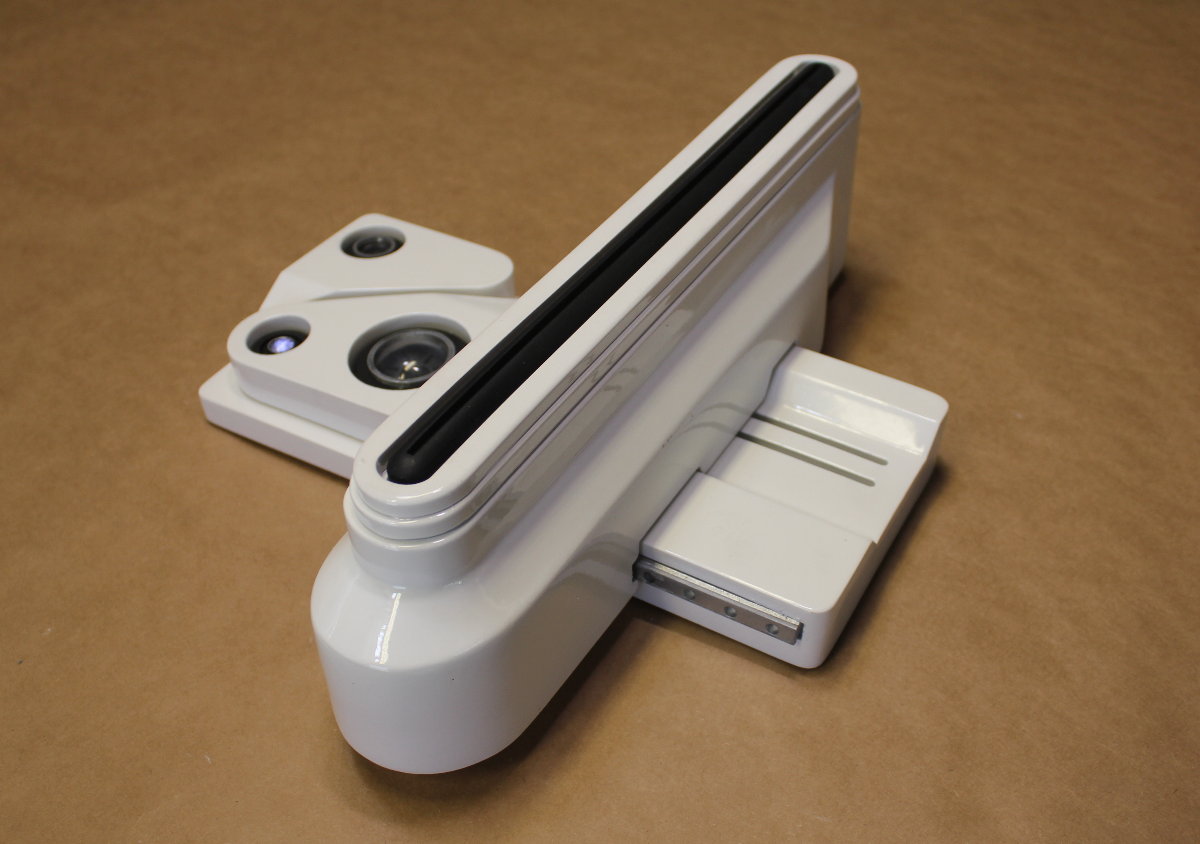
THE BLADE RUNNER BASELINE SCANNER was 100% produced on the CR10-S4. Read about it here:
STAY TUNED FOR MORE!!!!
Follow this link to download my vector files for creating your own vat seen in this tutorial:
CLICK HERE TO DOWNLOAD THE FILE FOR THE MOAI VAT AND VAT COVER!!!
 Administrator