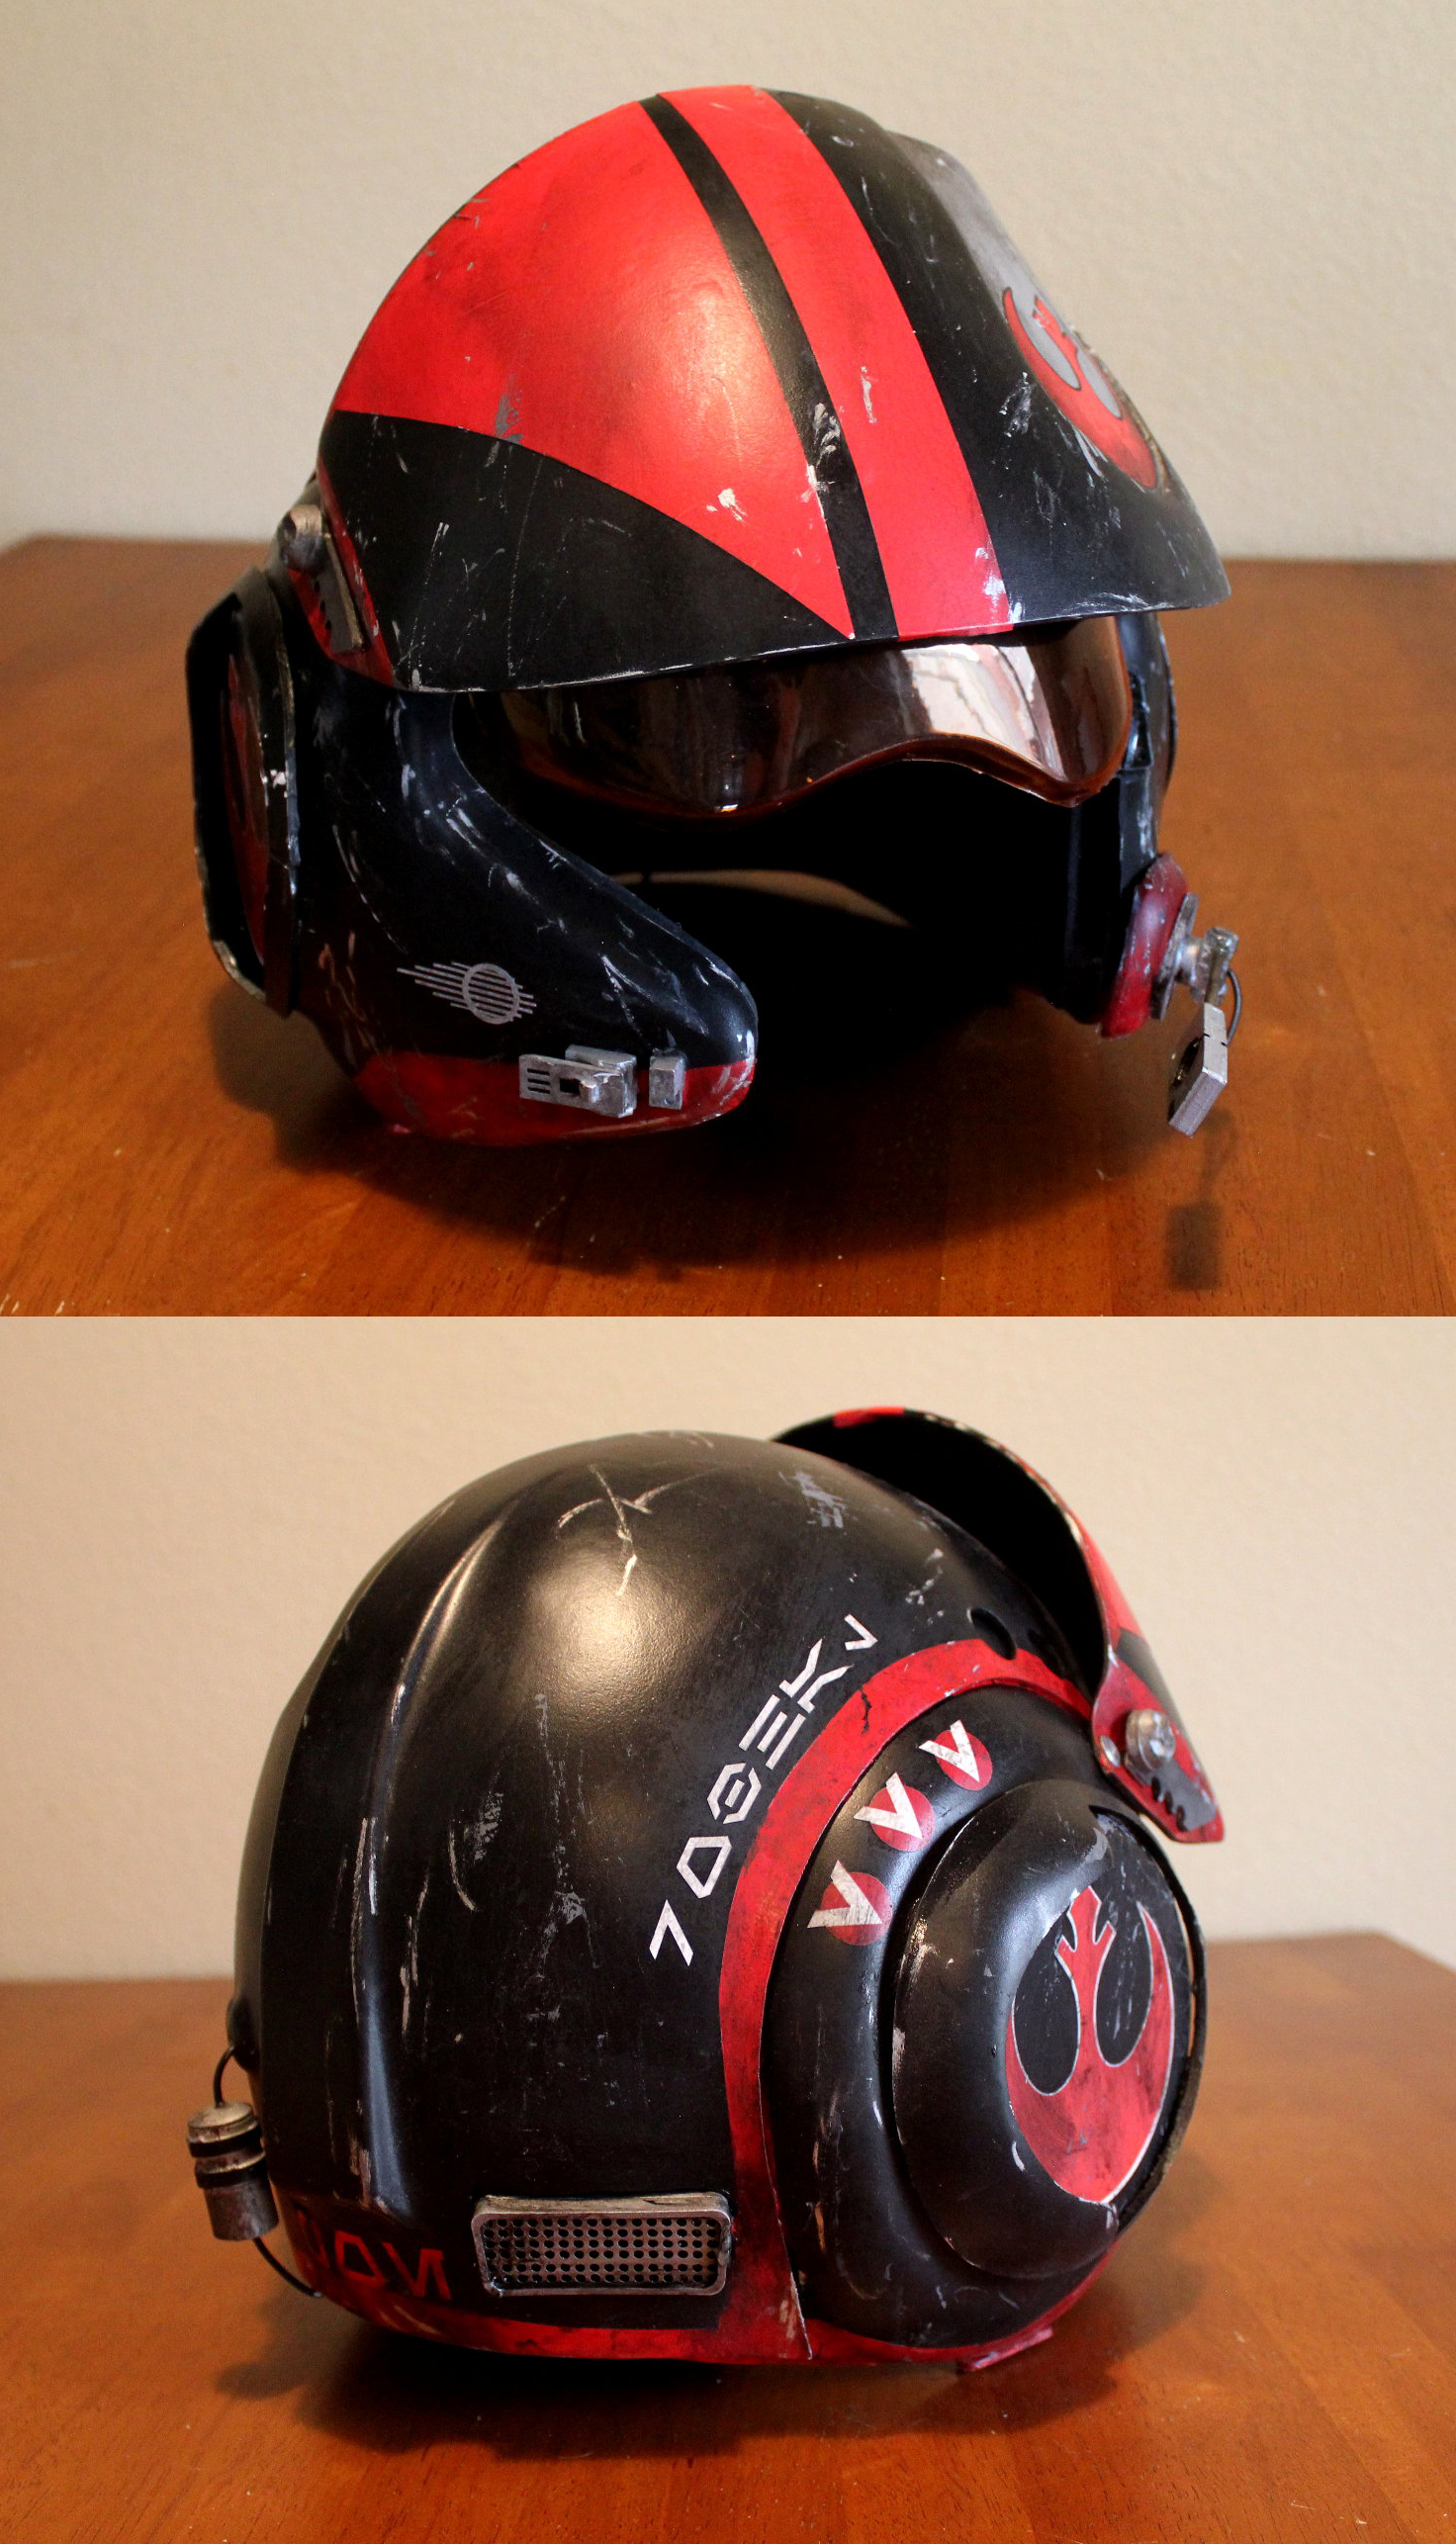
Rebel Soldier Helmet
 Sunday, November 20, 2016 at 2:50PM
 Rebel Soldier Scariff Costume Helmet
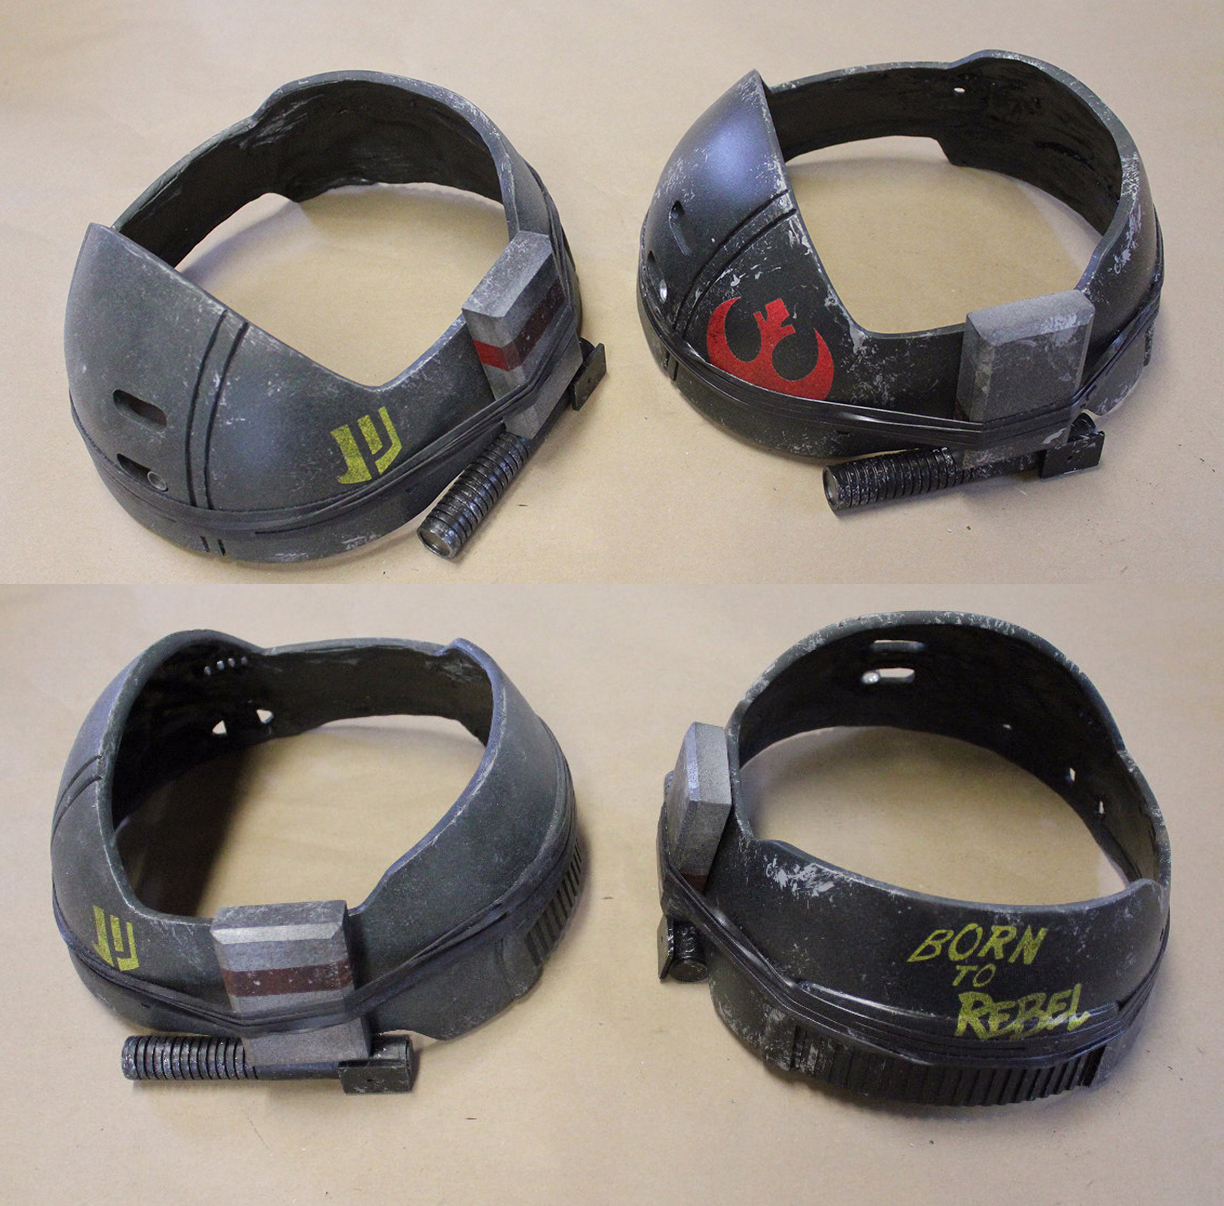
**UPDATE 2025. The sewn helmet cover is no longer available, but you can order this helmet kit as 2 options (stage 1 and stage 2)
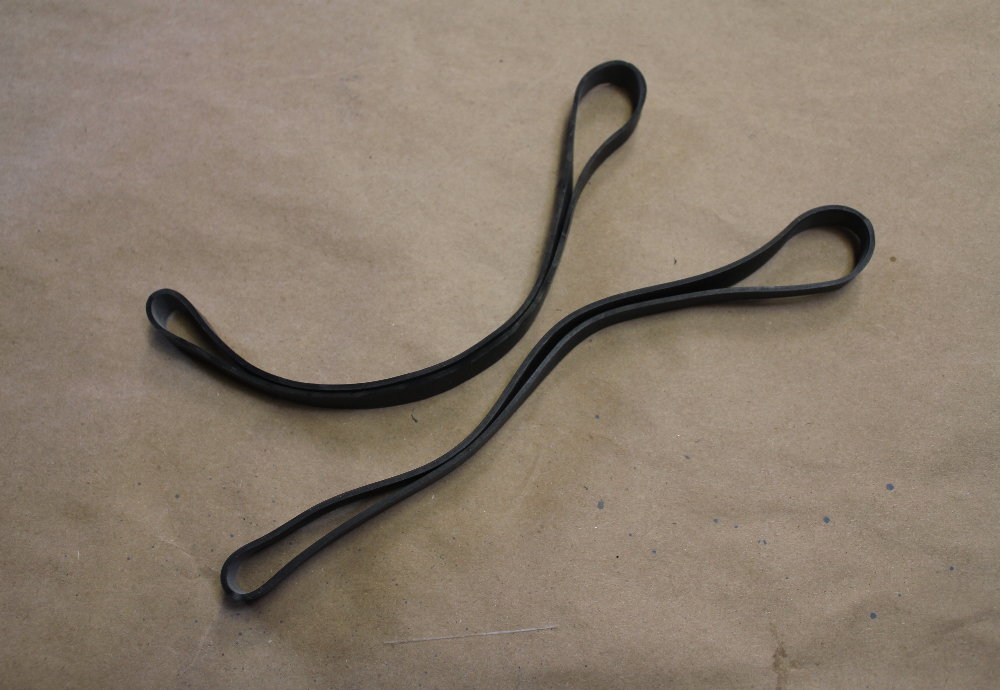
NEW!! 2 SILICONE HELMET BANDS INCLUDED FREE IN EACH KIT.
Rogue one soldier helmet
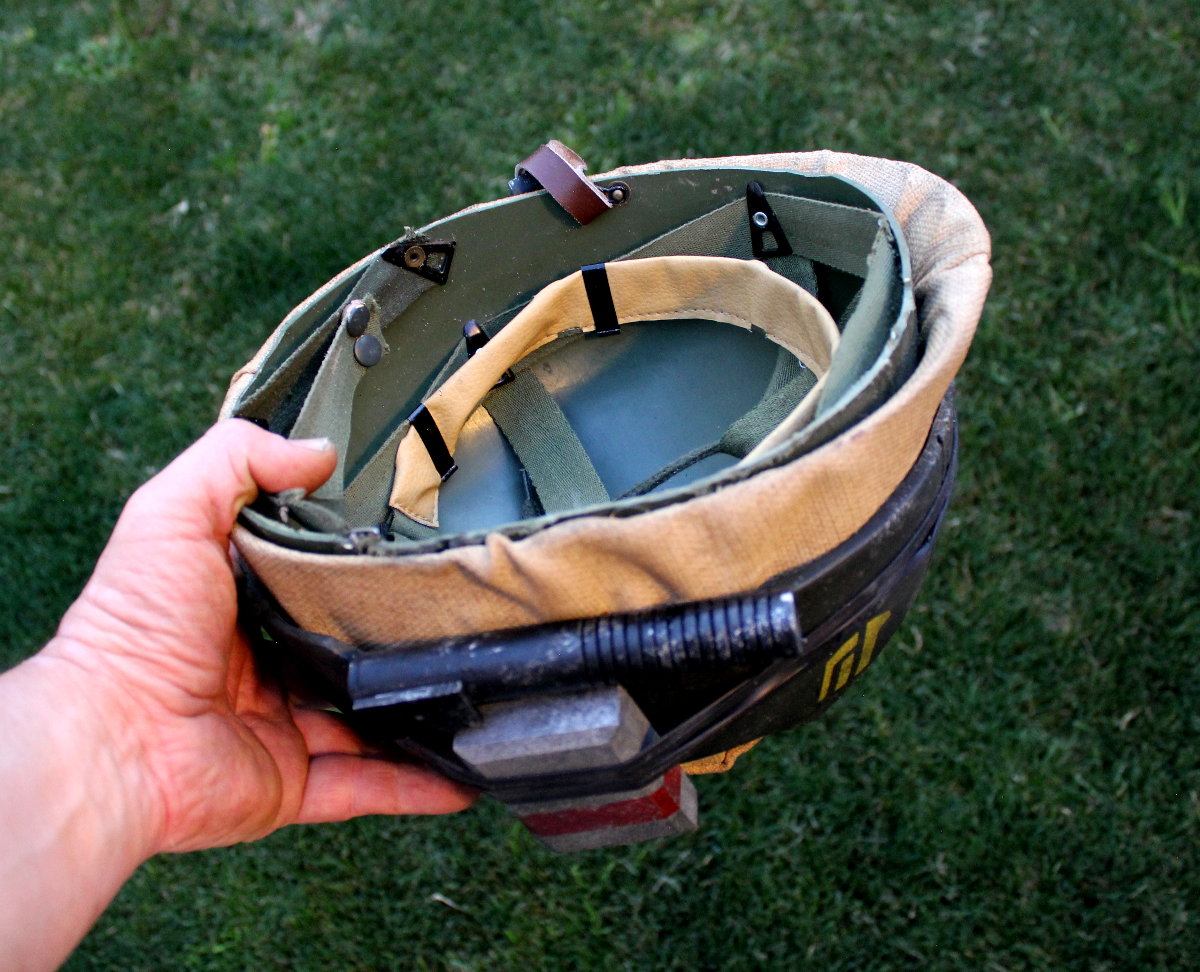
Soft Covers and replica inner military liner. Not currently available.
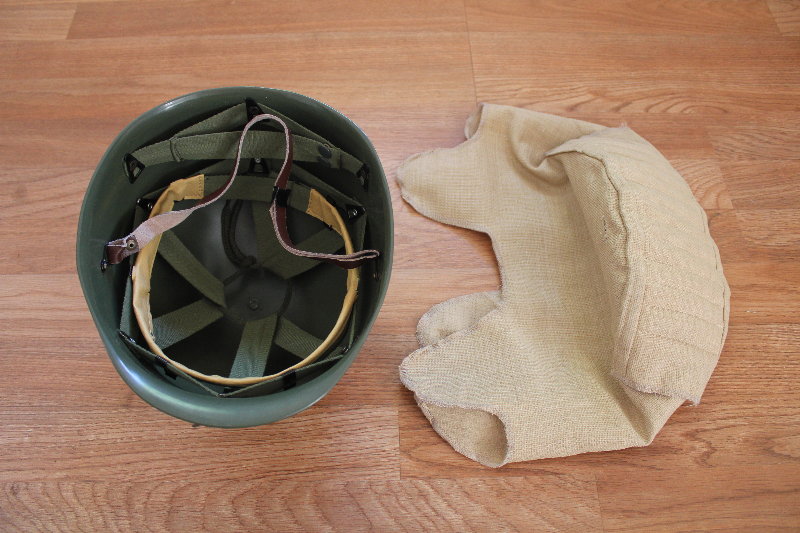
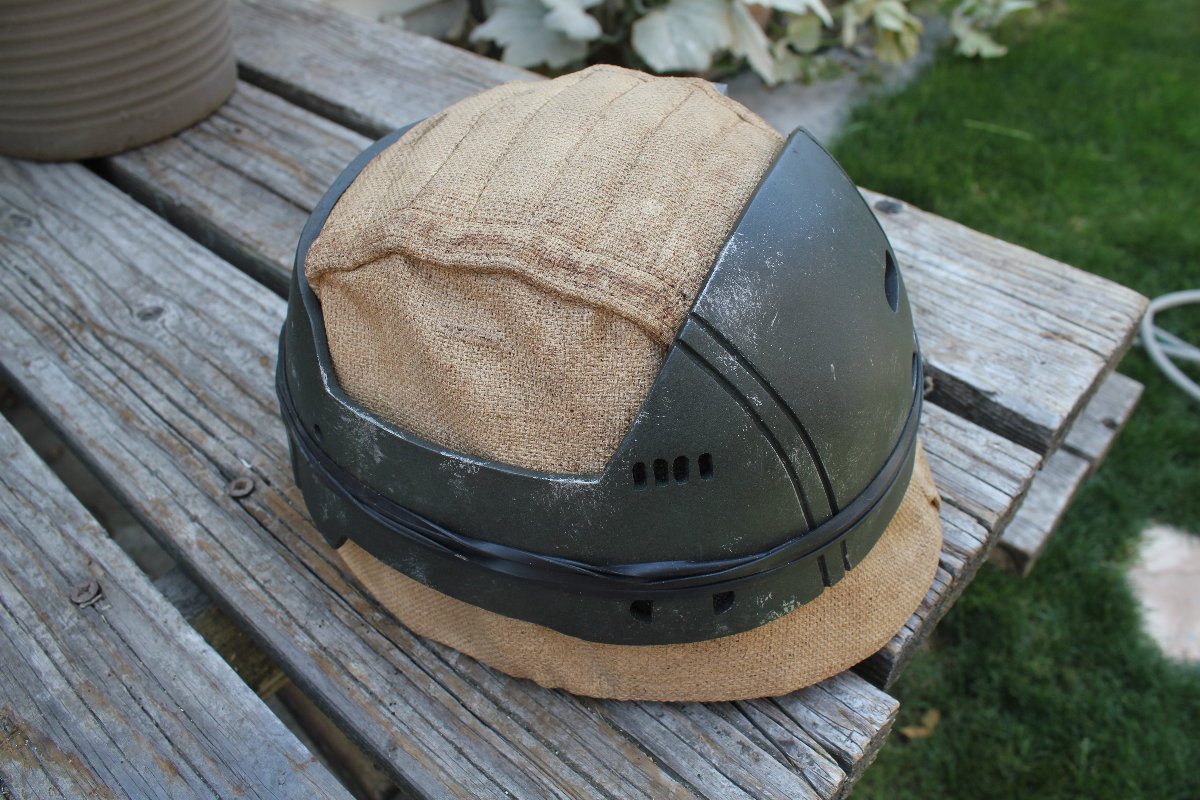
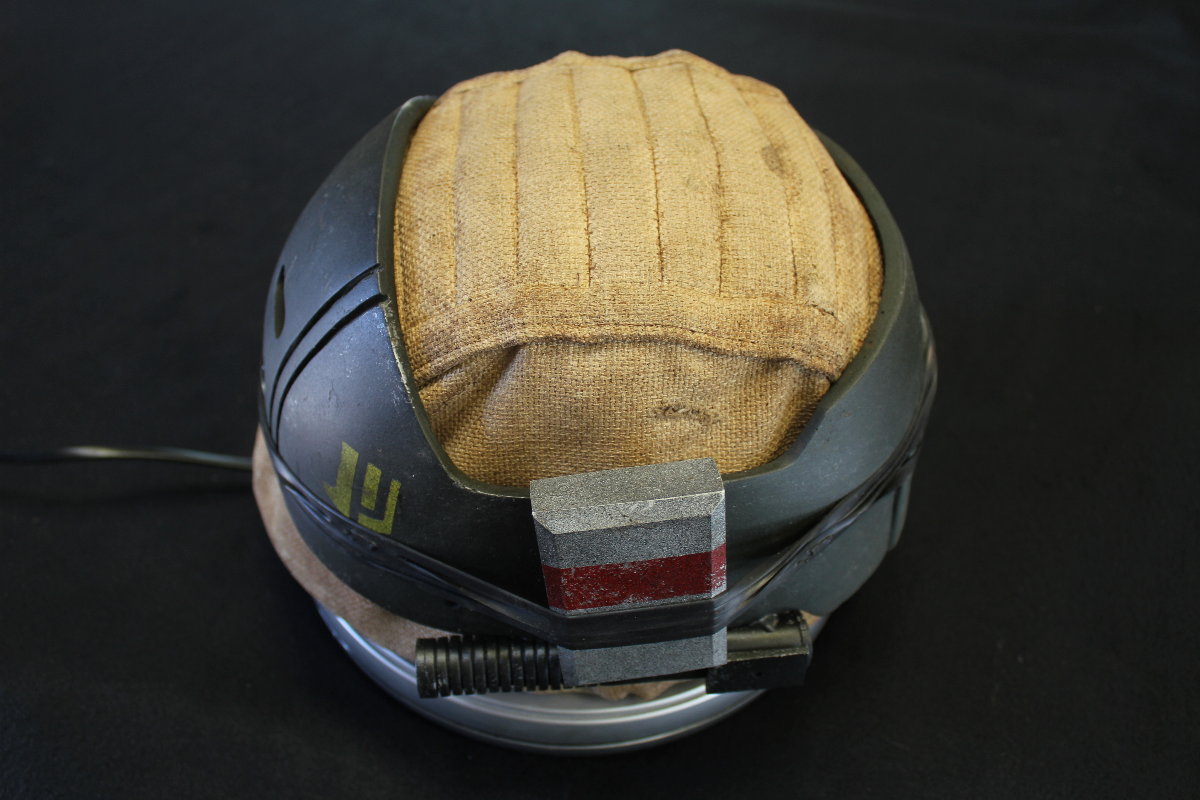
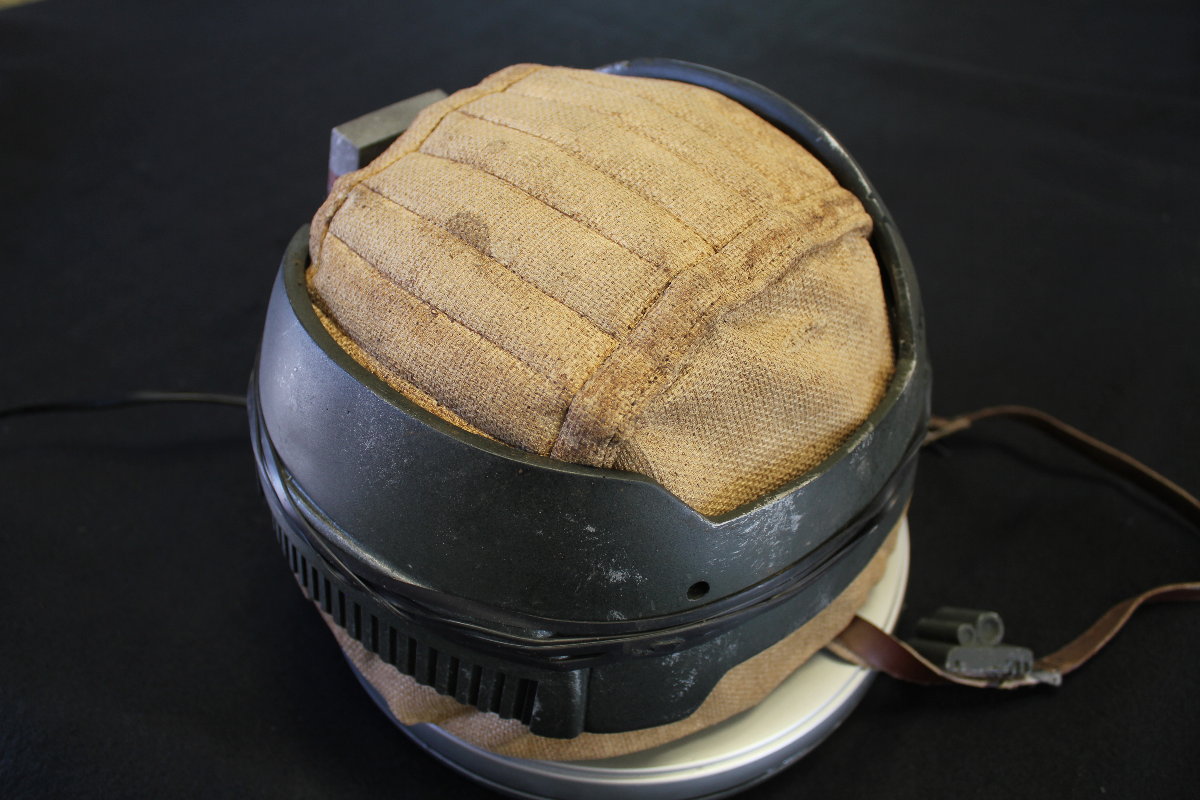
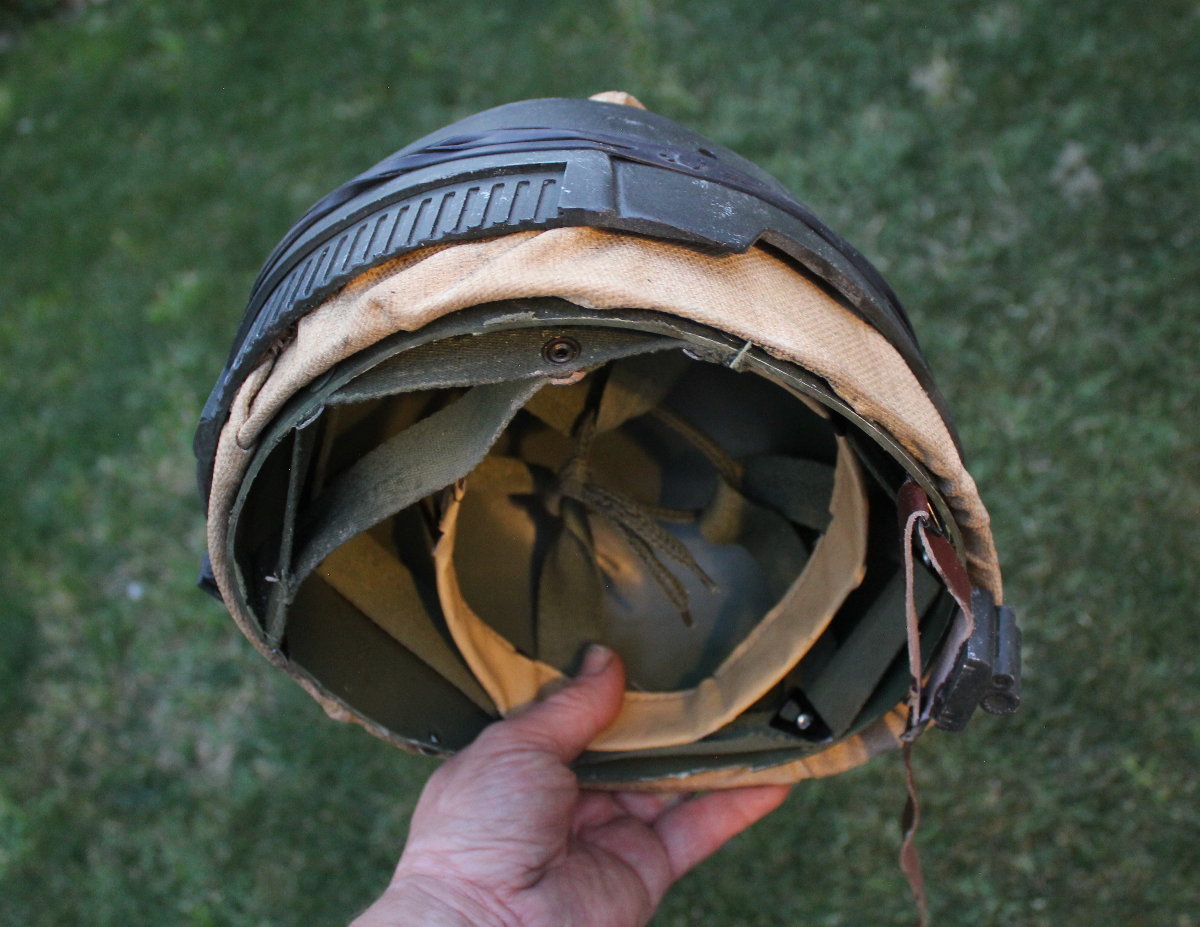
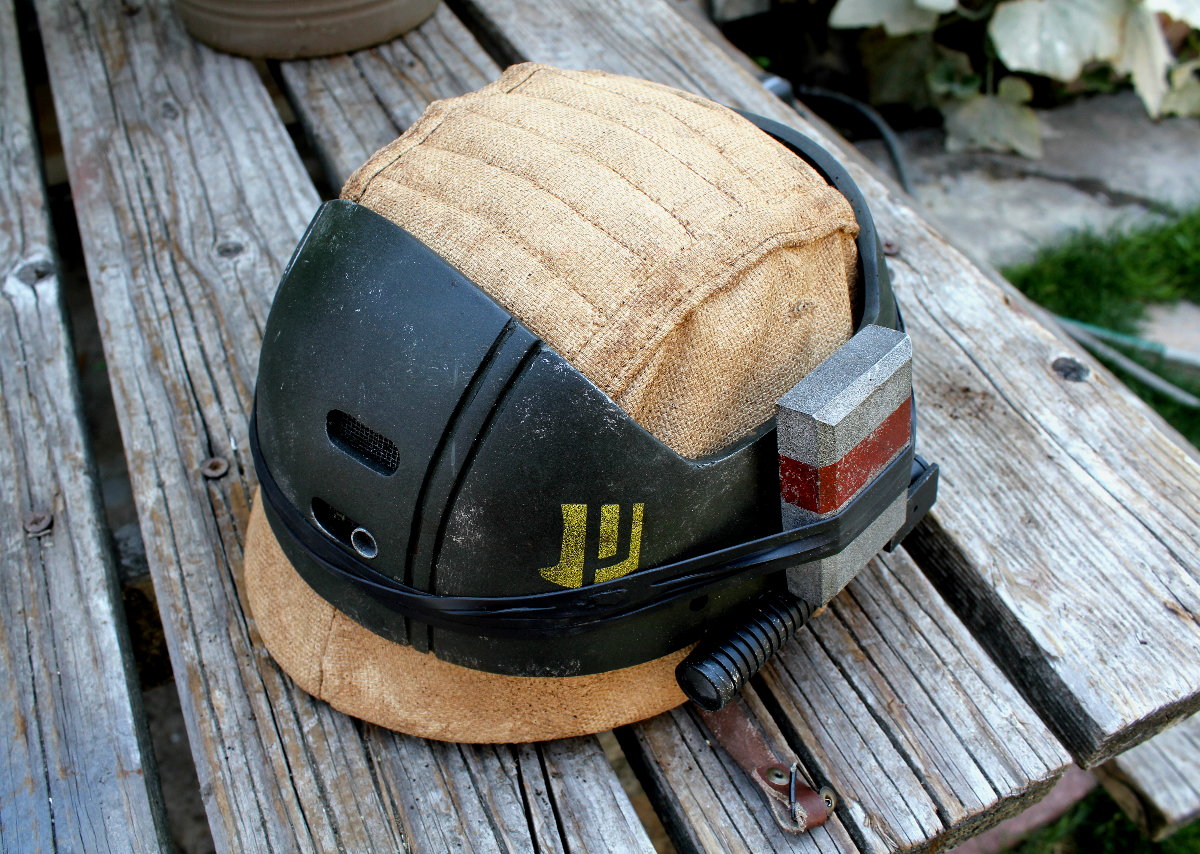
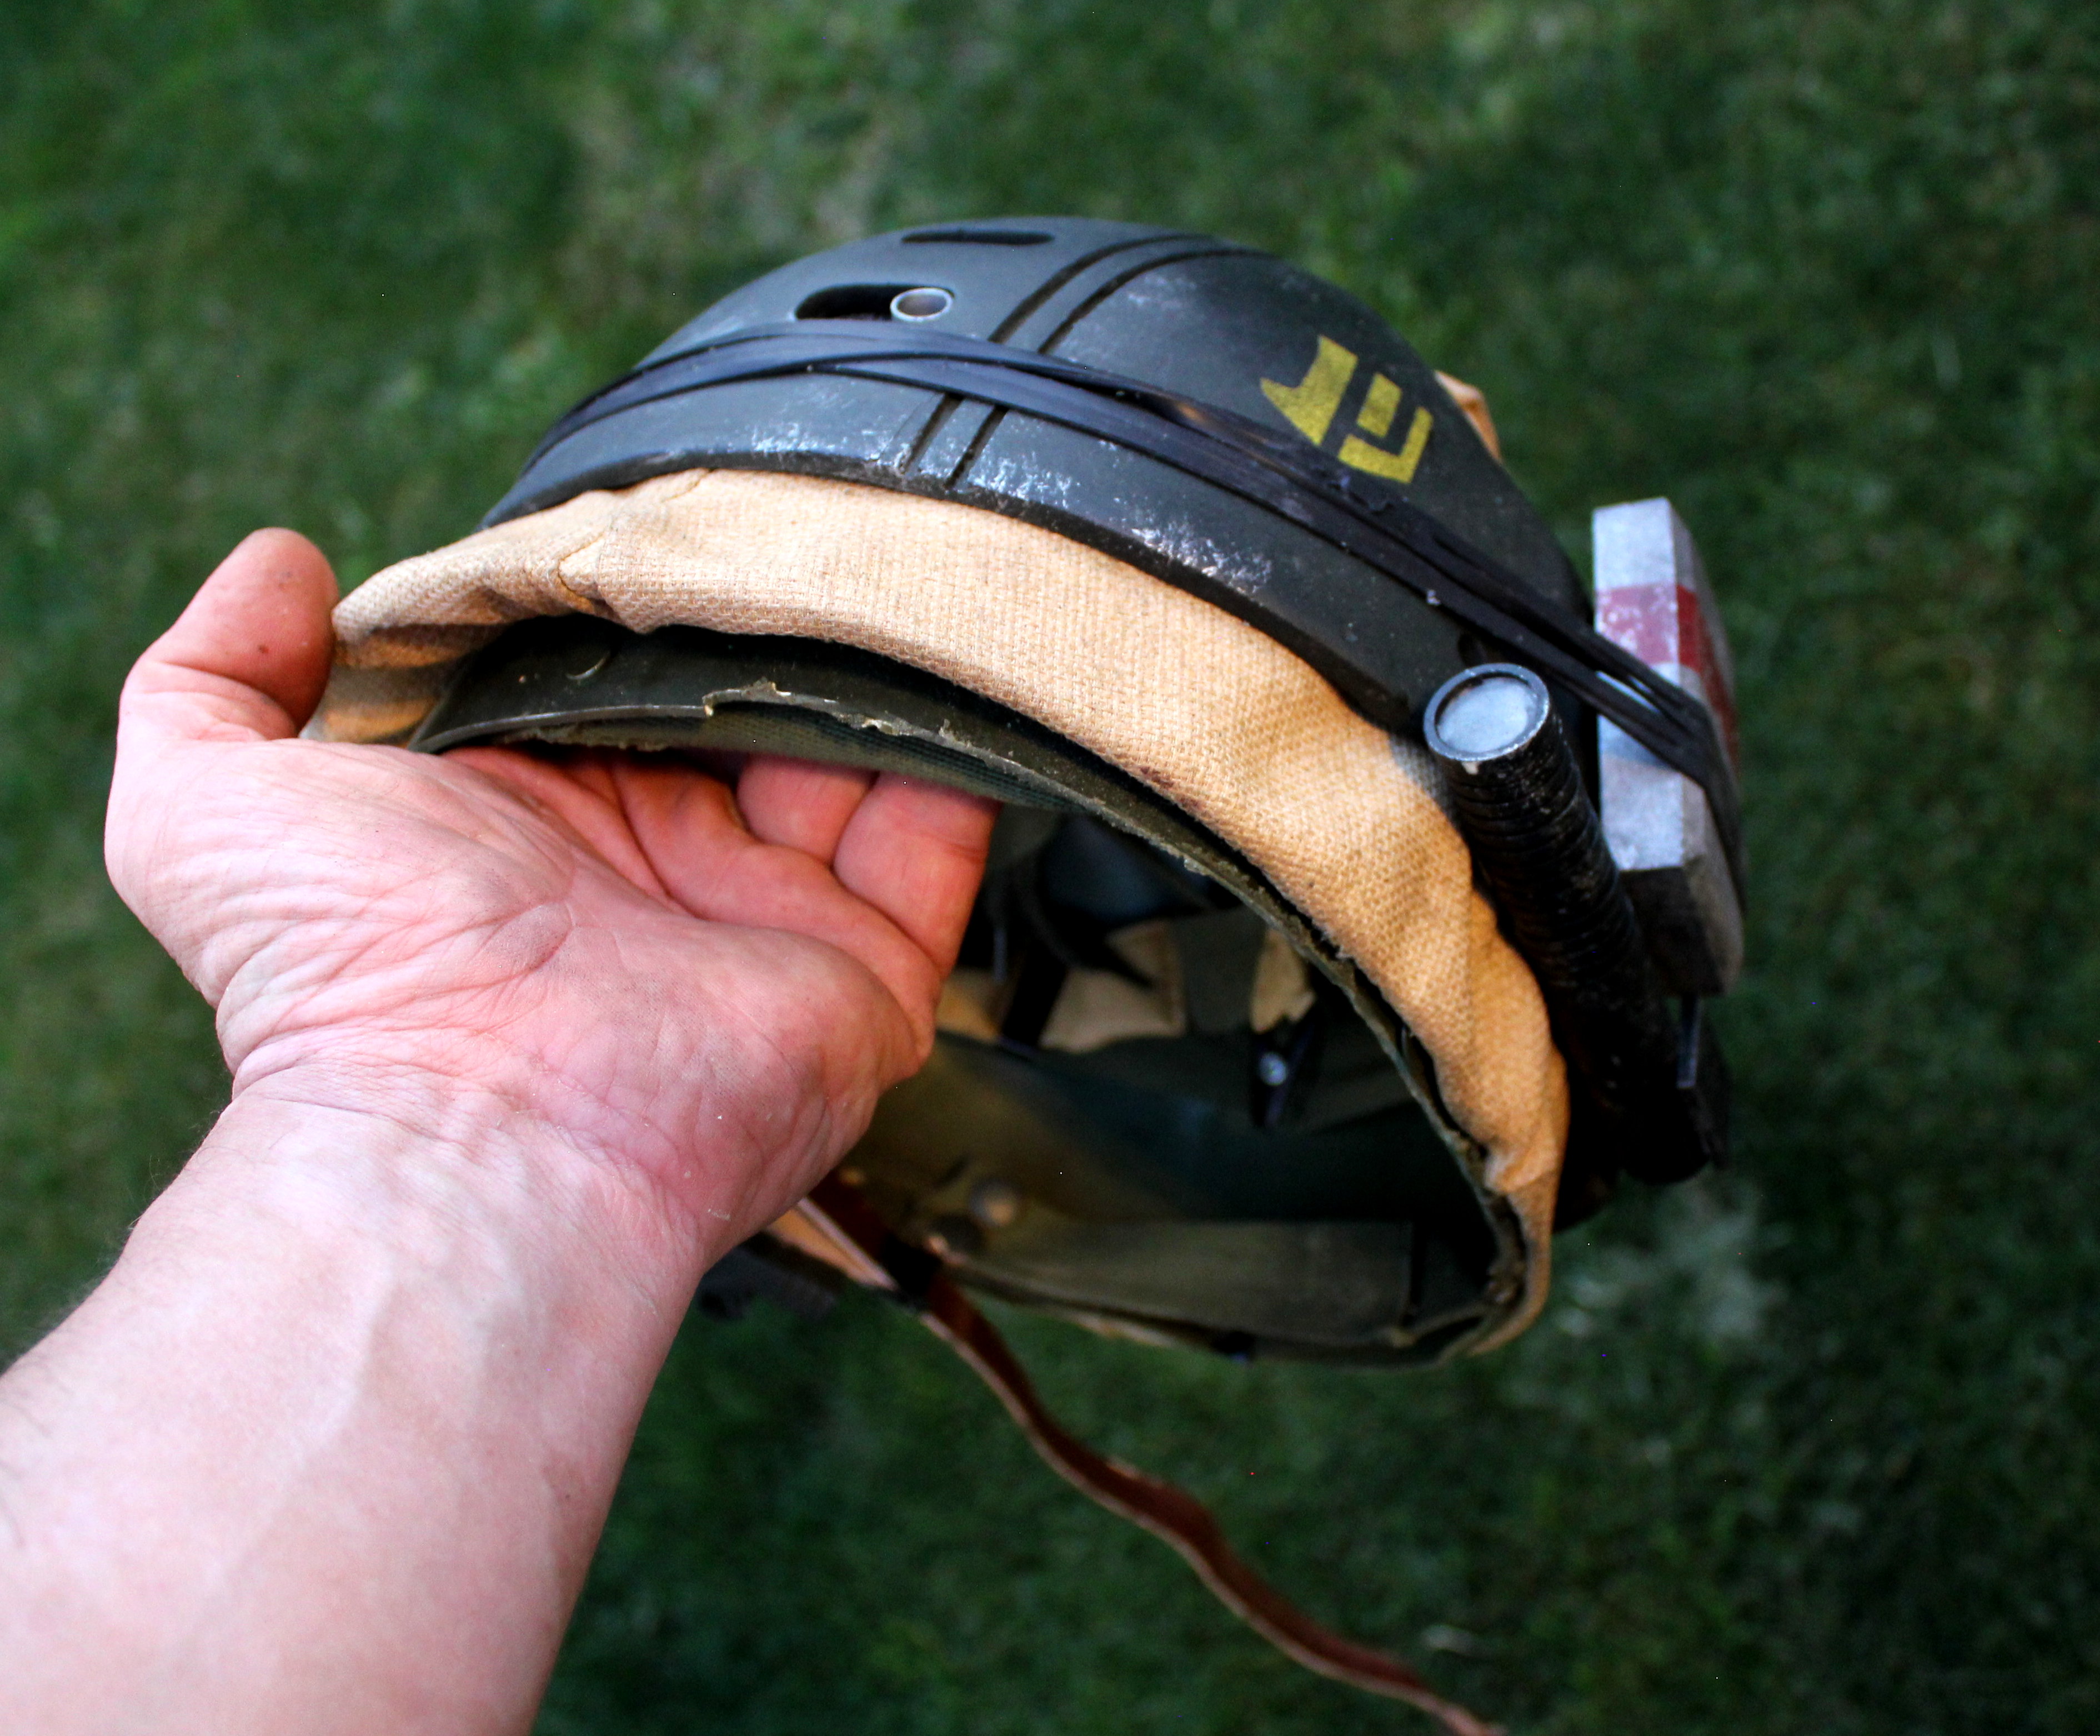
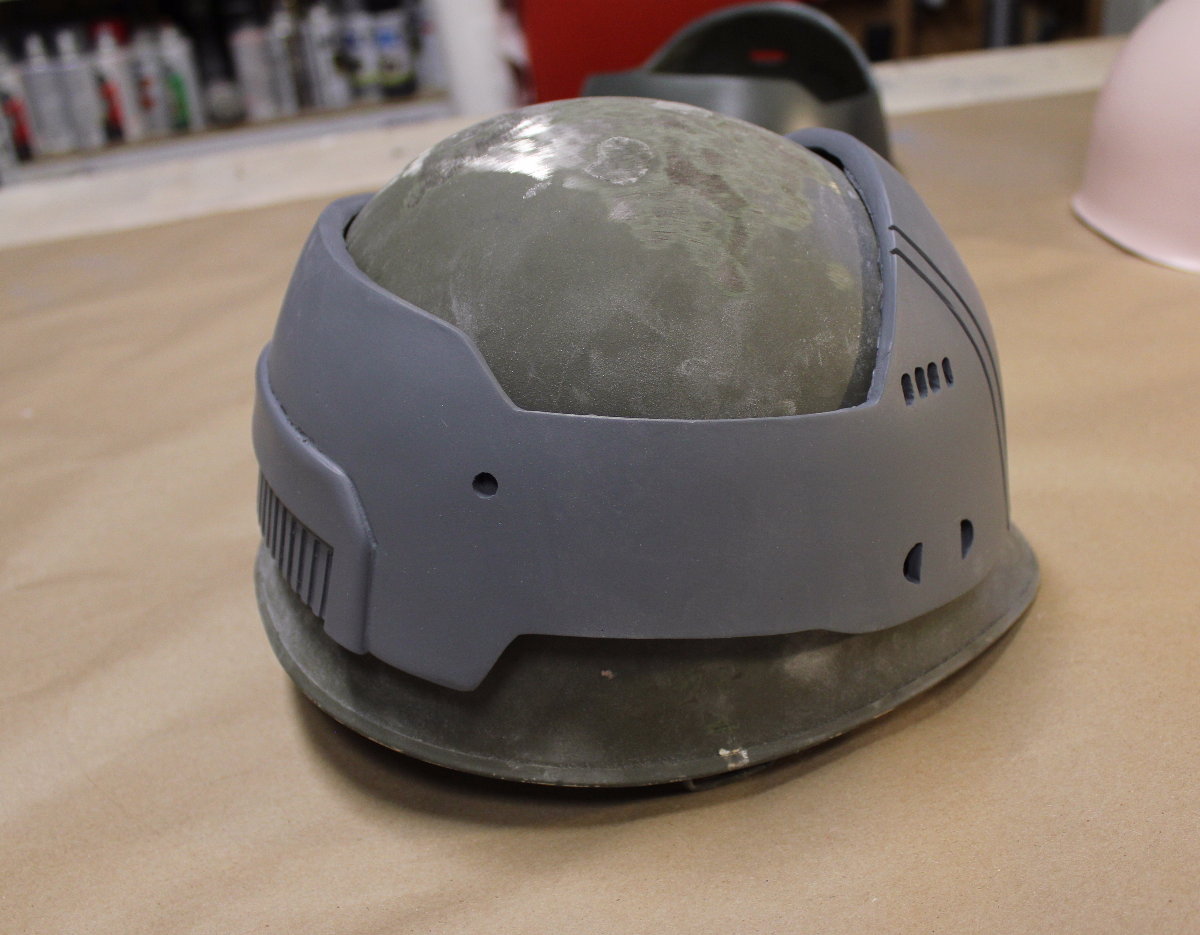
I engineered this helmet shell to fit (with some gap to allow for a fabric cover) a standard-issue M1 helmet. Here it is on a real M1 helmet with a cover on and cover off:
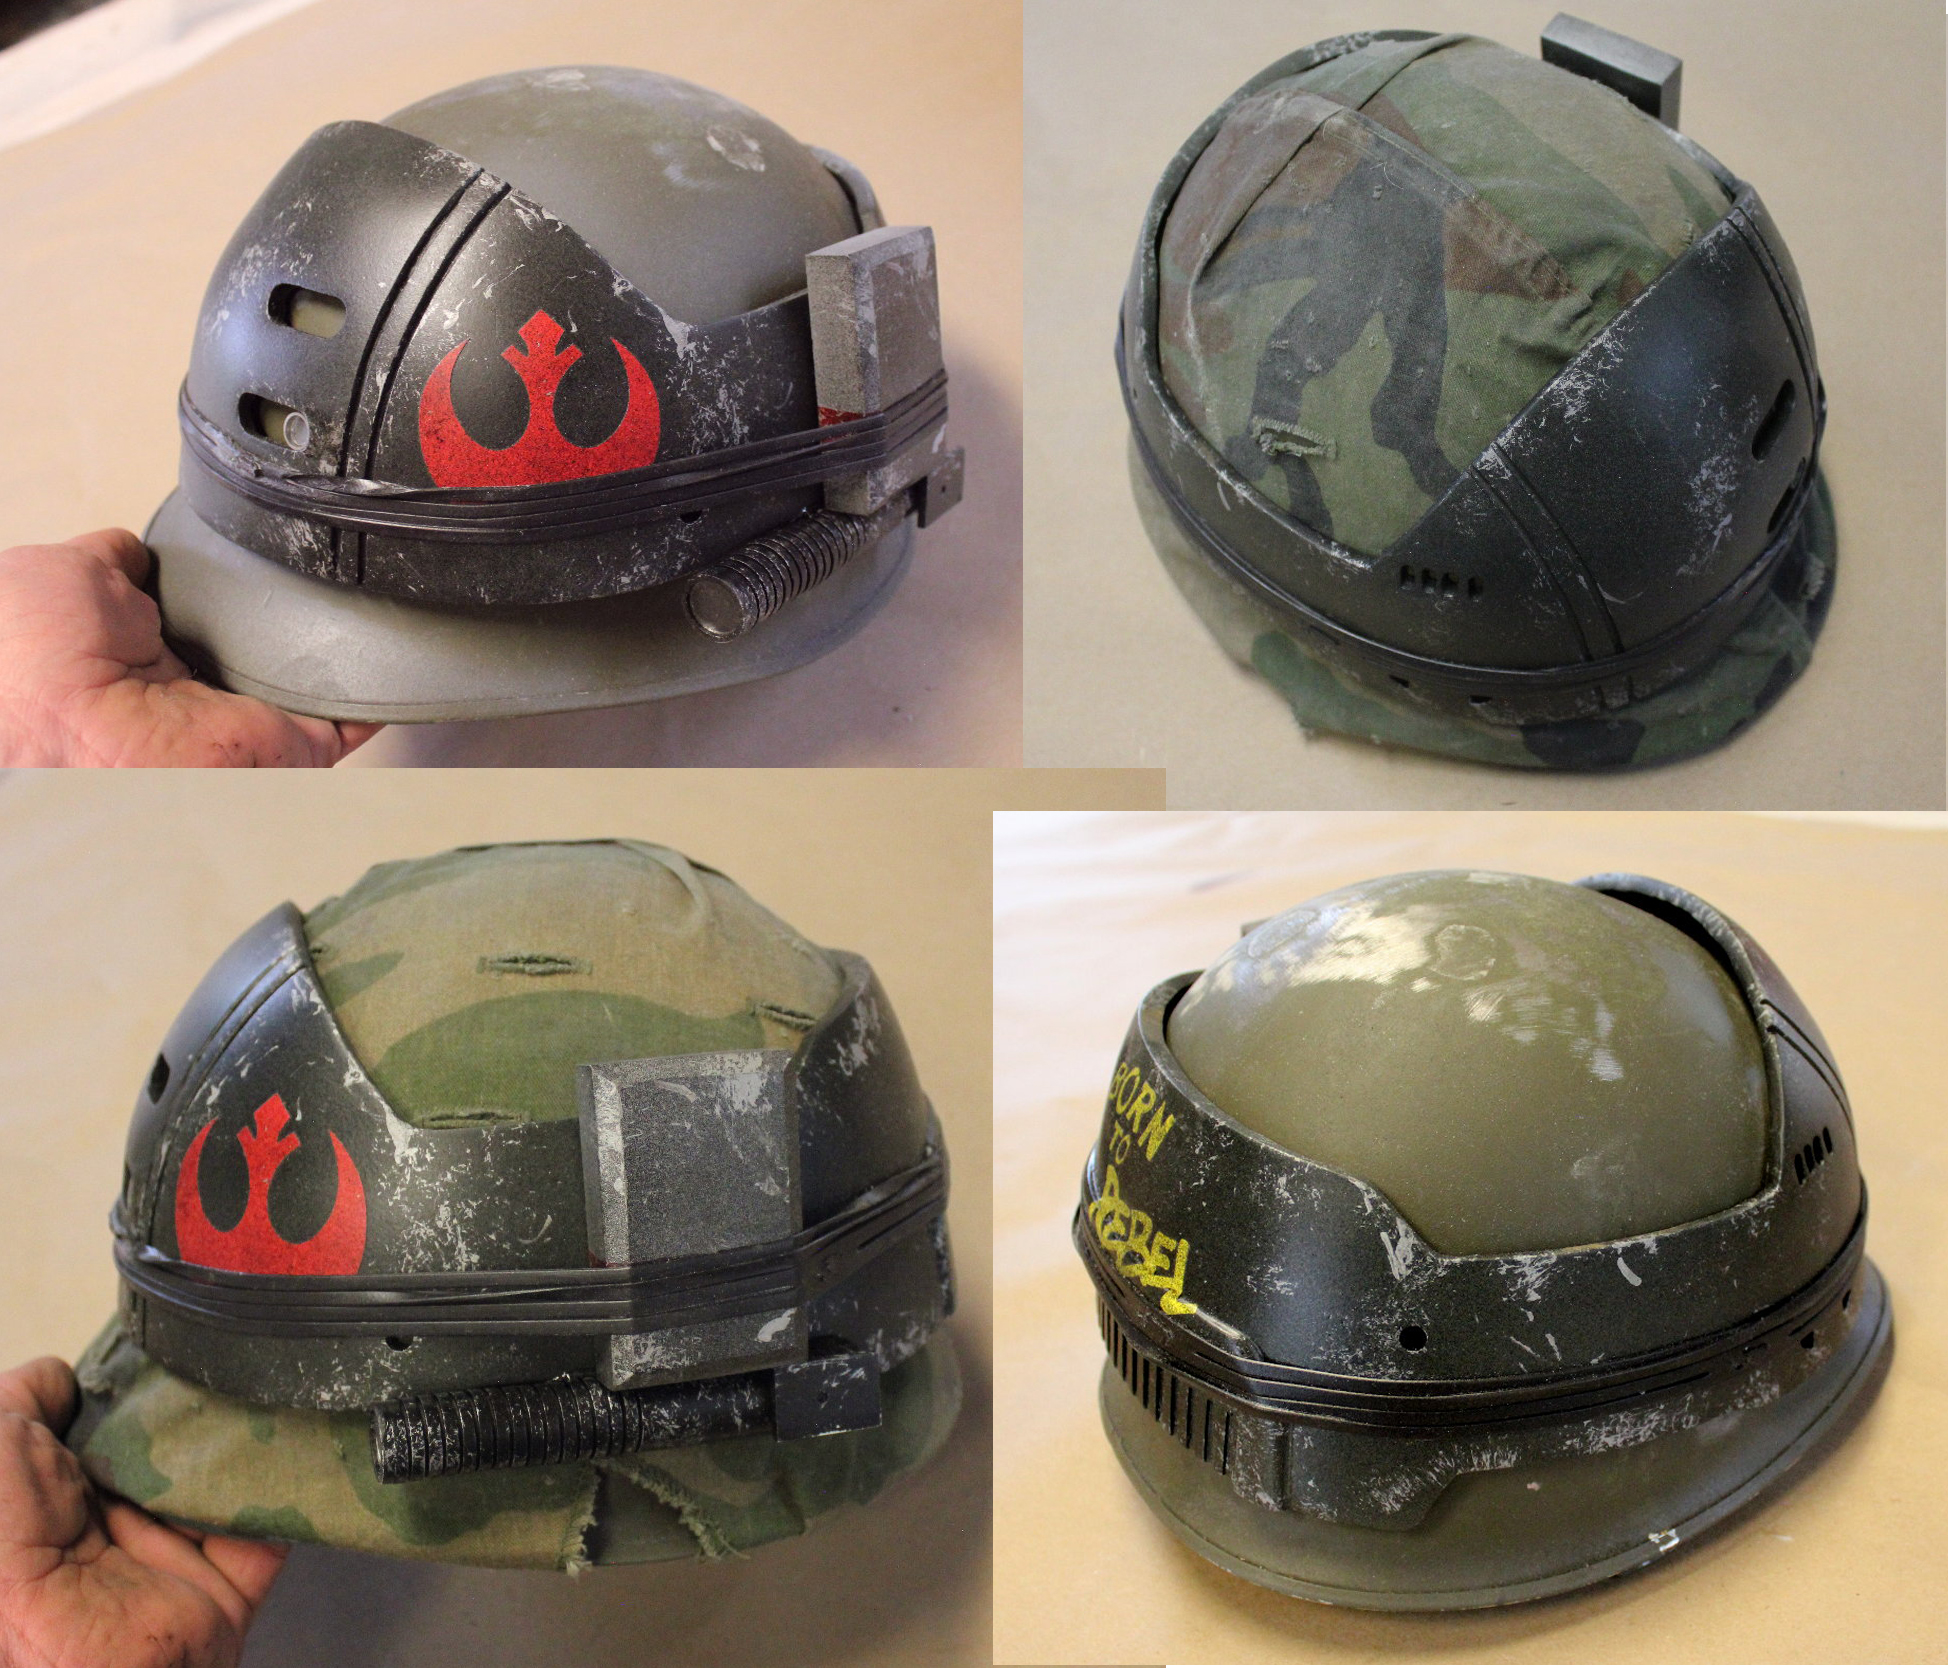
A little info on which M1 Helmet this fits:
This kit fits the boanfide, US M1 helmet as used in WWII thru Korea. At some point the helmets were stamped differently and that became the Vietnam era version. Nomenclature did NOT change, they remained M1 helmets, and it takes a keen eye to tell the difference. Side by side, especially in profile, its an obvious difference. The 2nd generation helmet dome is not as deep. These were stamped, as you know. YOUR kit fits PERFECTLY on the WWII and Korean War era helmets. But the Vietnam era helmet is too shallow and its not a good fit. Your kit doesn't sit as flush with the Nam era pots. This might be worth mentioning for someone seeking to secure a real steel helmet for the purposes of using your kit. We costume geeks and especially Star Wars buffs are by default, somewhat aware of US militaria since a ton of it was used in Rogue One, so this concept isn't that abstract. WWII era/style helmets were used in the film. They are clearly the deeper model. Many thanks. I am mightily impressed with your work.
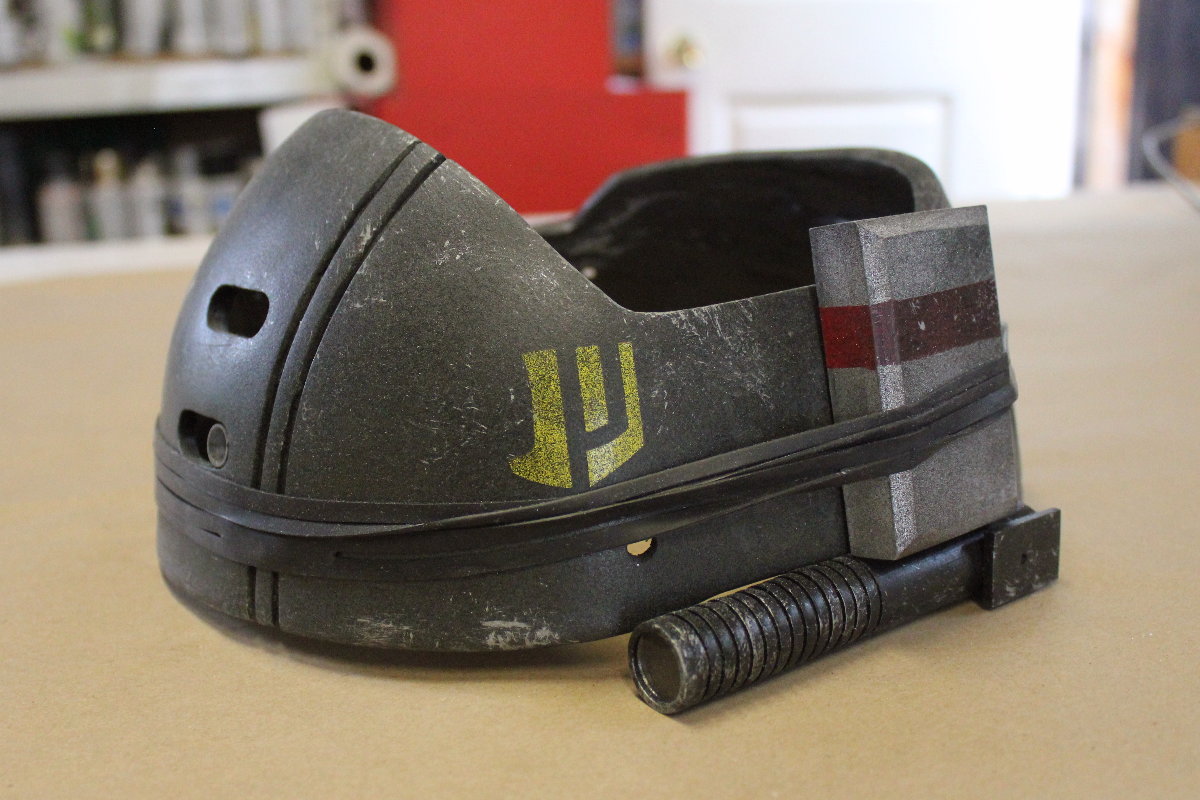
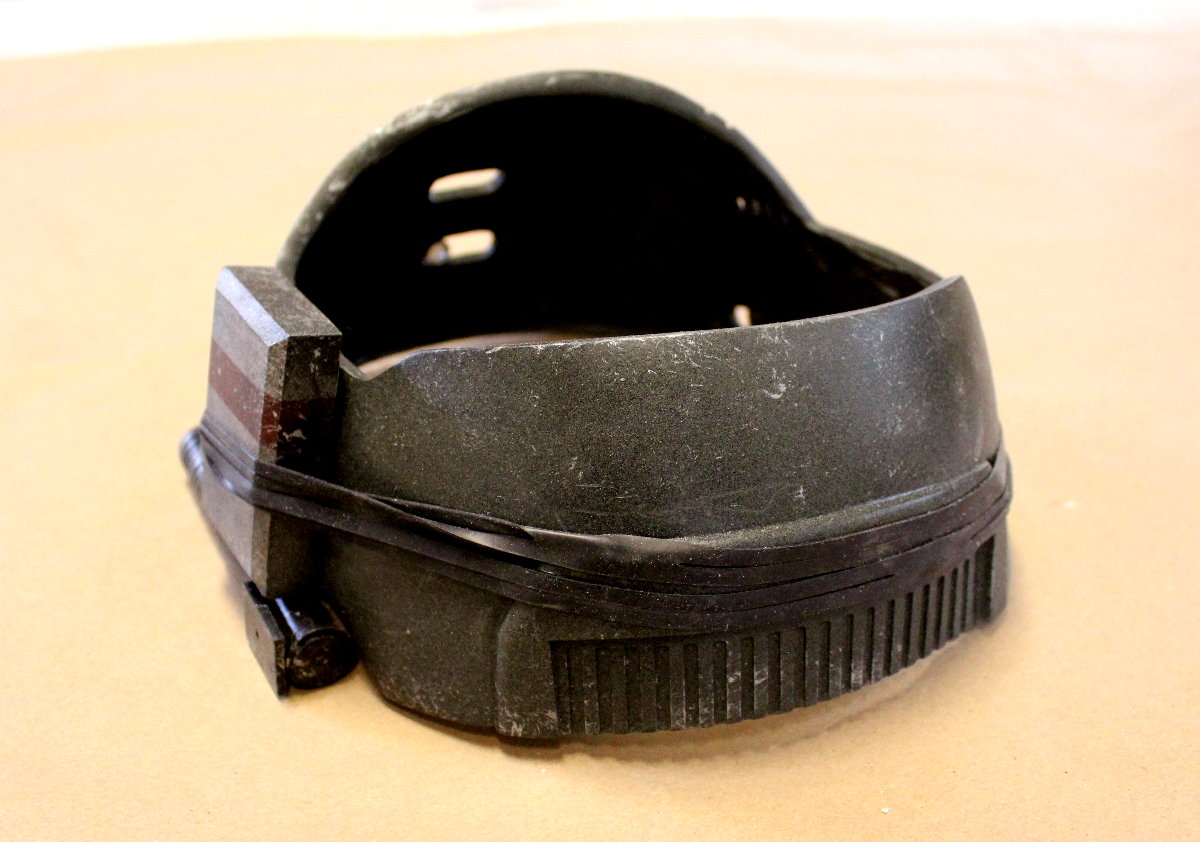
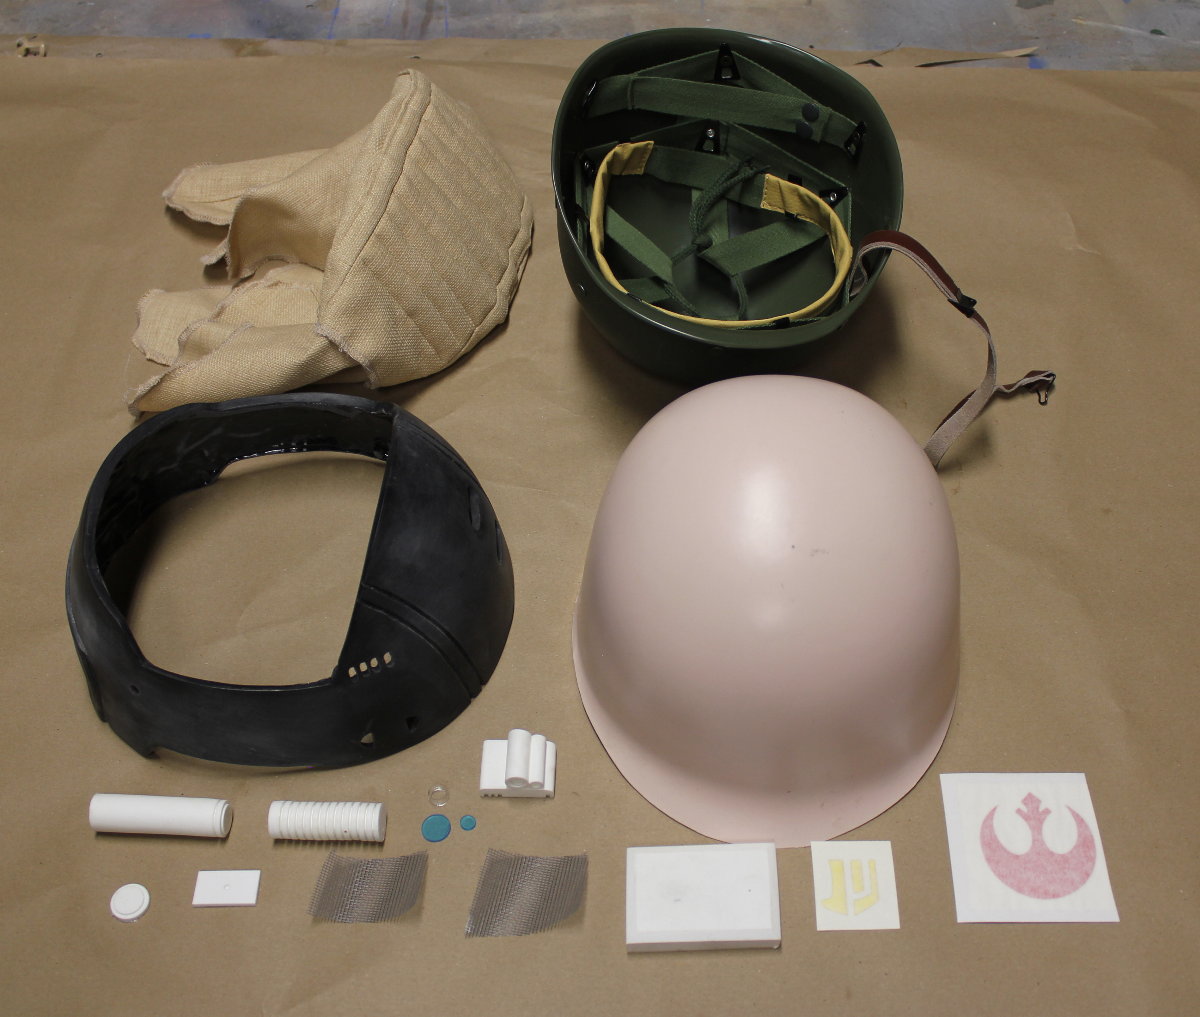
The BASIC helmet kit consits of:
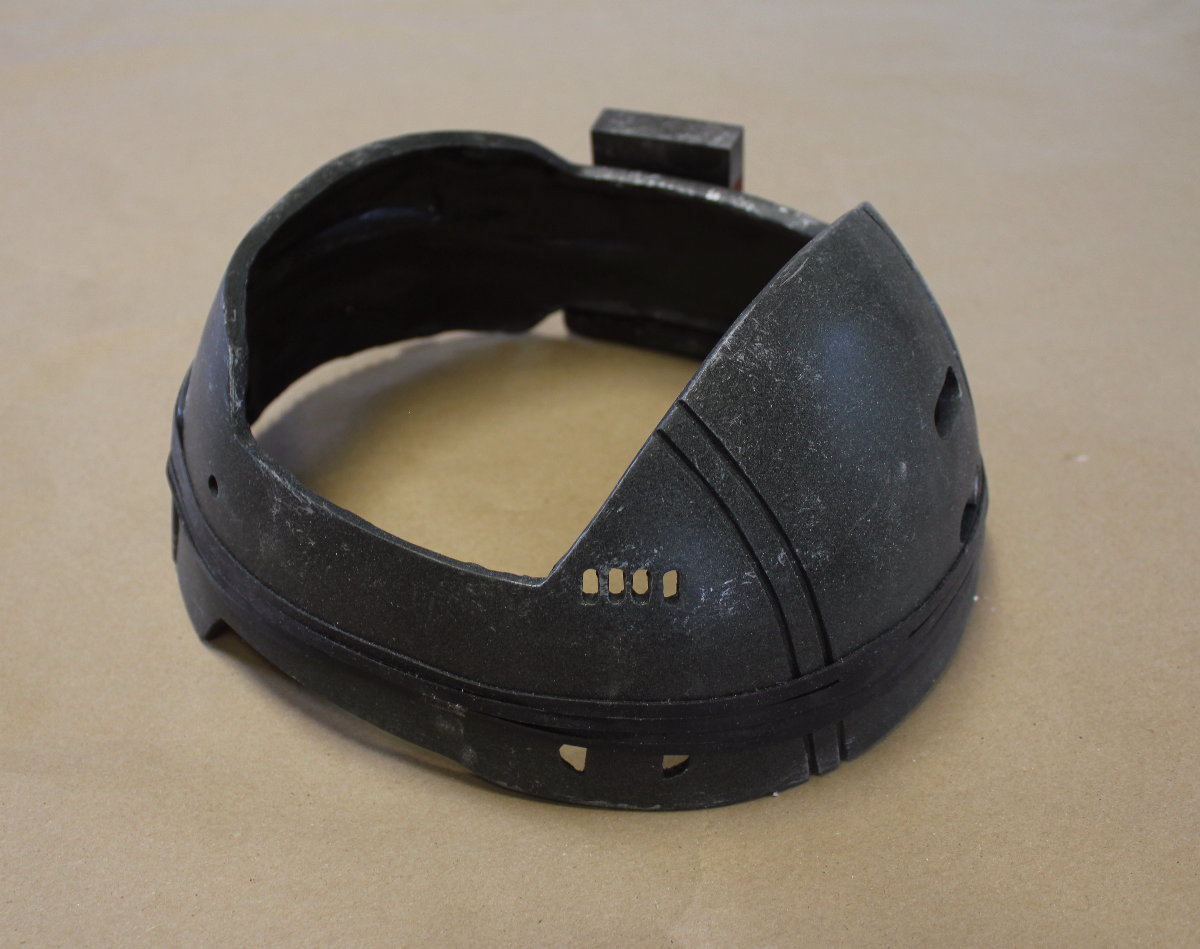
- The main helmet shell cast in ONYX resin which is SUPER STRONG. An elephant would have to sit on this to break it.
- deathstick box (solid resin casting)
- torch front (resin casting)
- torch rear (resin casting)
- torch end-cap (resin casting)
- torch rear plate (laser cut acrylic)
- torch lens (laser cut clear acrylic)
- ringlet (resin casting)
- ringlet lens (laser cut acrylic)
- yellow vinyl decal insignia
- red vinyl decal insignia
- helmet strap camera (resin casting)
- 2 silicone helmet bands
STAGE 1 HELMET KIT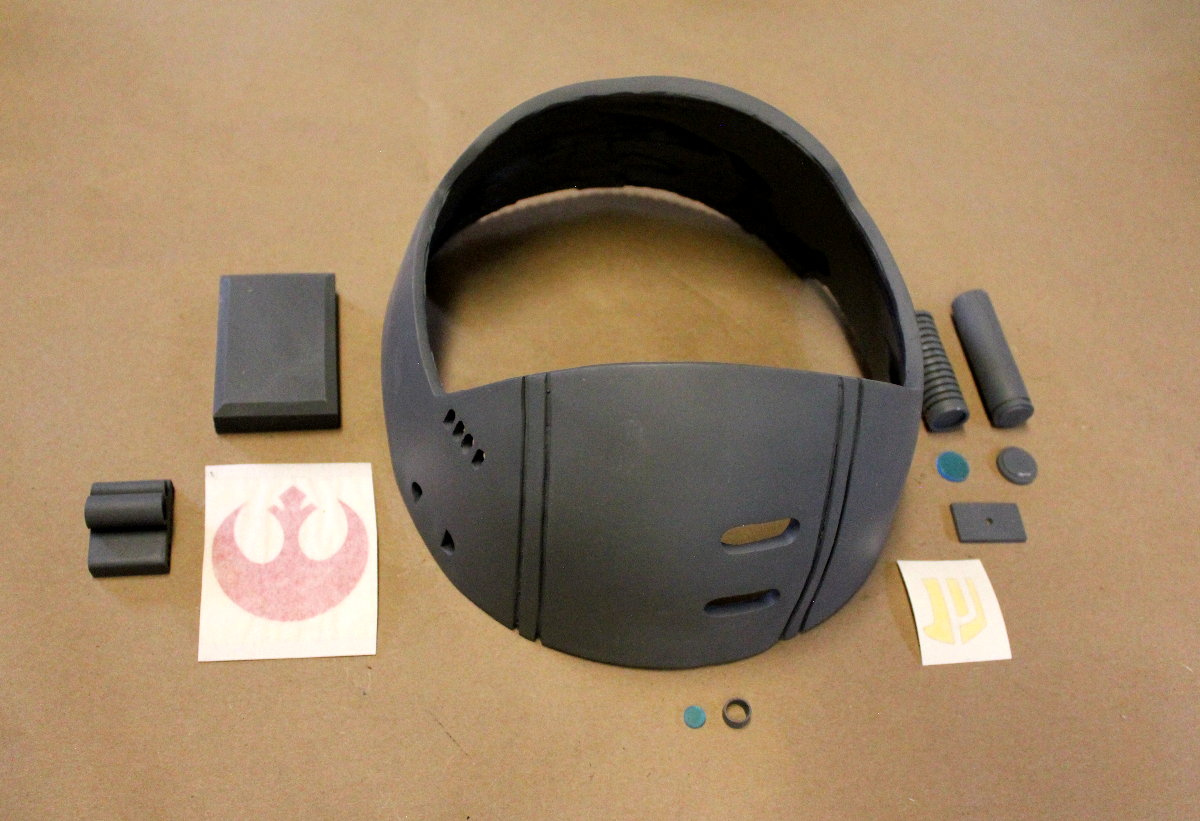
That's a total of 12 parts.
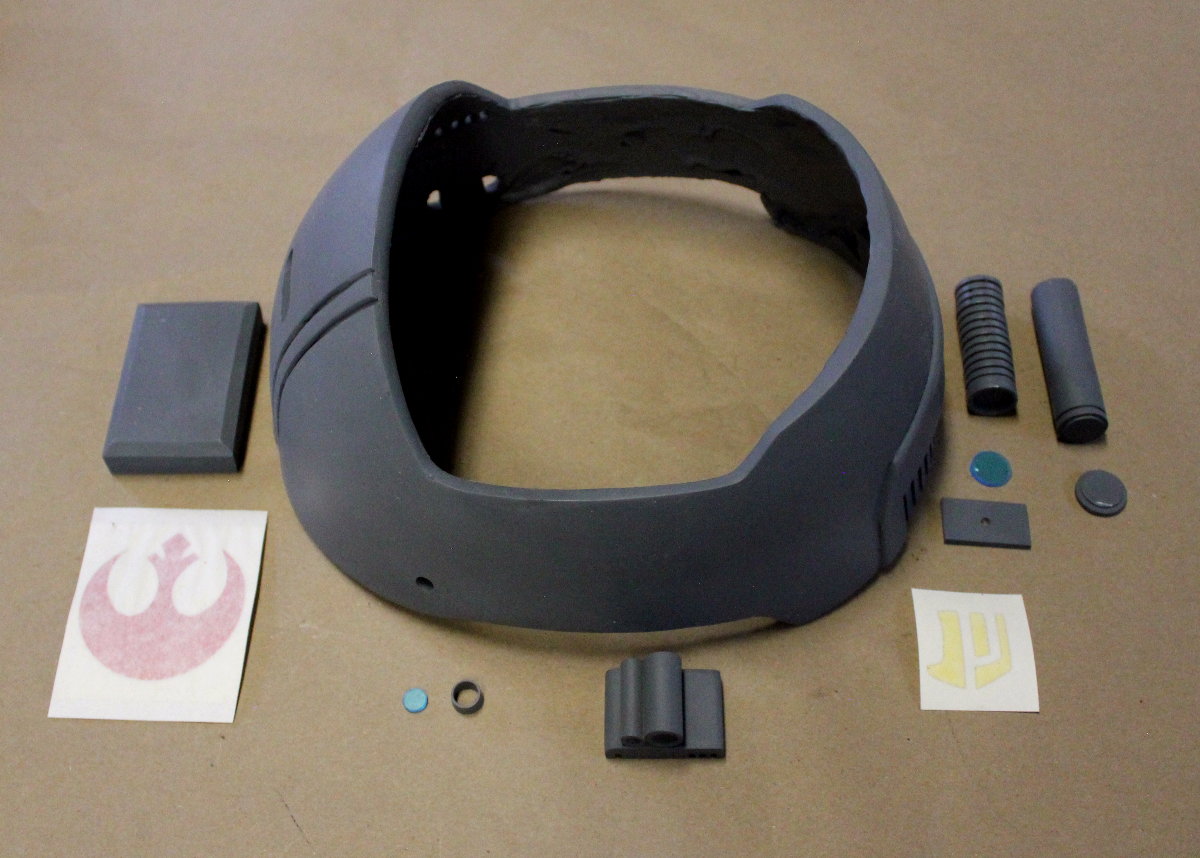
STAGE 2 HELMET KIT
The STAGE 2 helmet adds a thermal formed M1 helmet outer and inner shell.
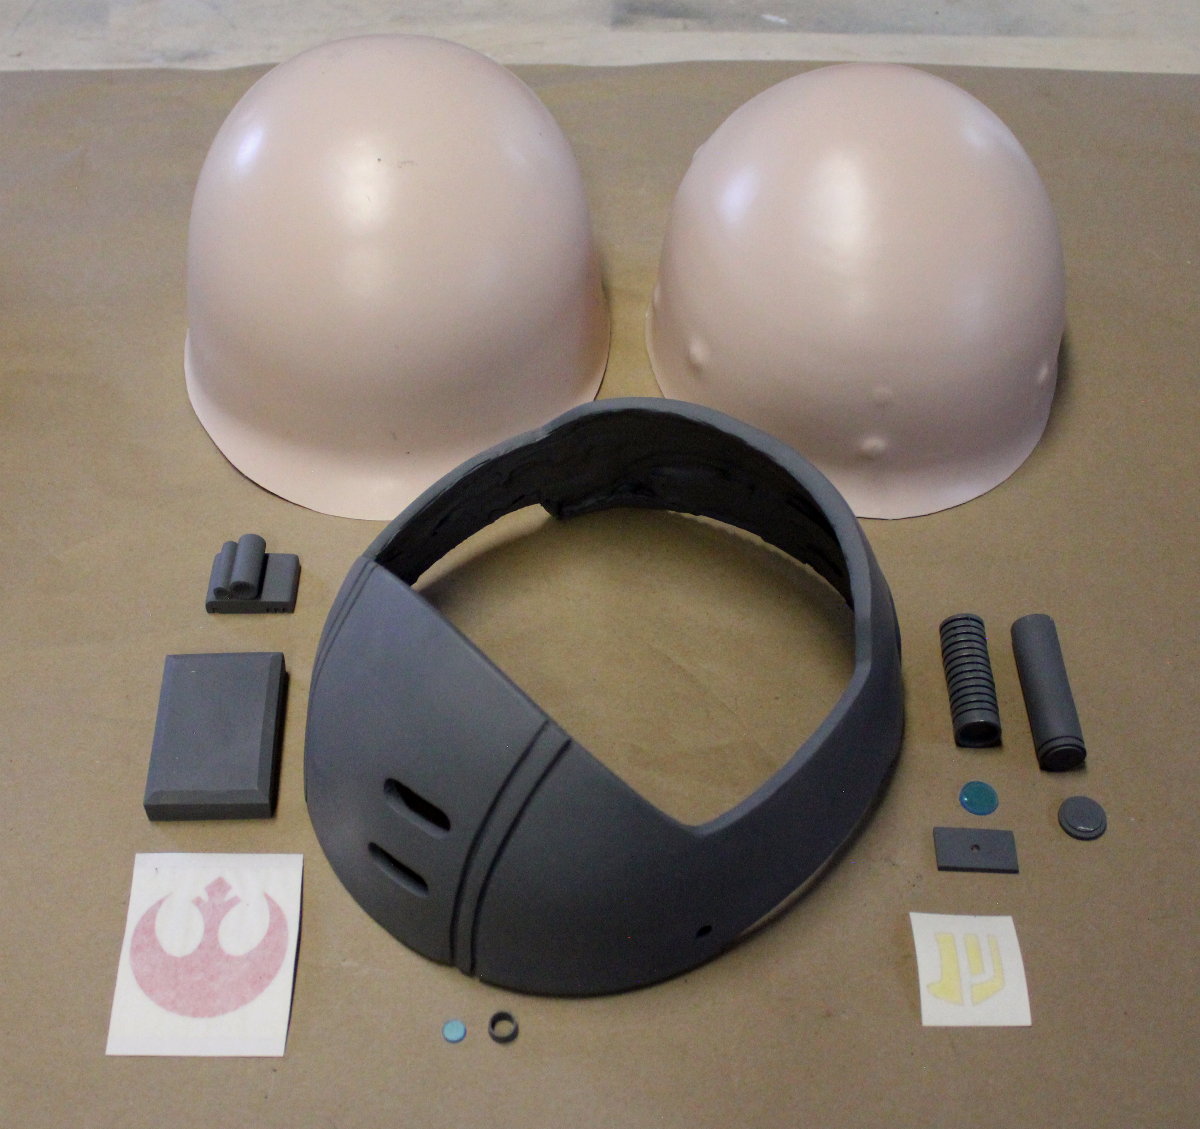
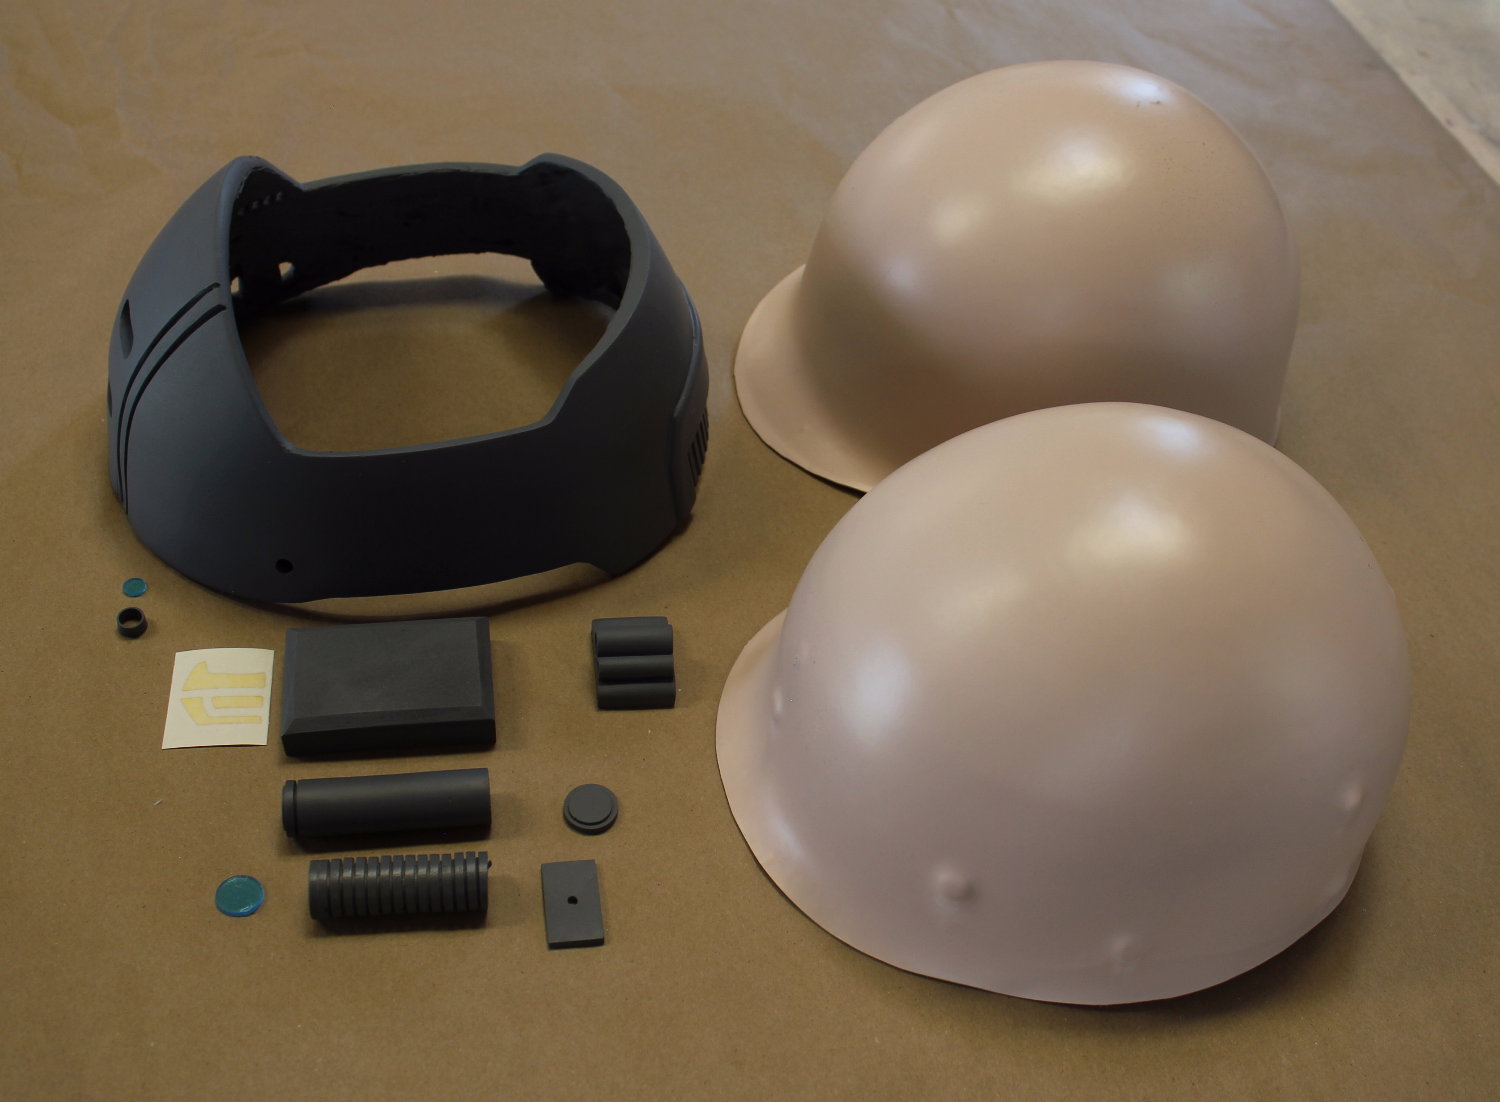
STAGE 3 SUPER DELUXE HELMET KIT
NOT CURRENTLY AVAILABLE. The stage 3 helmet kit adds a replica M1 HELMET LINER, in addition to the outer thermal form m1 helmet shell. It also includes screen mesh, and a hand-sewn helmet cover made from accurately textured material.
HELMET FABRIC COVER (NOT CURRENTLY AVAILABLE)
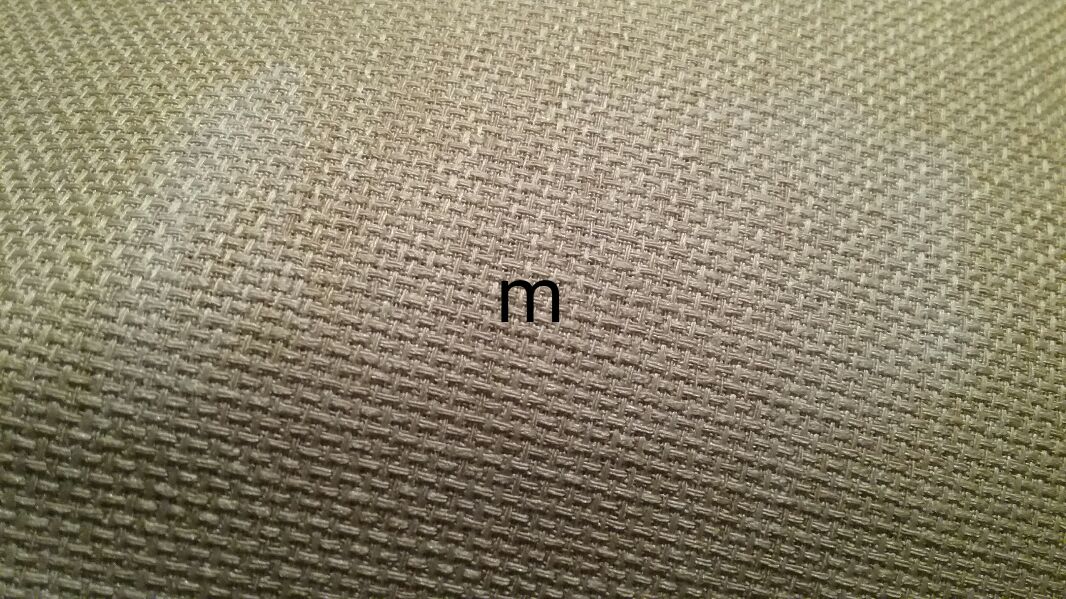
Using the proper textured fabric for the custom sewn fabric cover:
HOW IT WAS MADE:
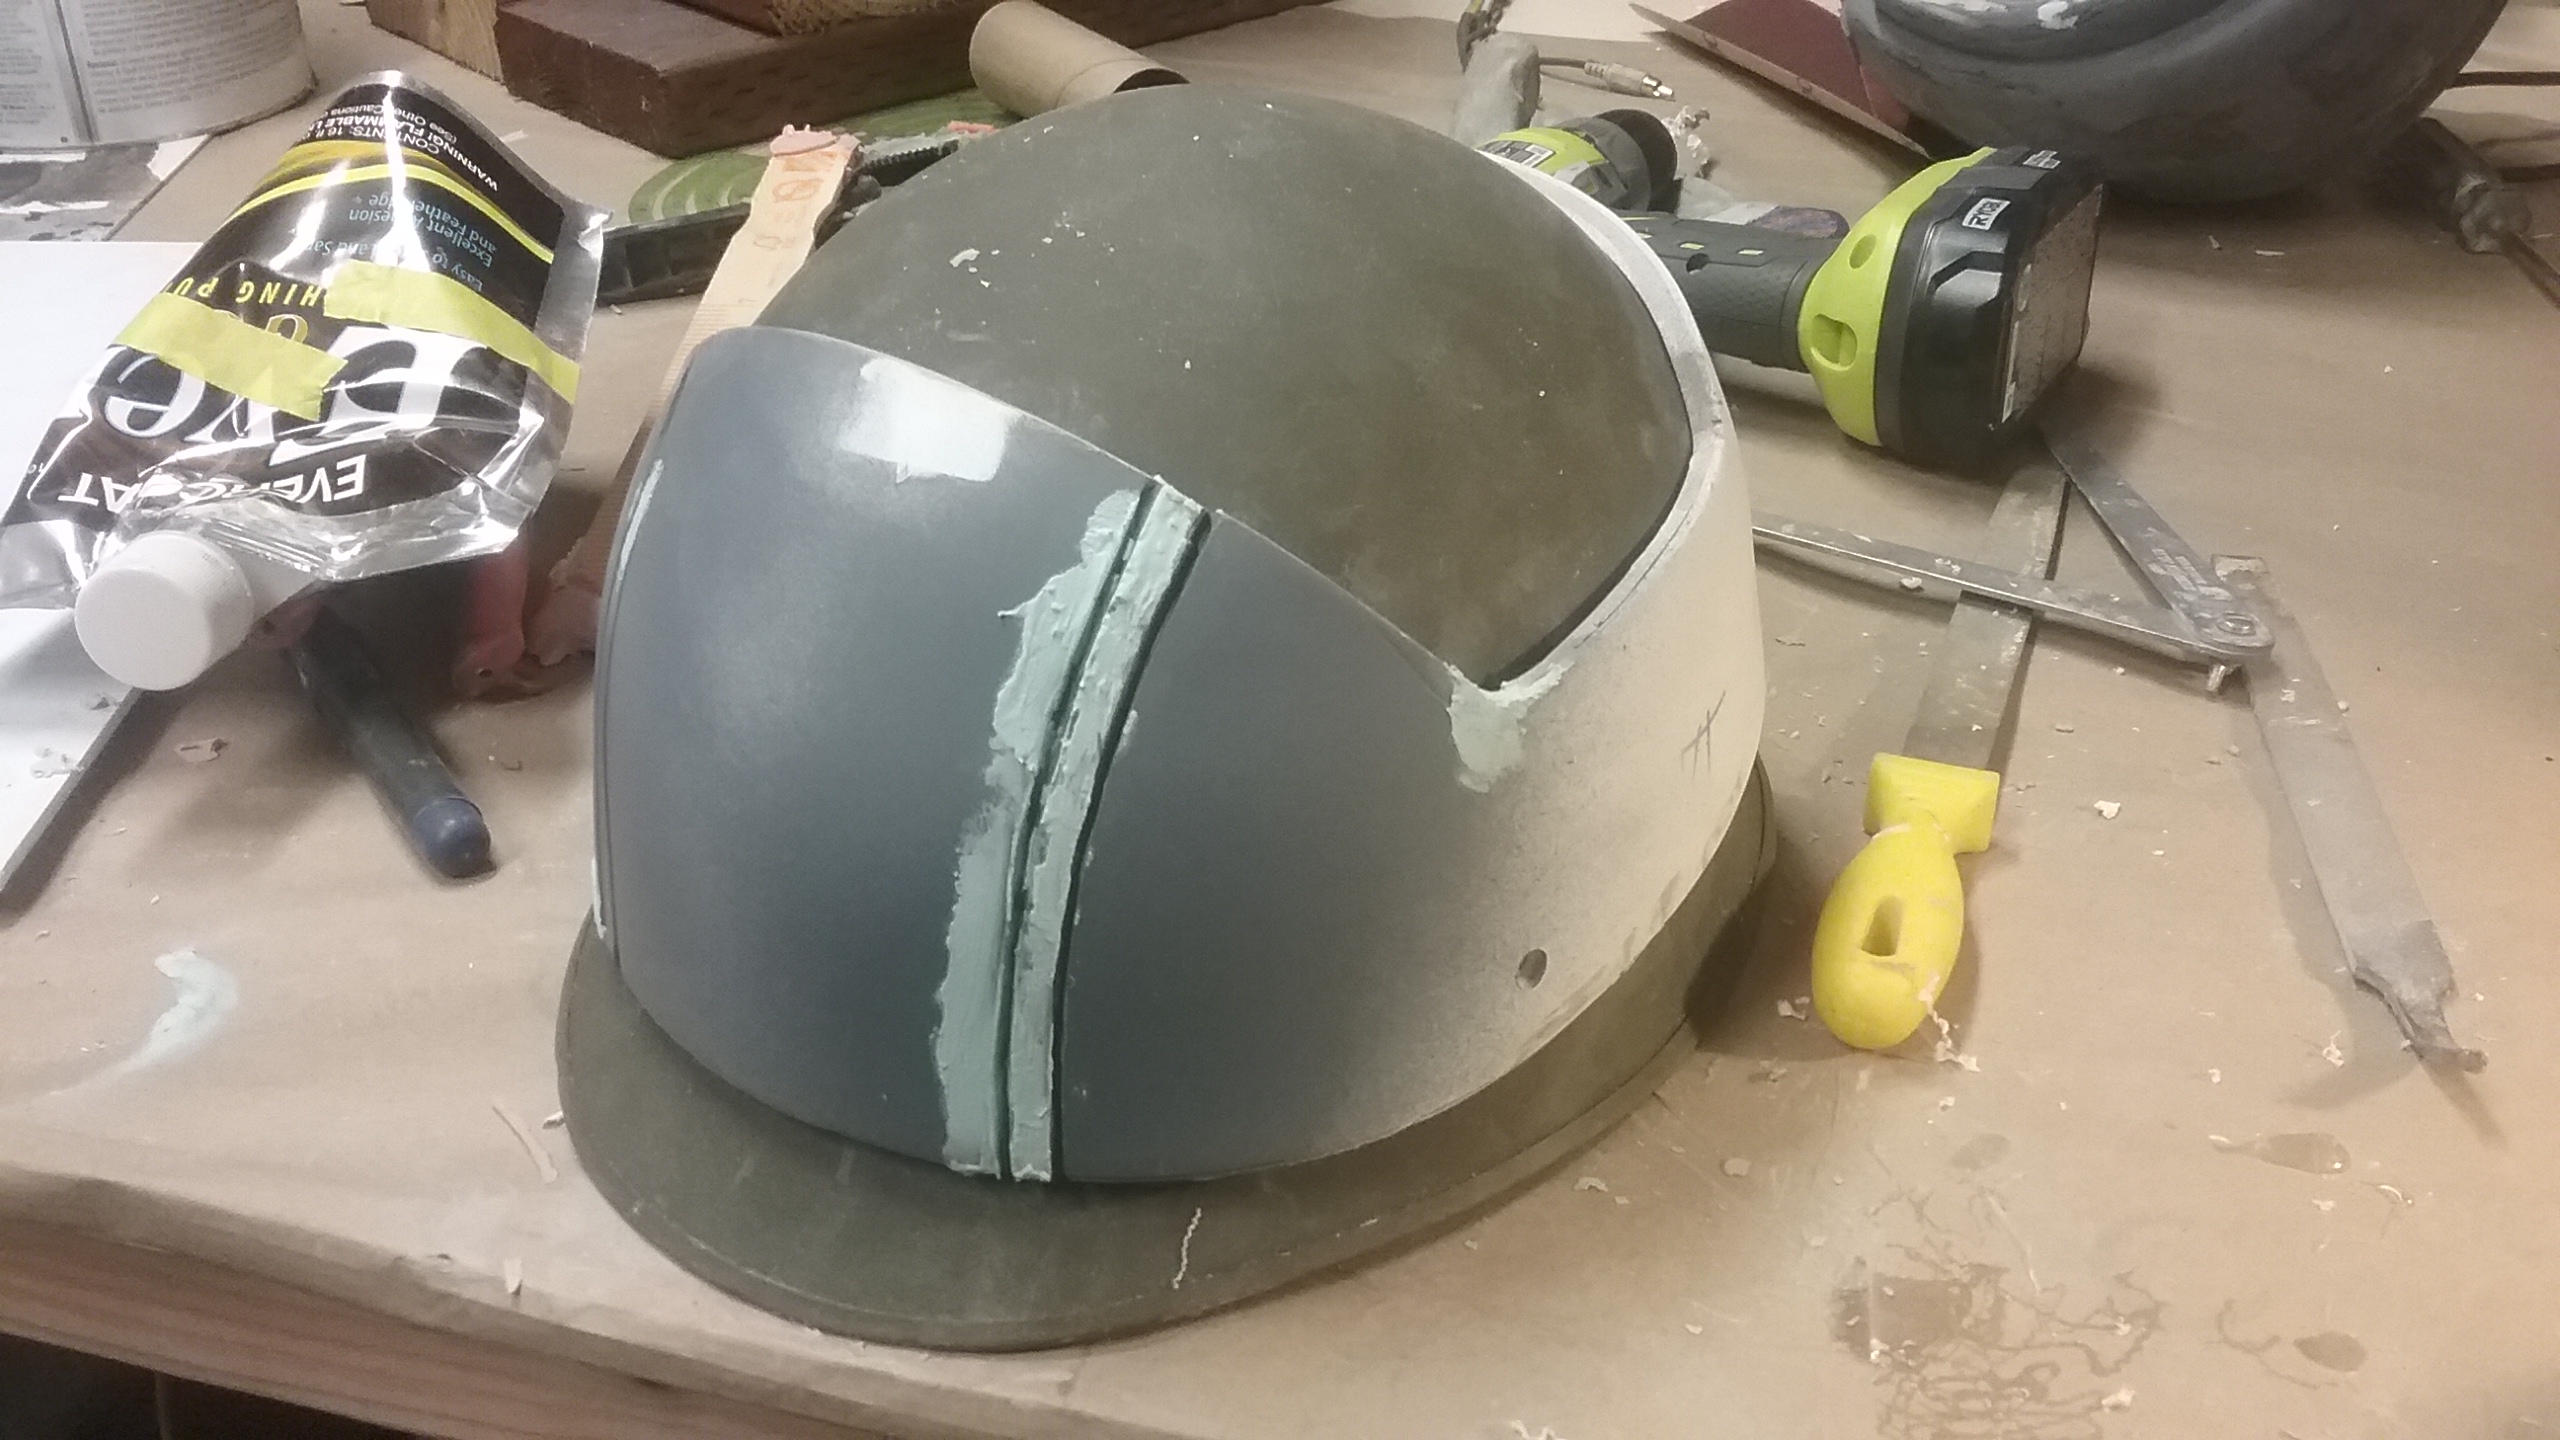
These days, my custom work primarily revolves around an initial 3D print, but I wanted to go old school on this rebel solider helmet - ALL SCRATCH-BUILT! I started with the same M1 hemlet I used for the COLONIAL MARINE project. I thermal formed 5 sheets of 1/8" styrene over the top of this helmet to give me a VERY THICK shell.
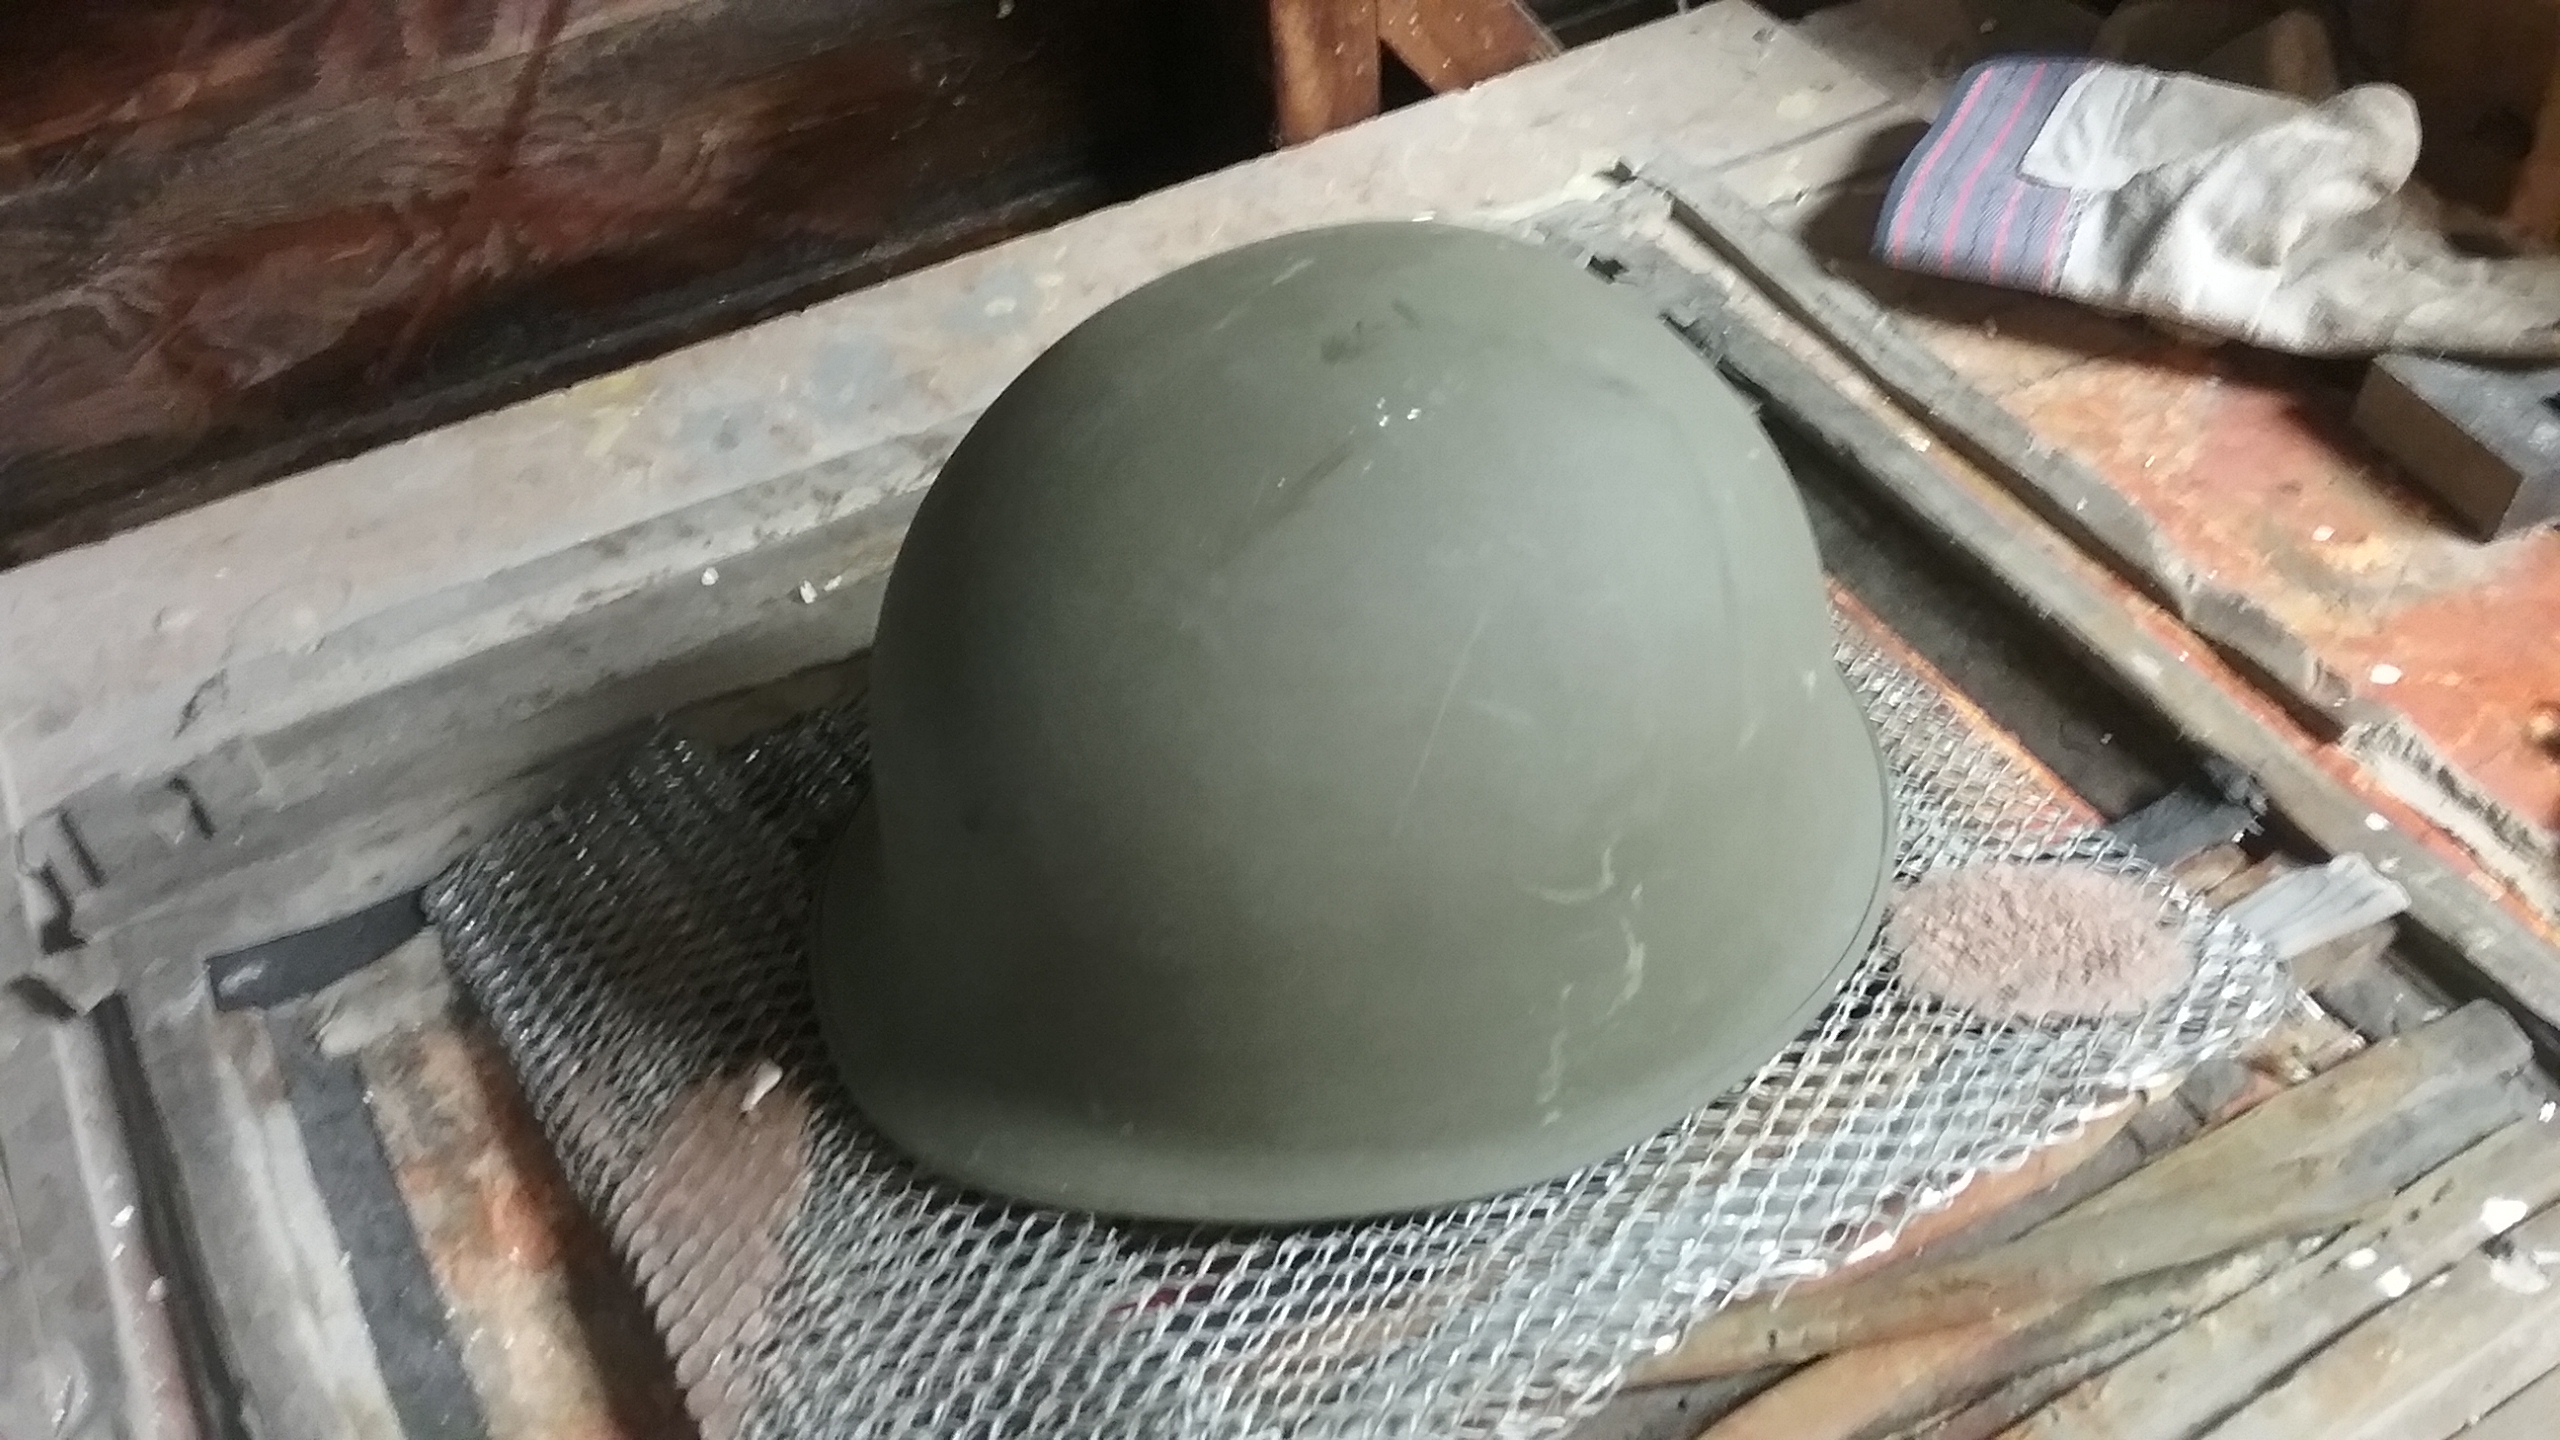
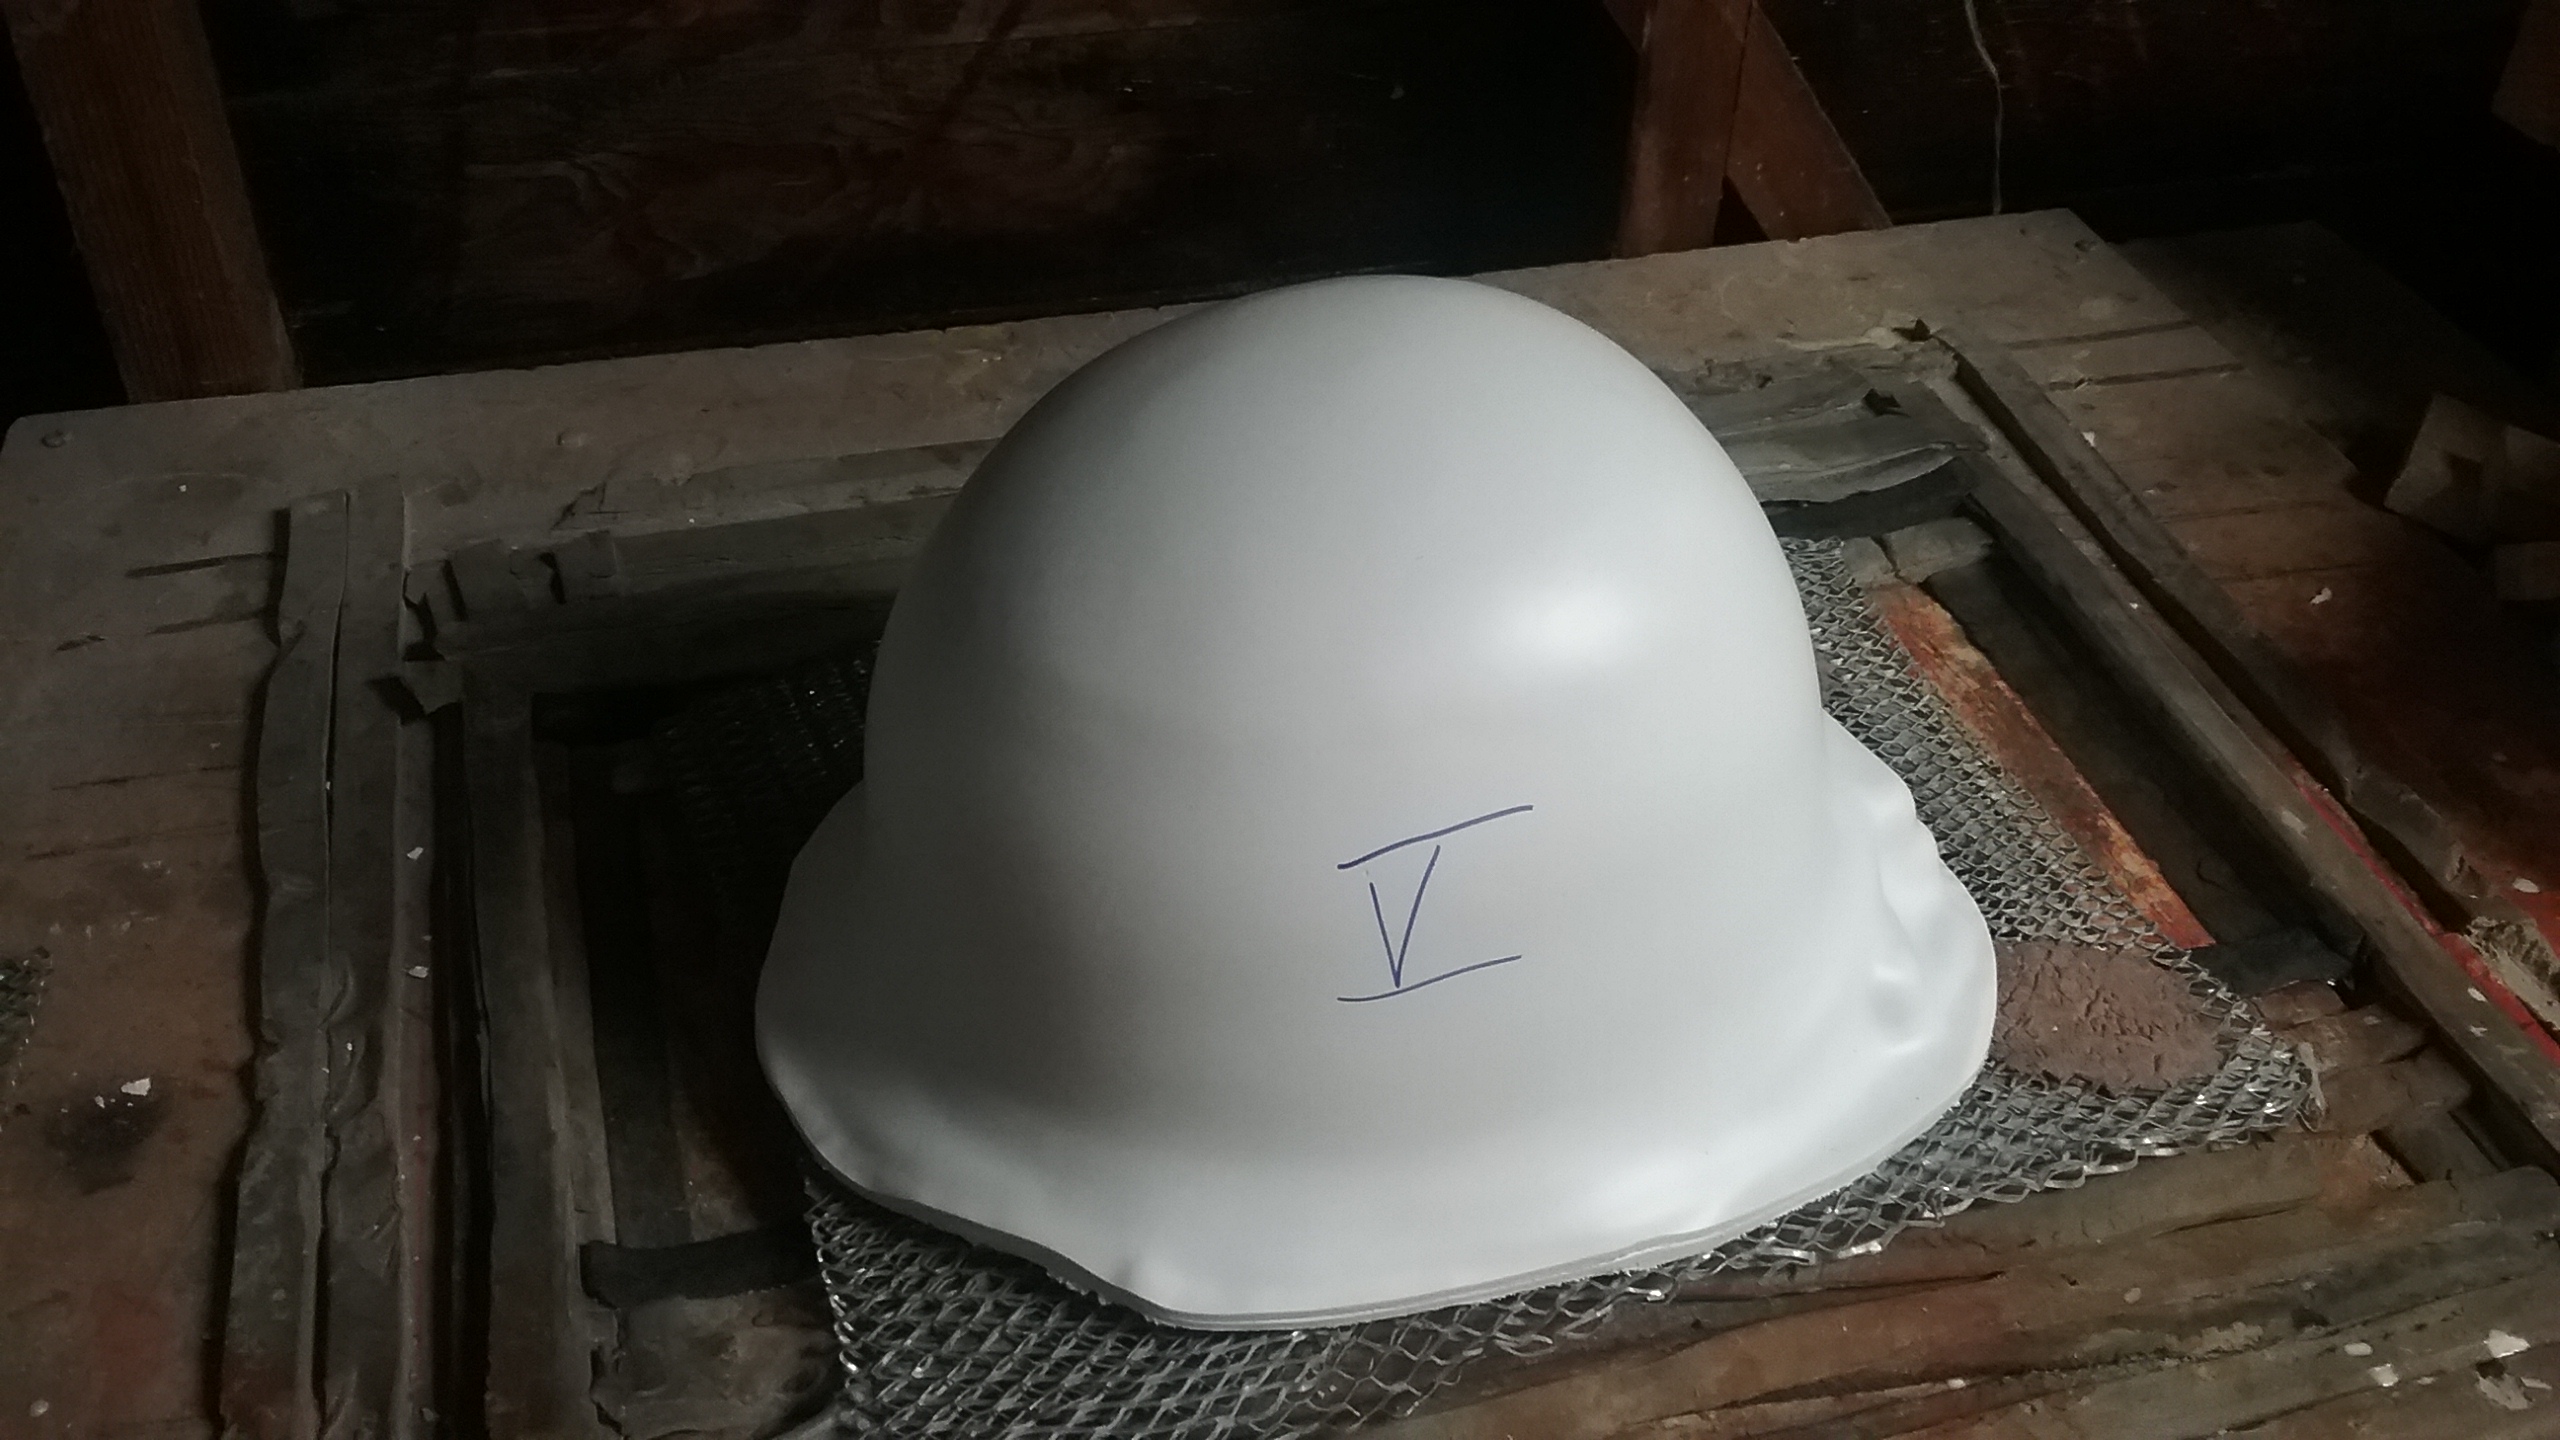
I vacuformed one extra pattern off the top to give me a pattern to hand-draw the artwork template.
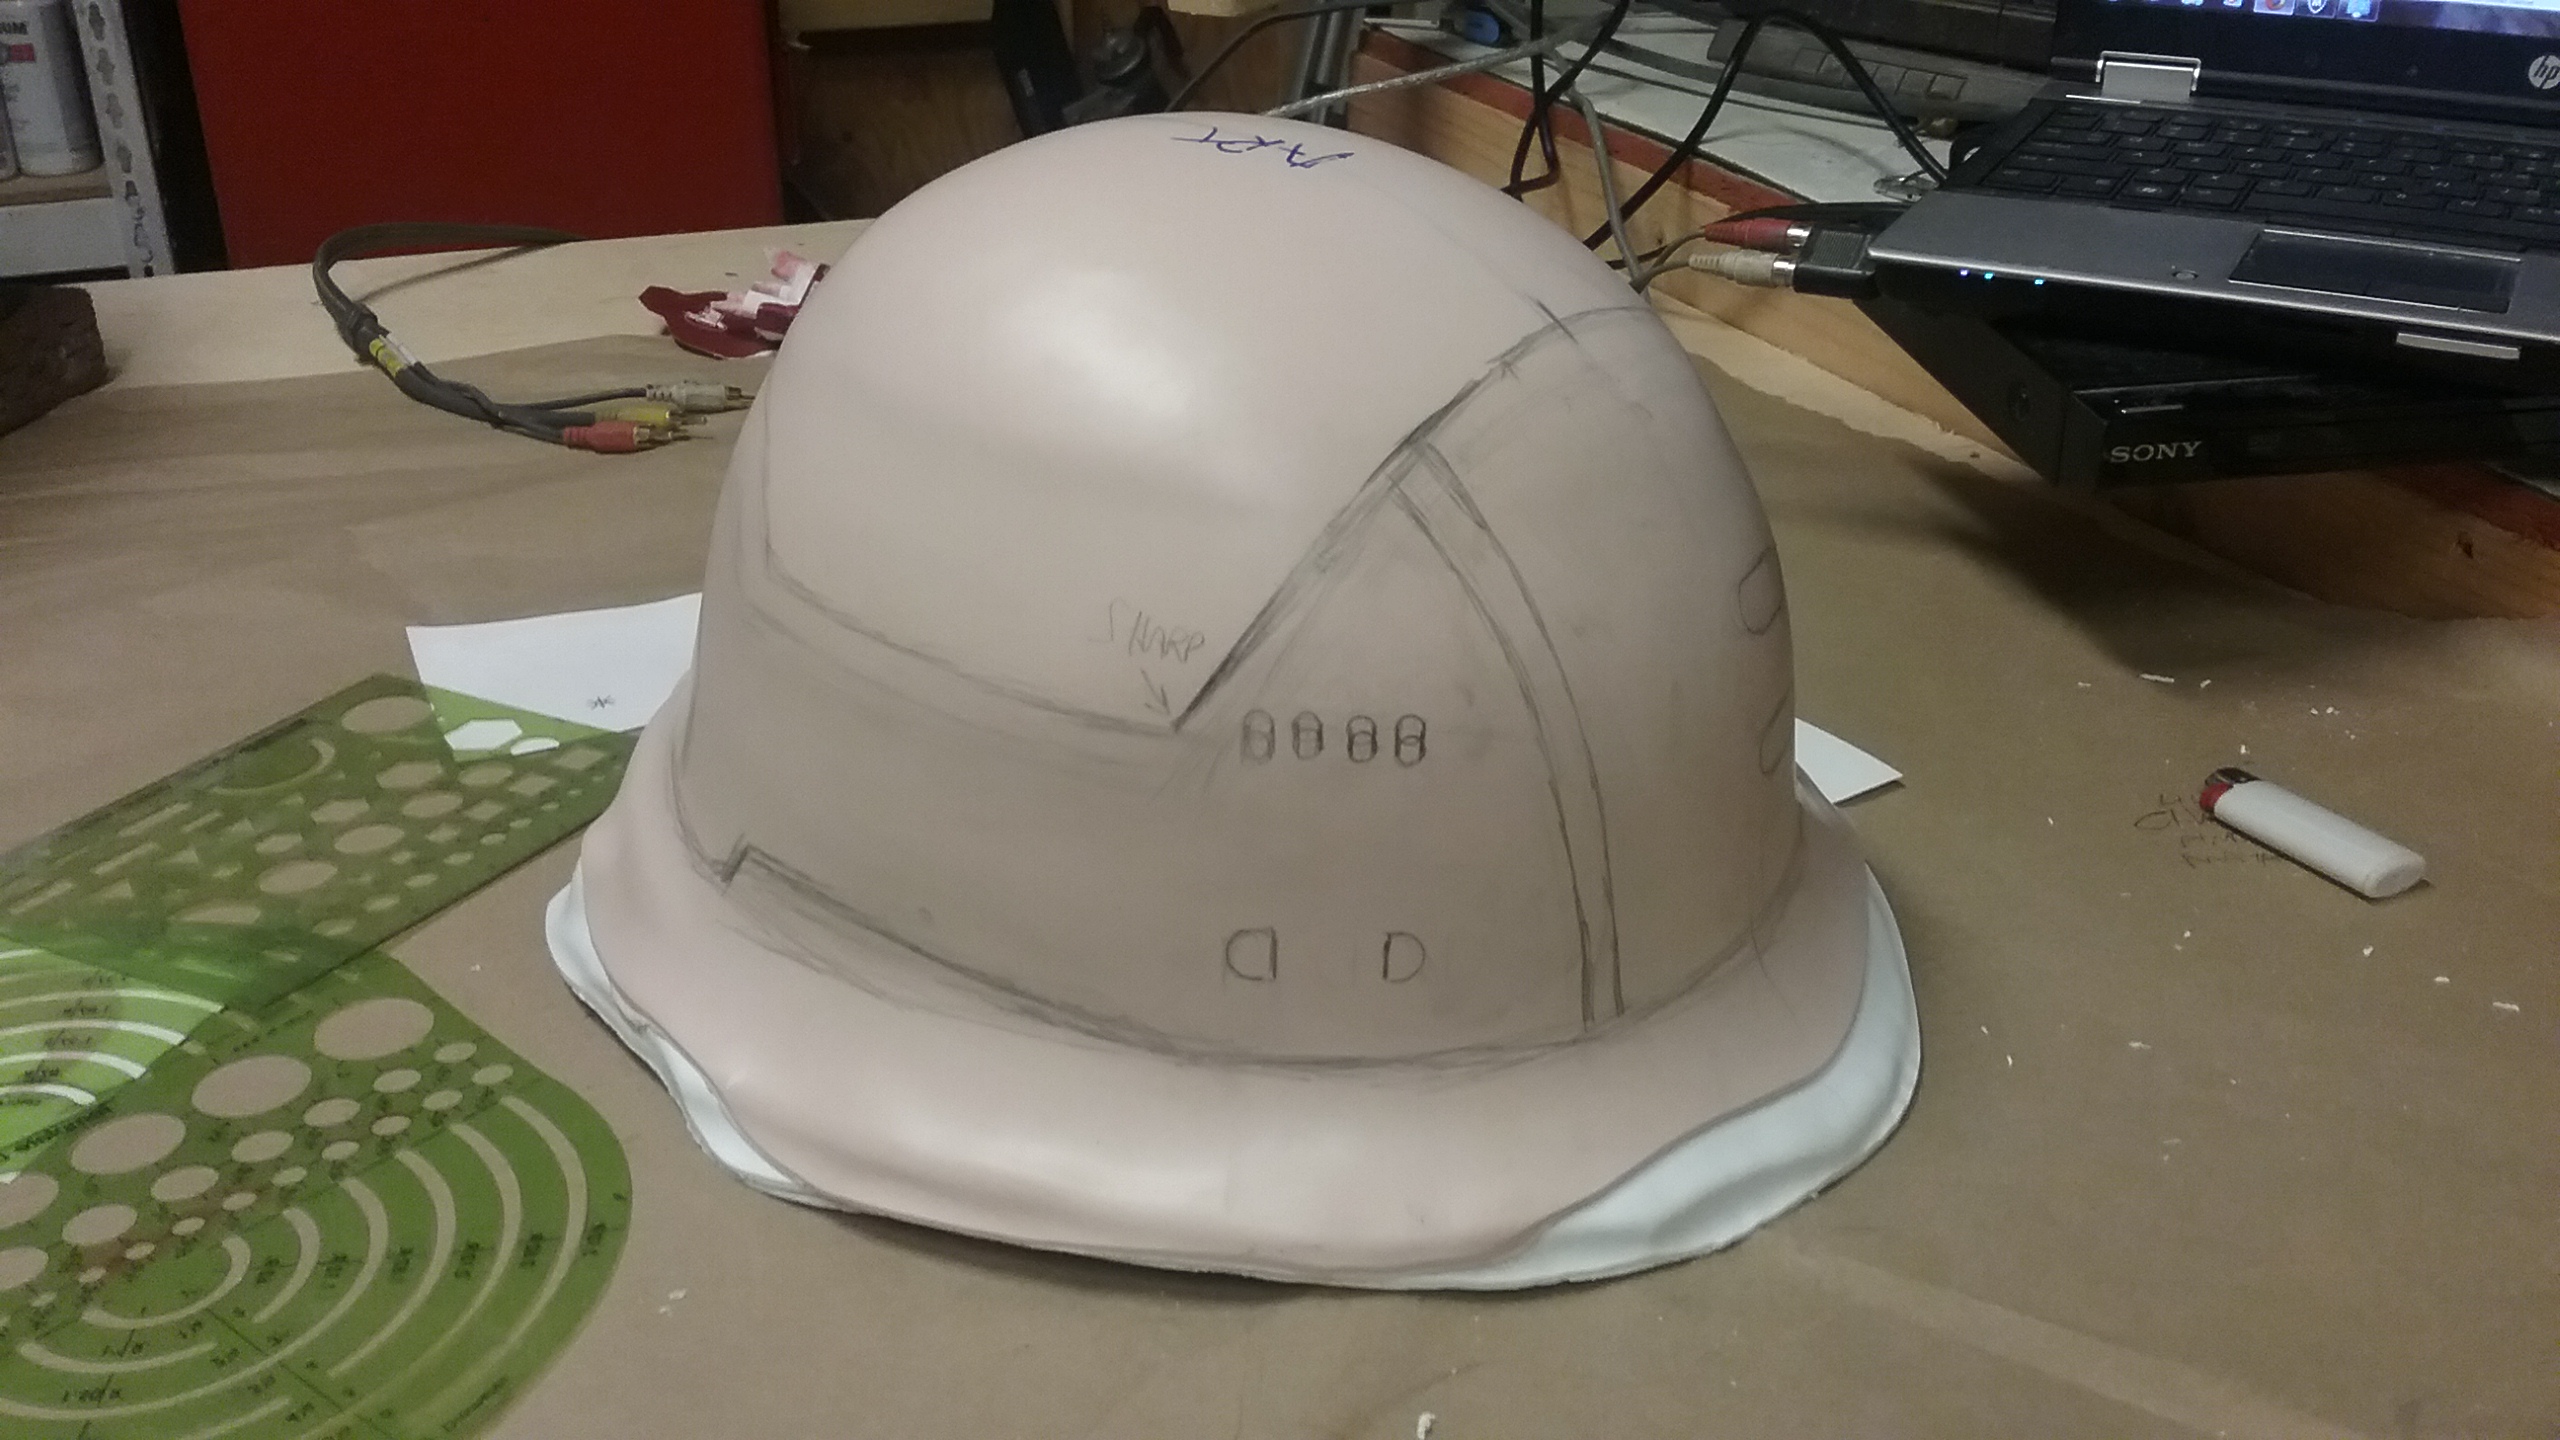
The finished tracing pattern:
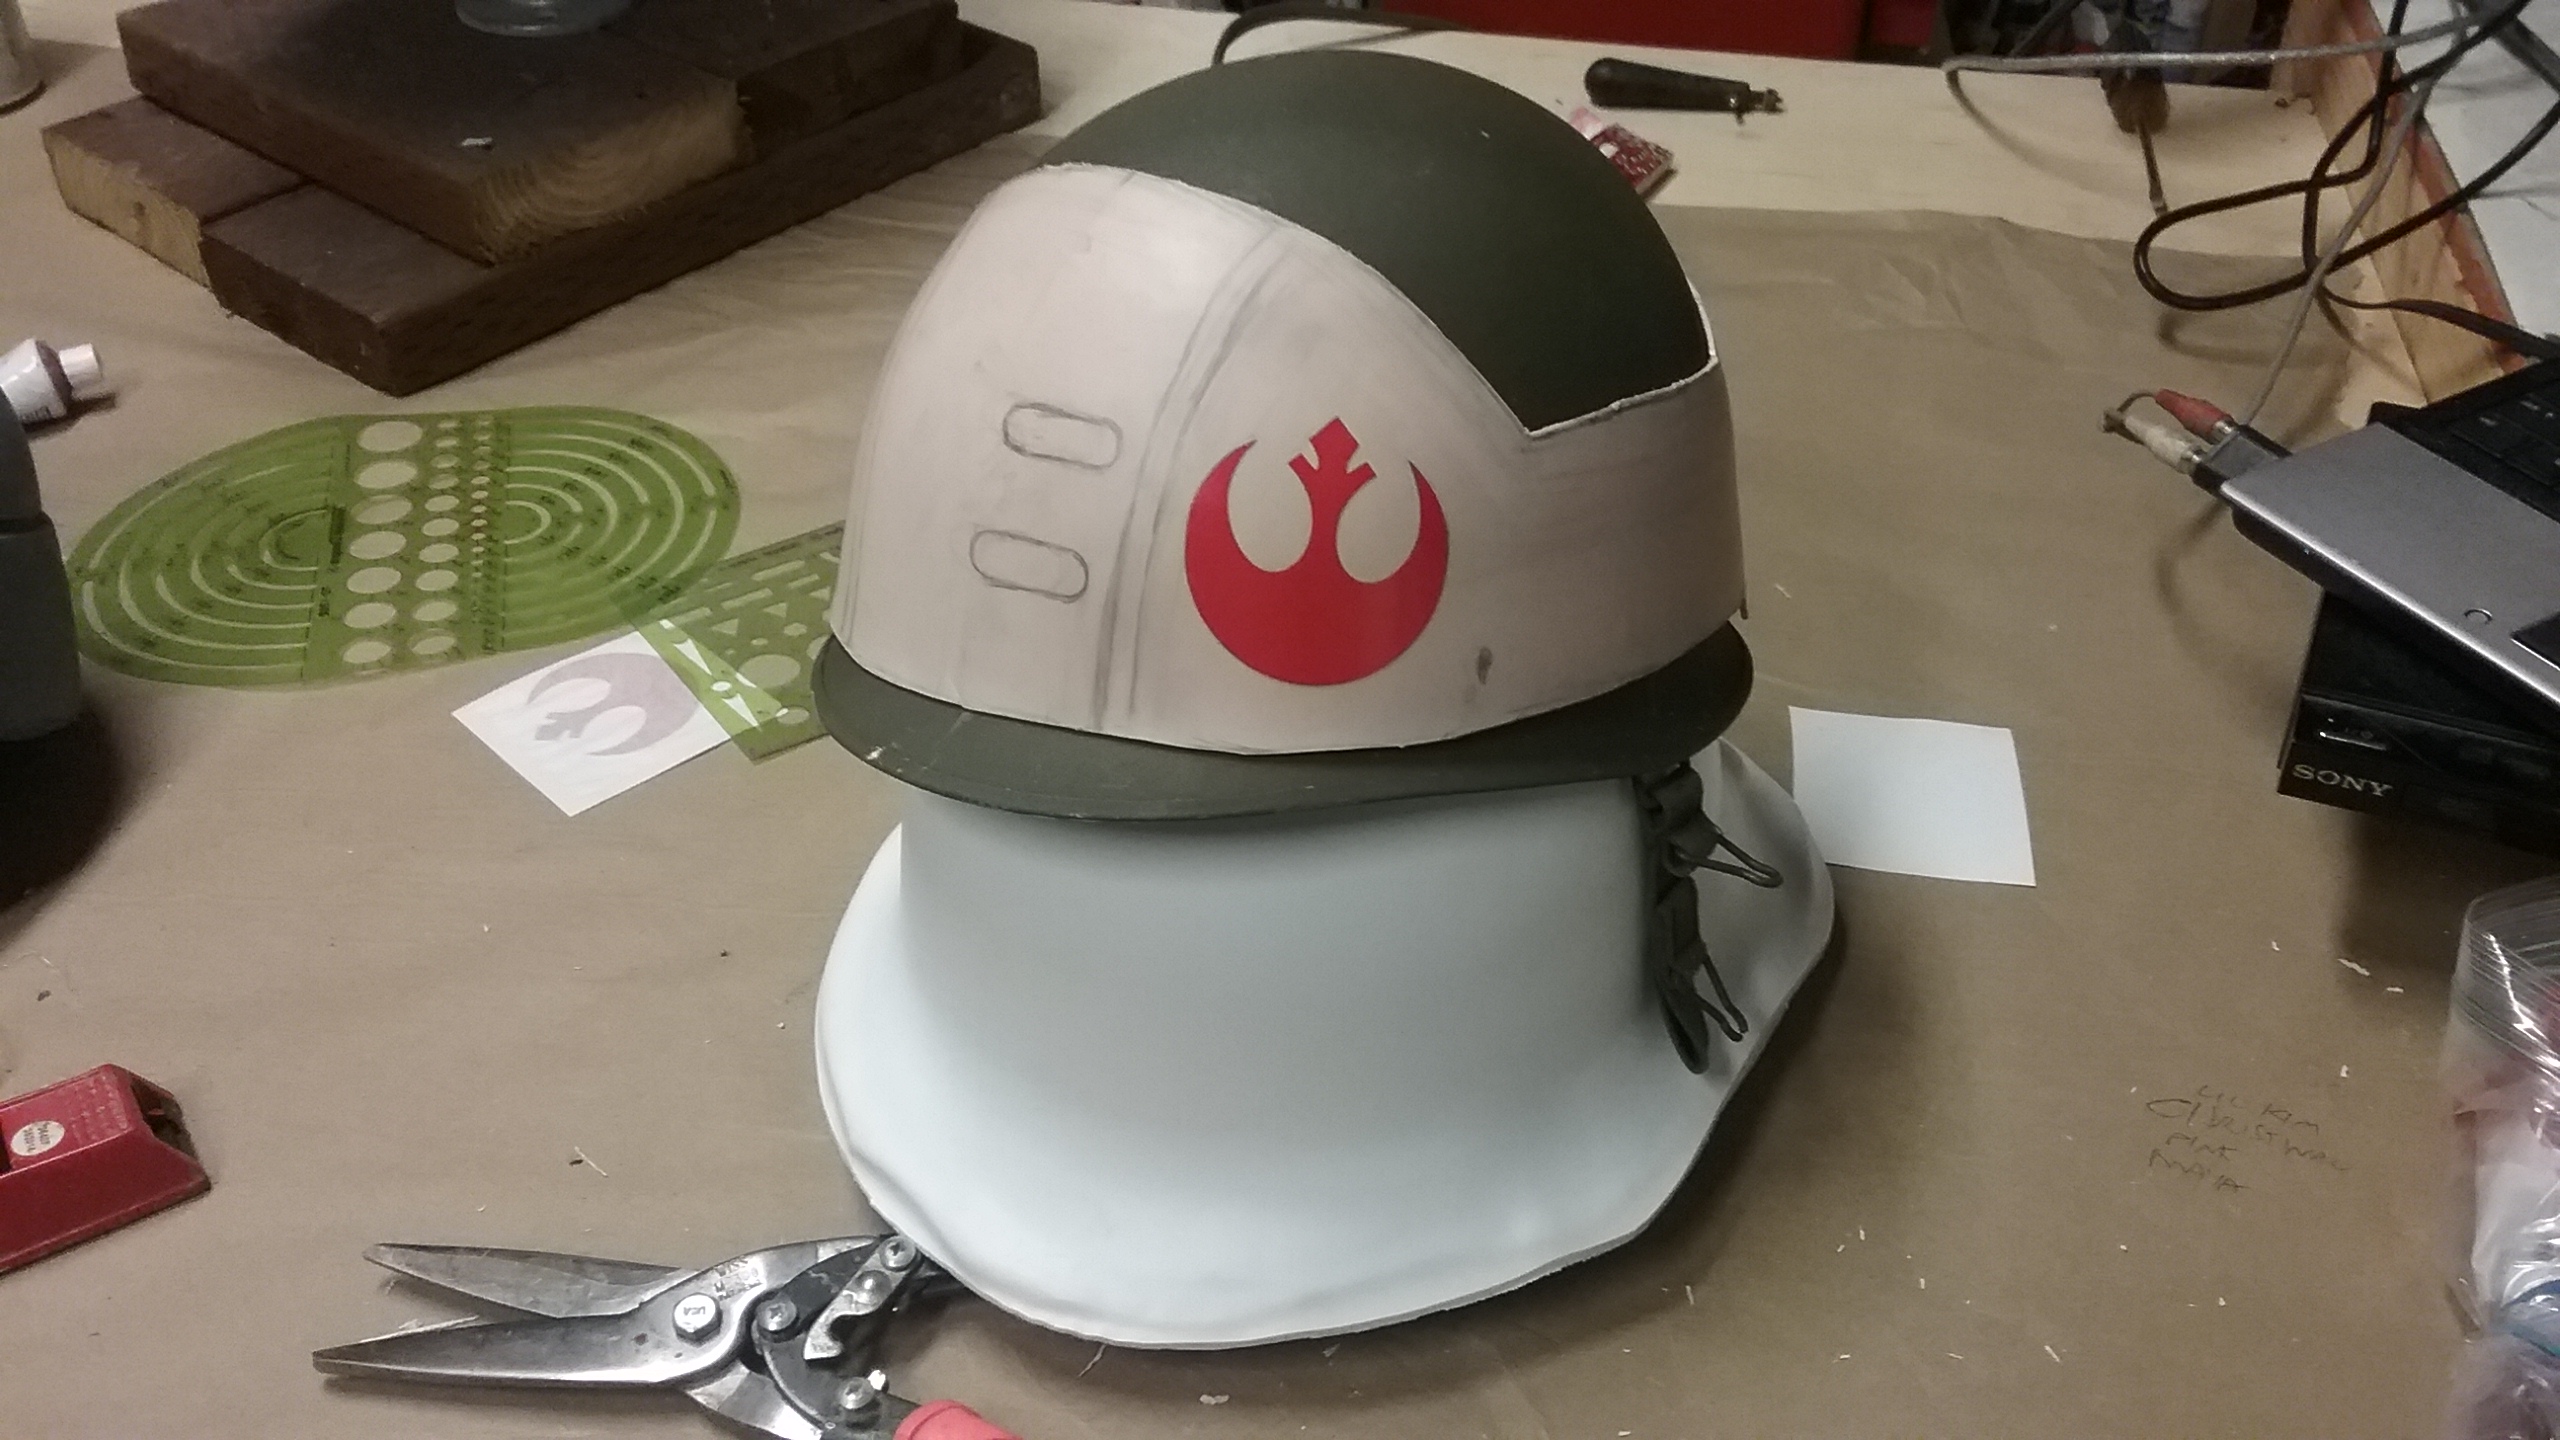
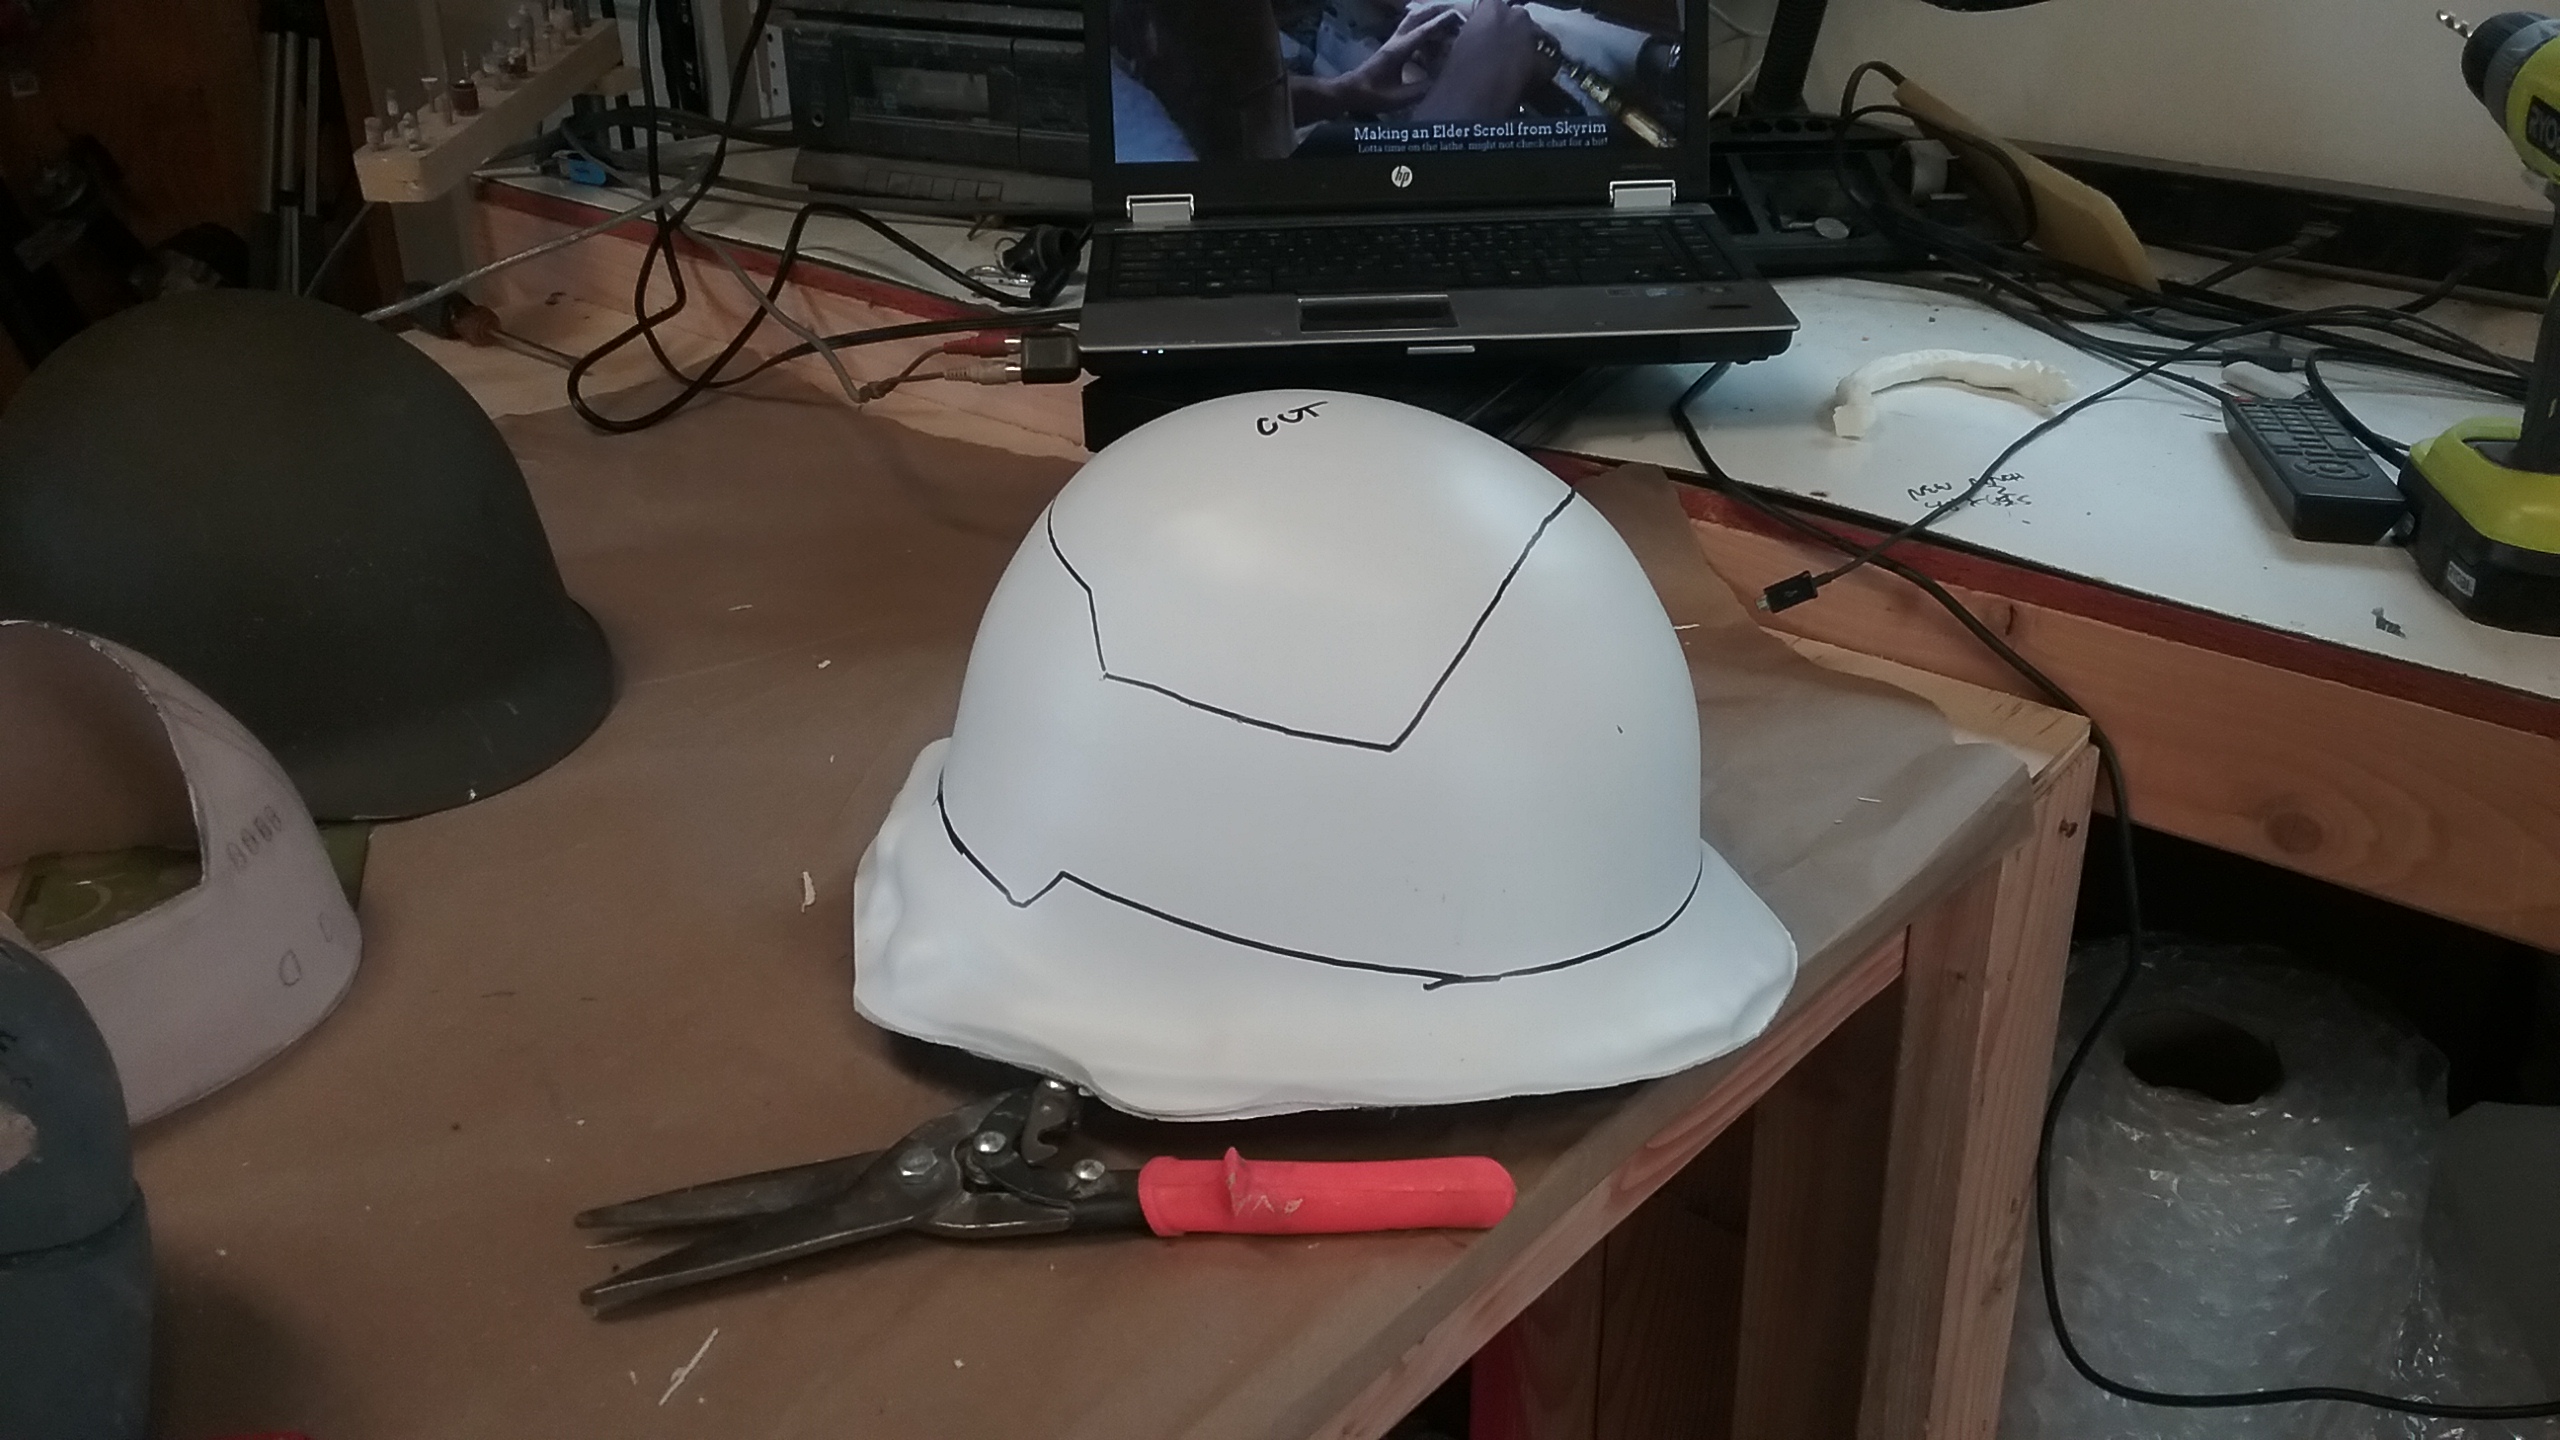
You can see how crazy thick the final result is! I removed the two INNERMOST shells to allow ample room for the fabric cover which will be added later.
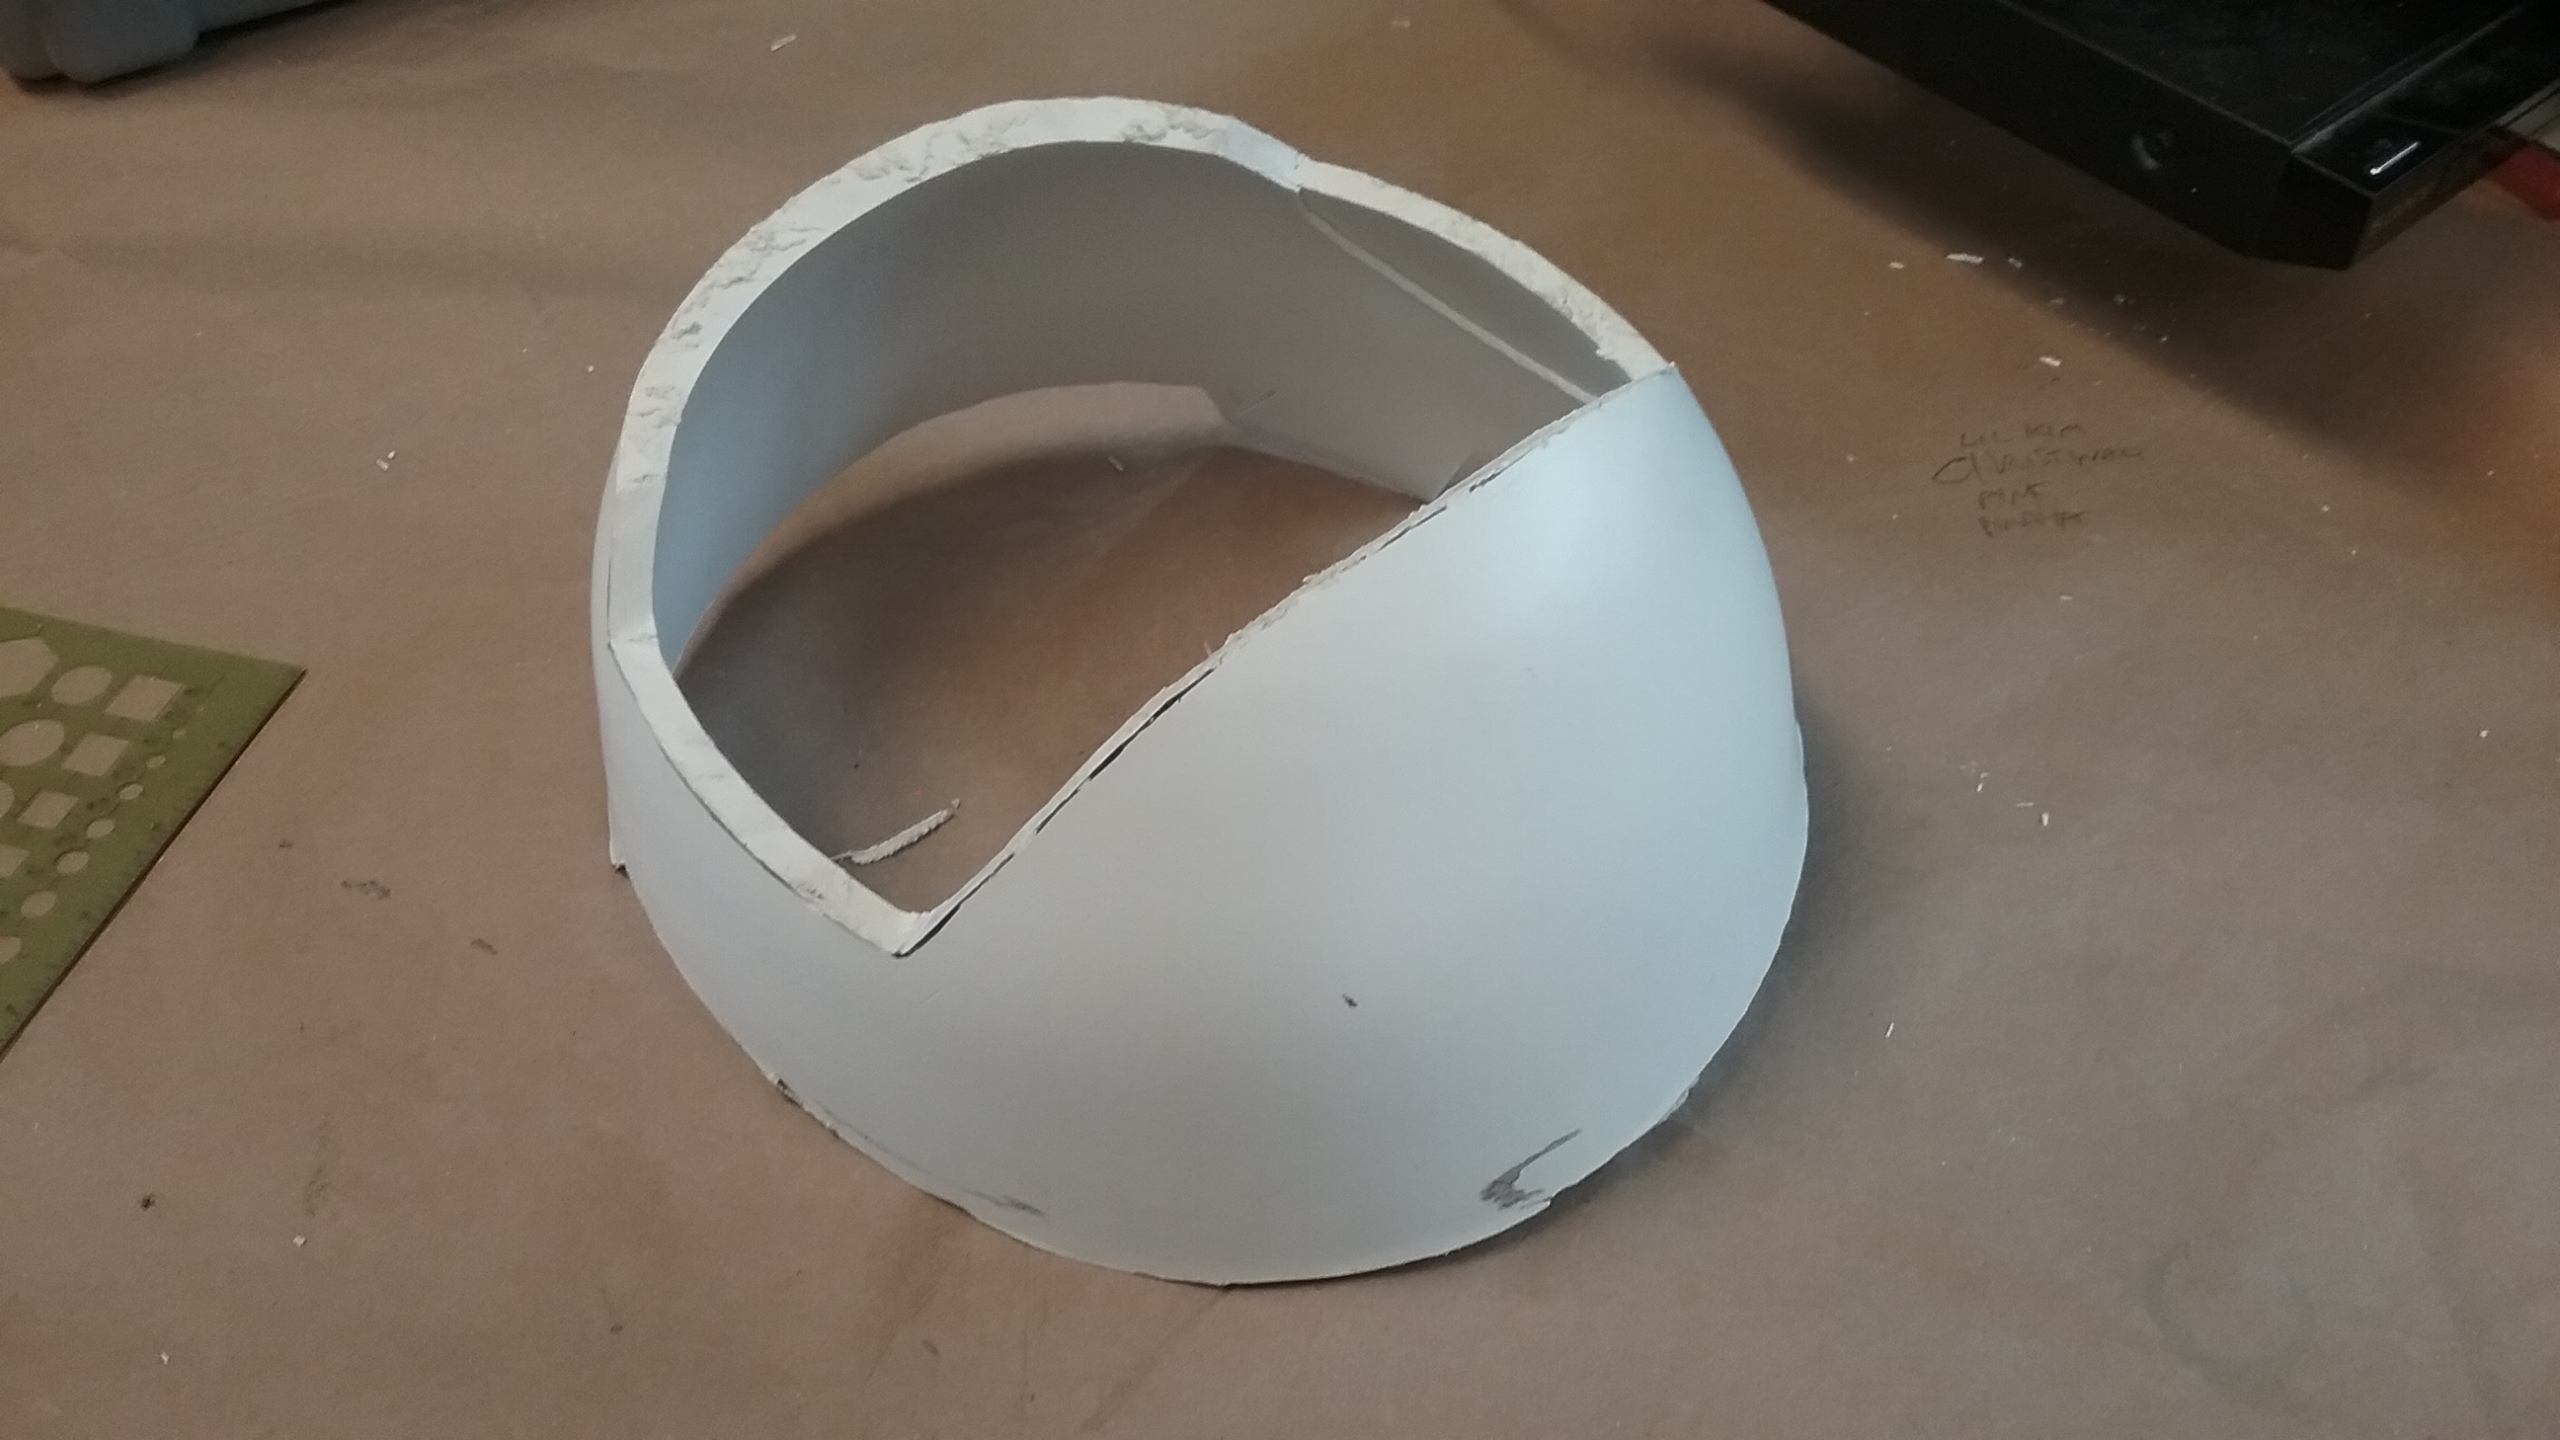
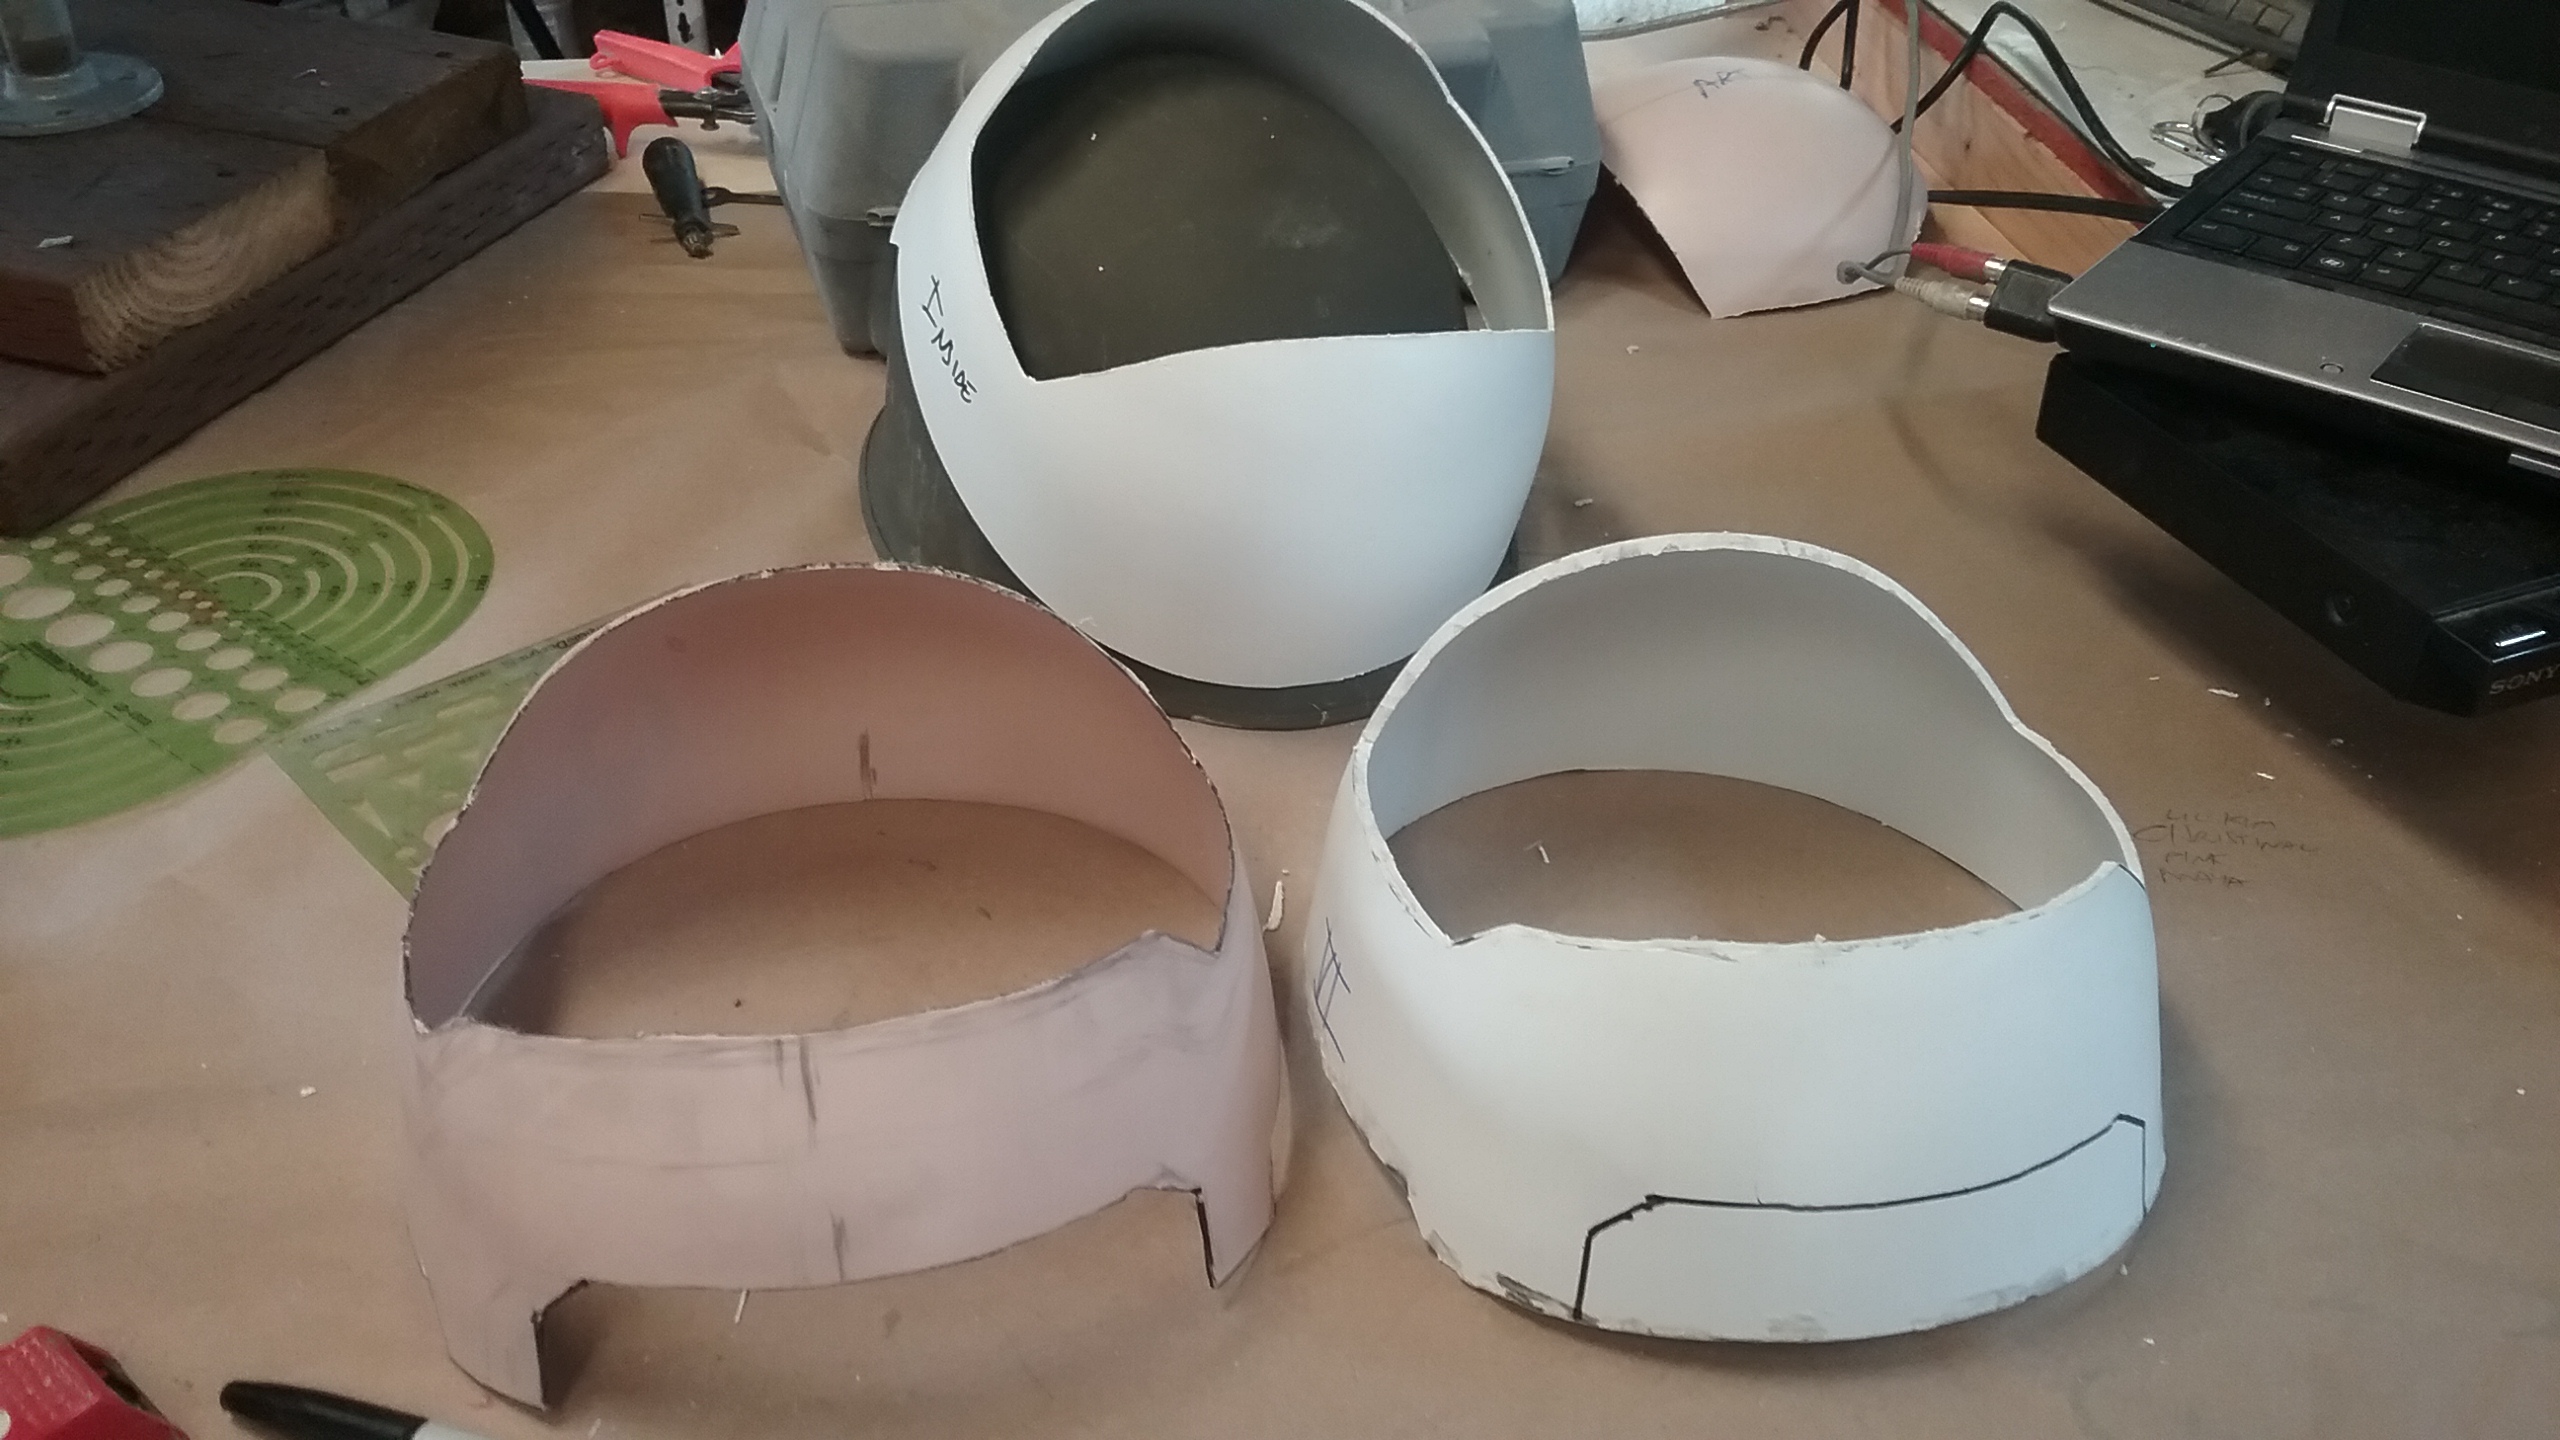
The innermost shell was removed and the outer shells trimmed with the rear detail inset. The shells were then reassembled permanently.
FINAL THICKNESS:
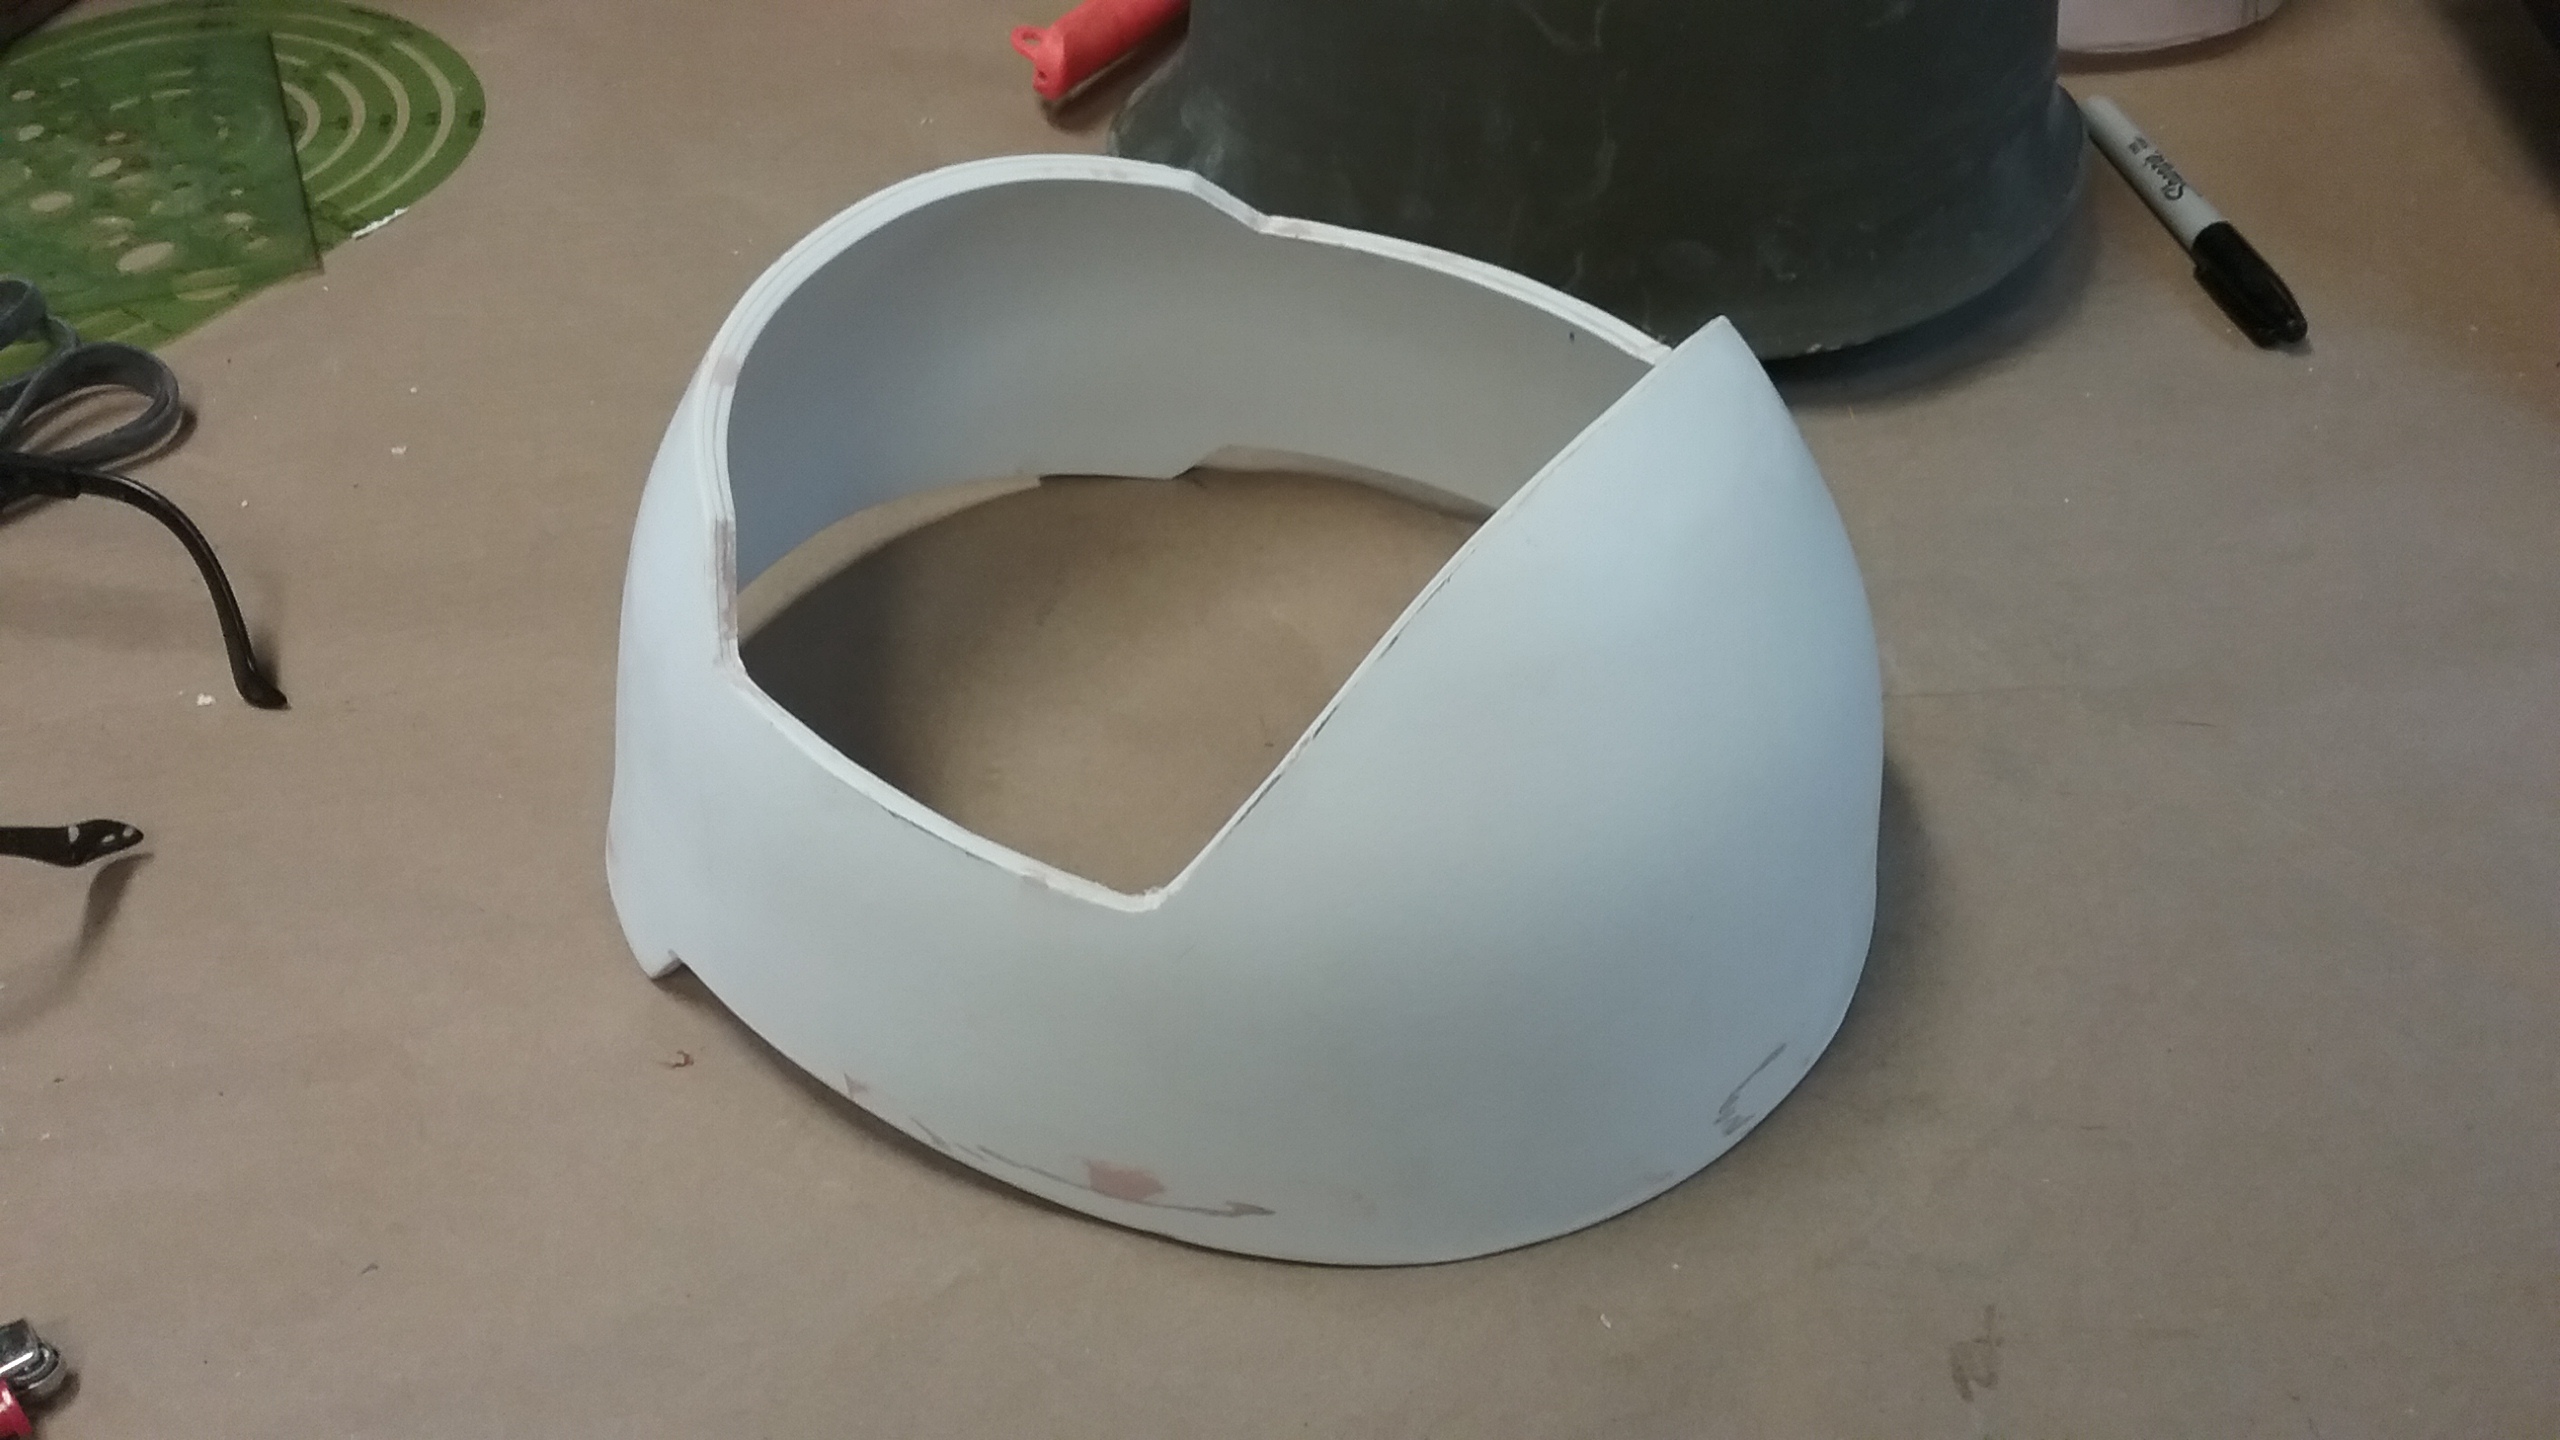
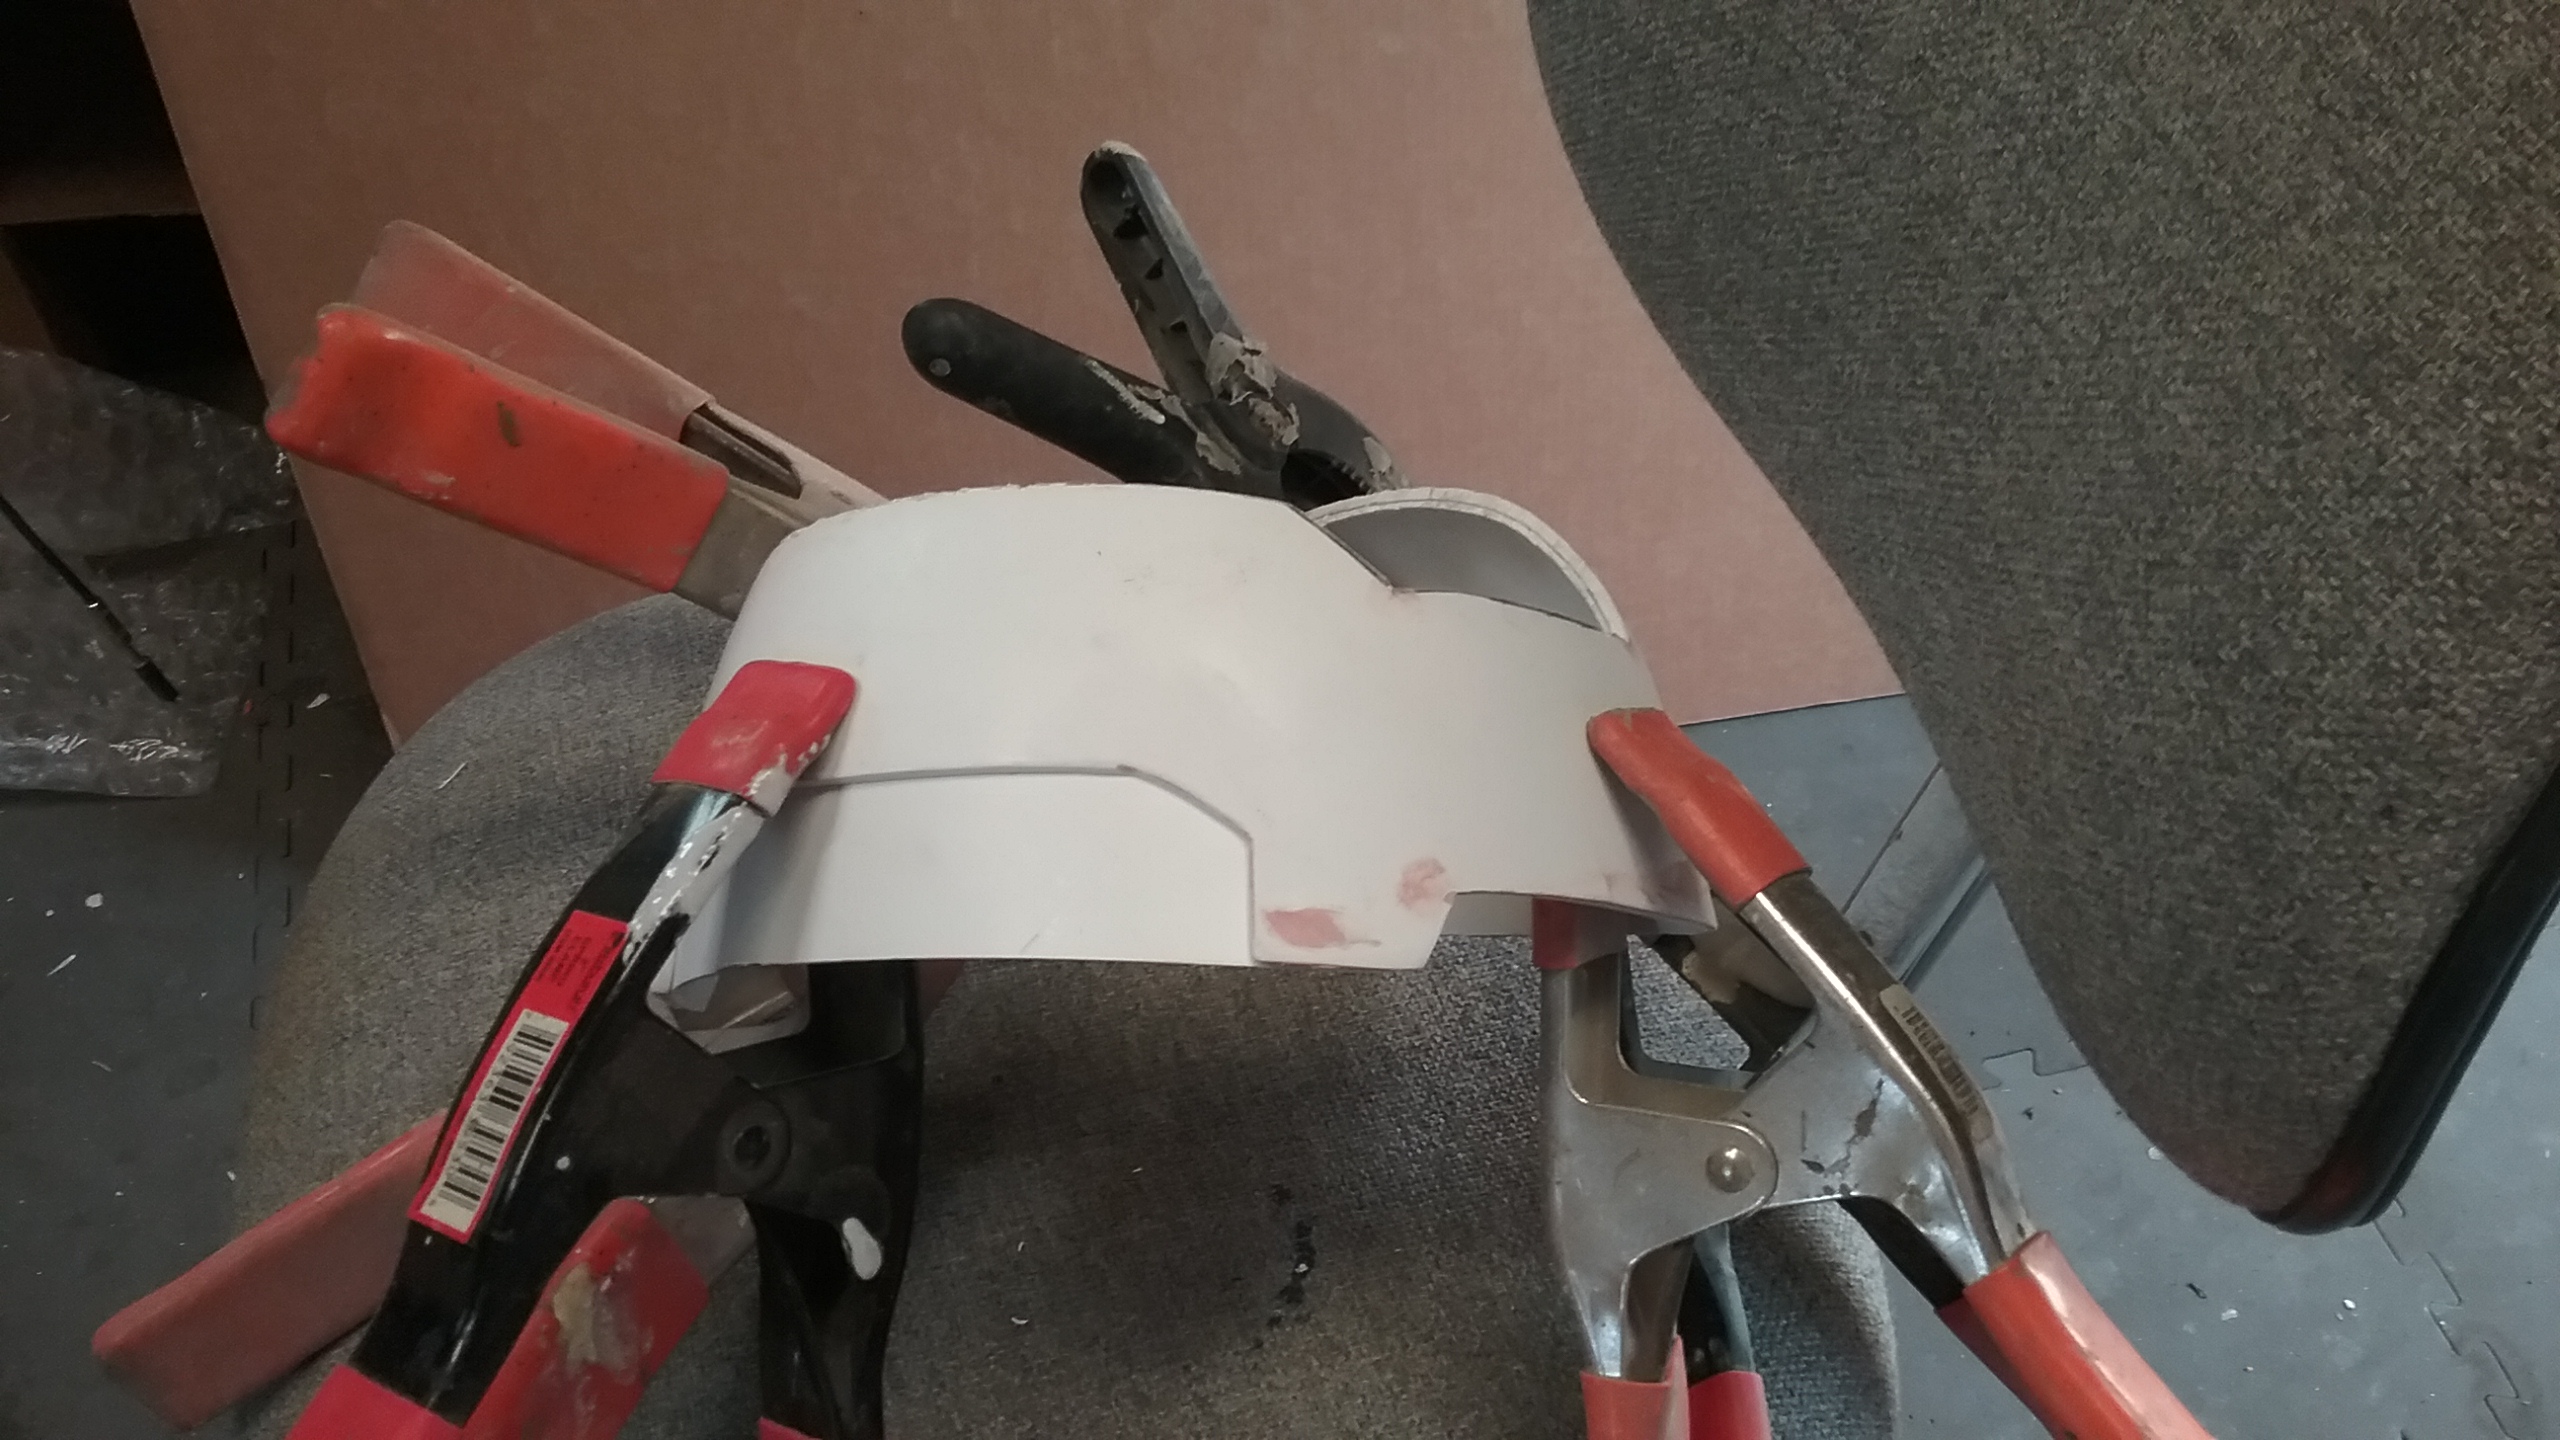
The rear panel was designed in 3D CAD and laser cut to fit the inset.
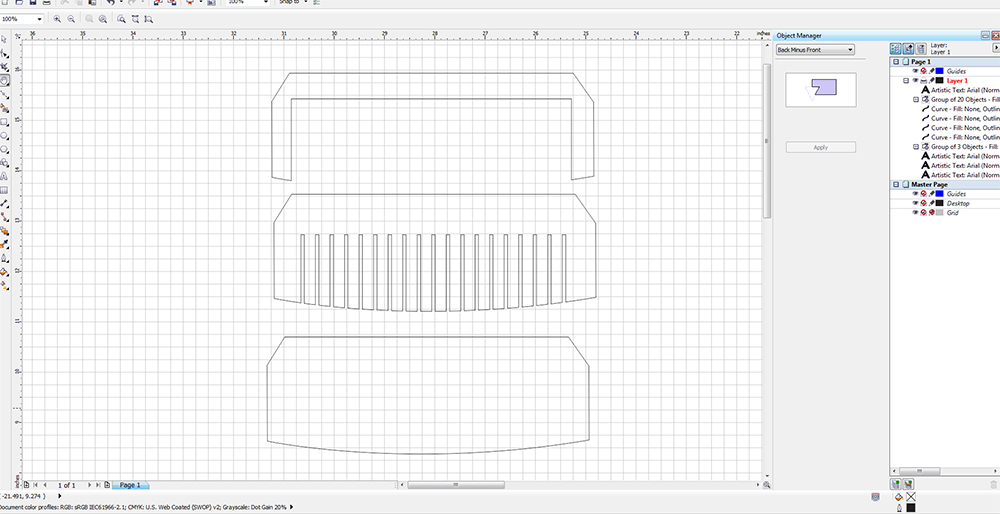
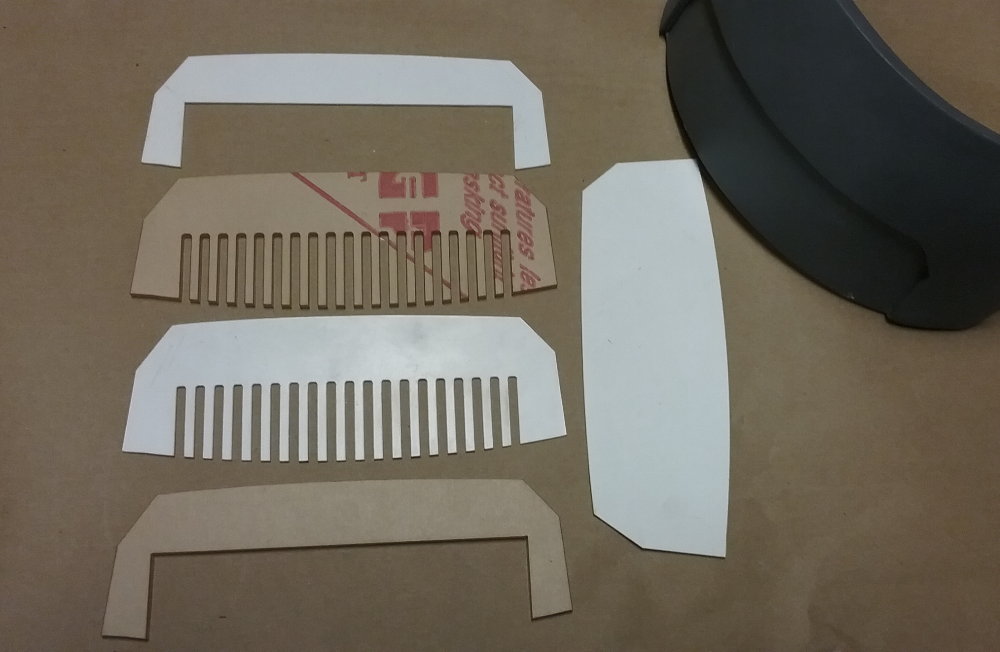
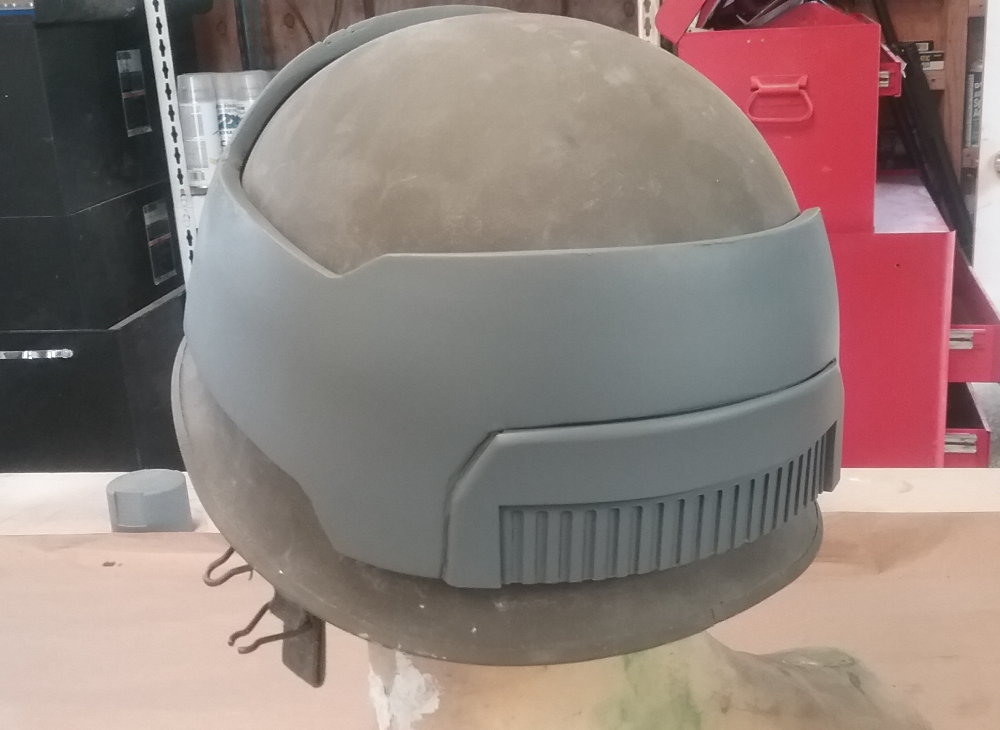
THE DETAIL PARTS:
The flashlight piece is a rod that is finely grooved. I made it using laser cut styrene and acrylic, stacked on one other to achieve the desired detail. The deathstick pack was made using carving foam.
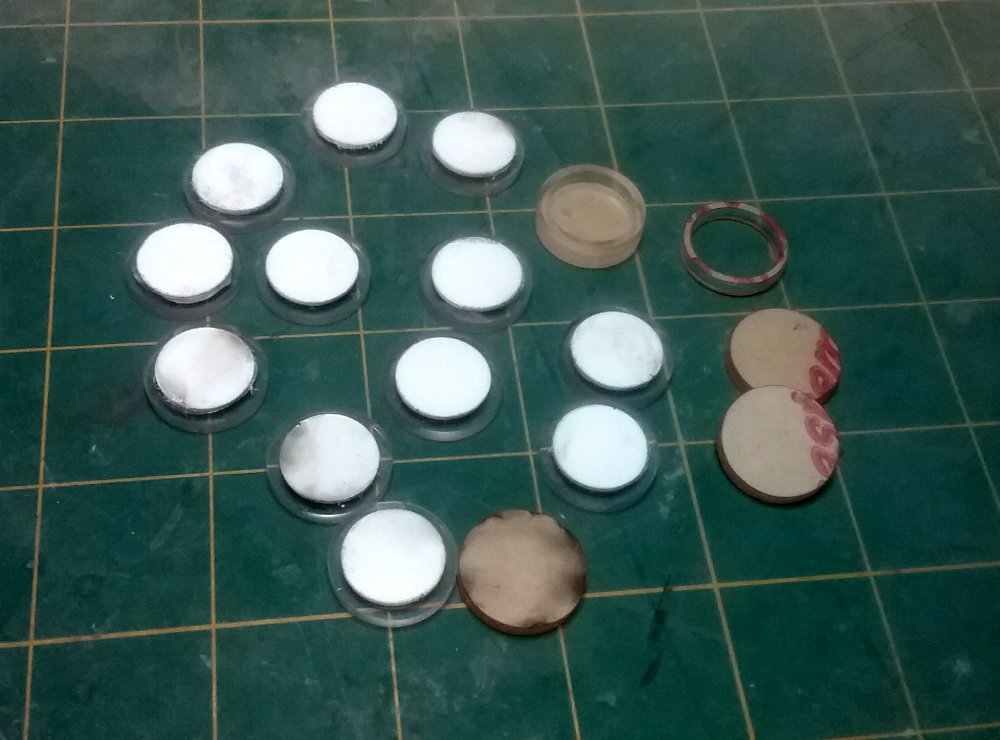
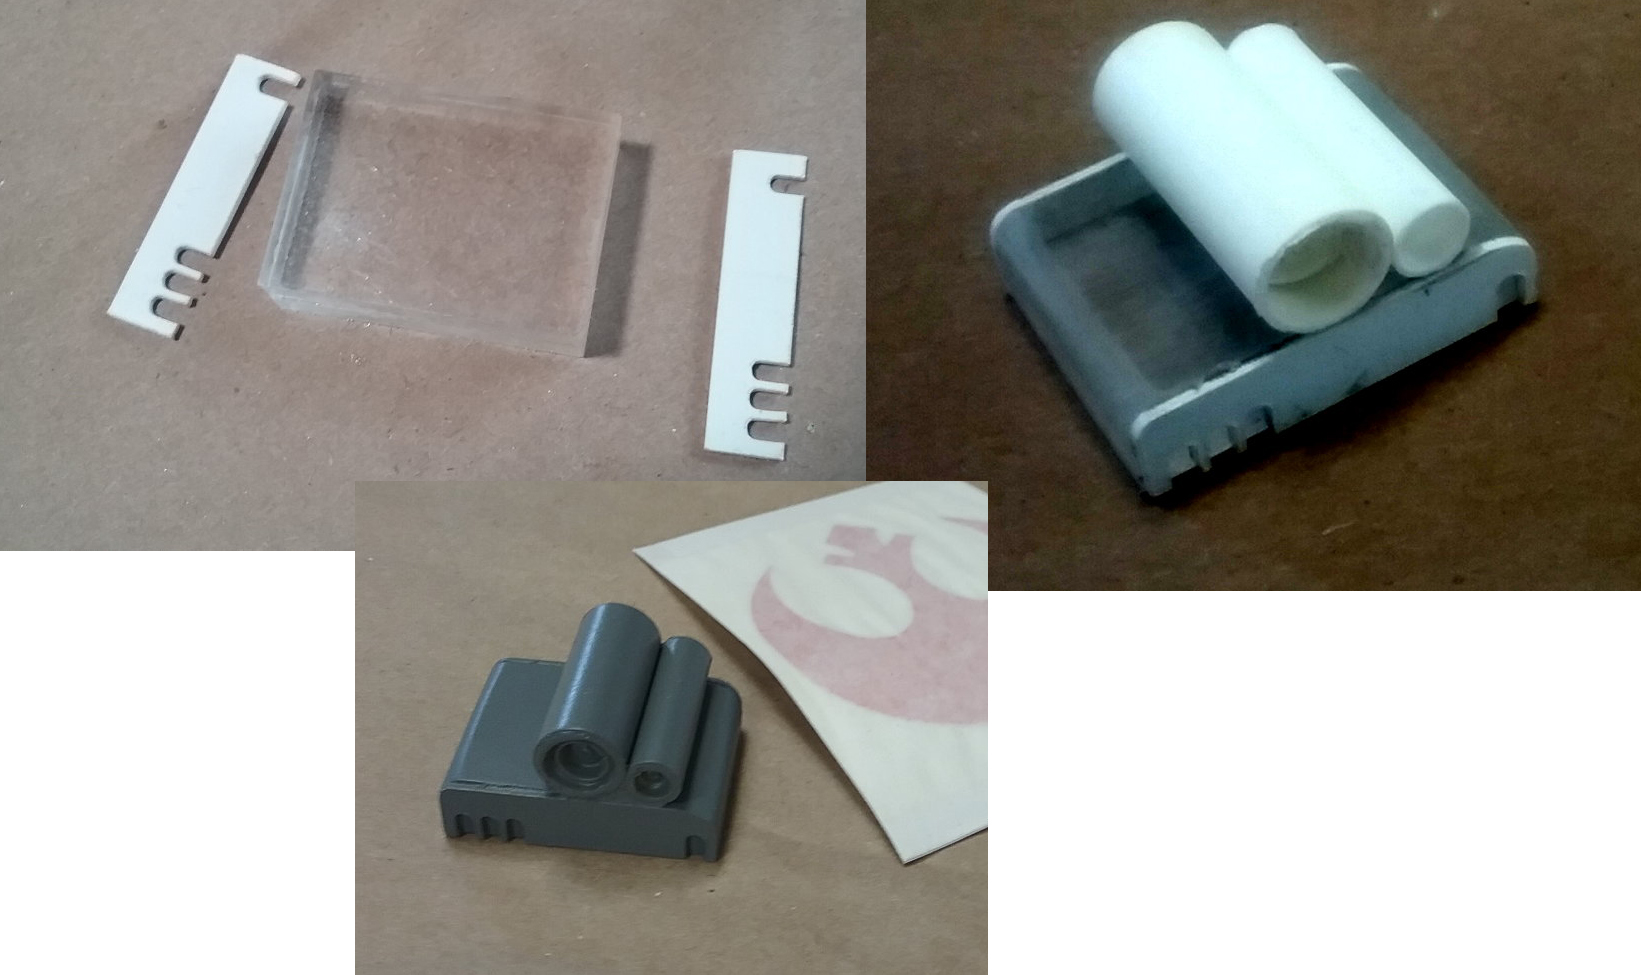
I designed the camera box in 2d and laser cut the sides and body. The parts were assembled and detailed with tubes.
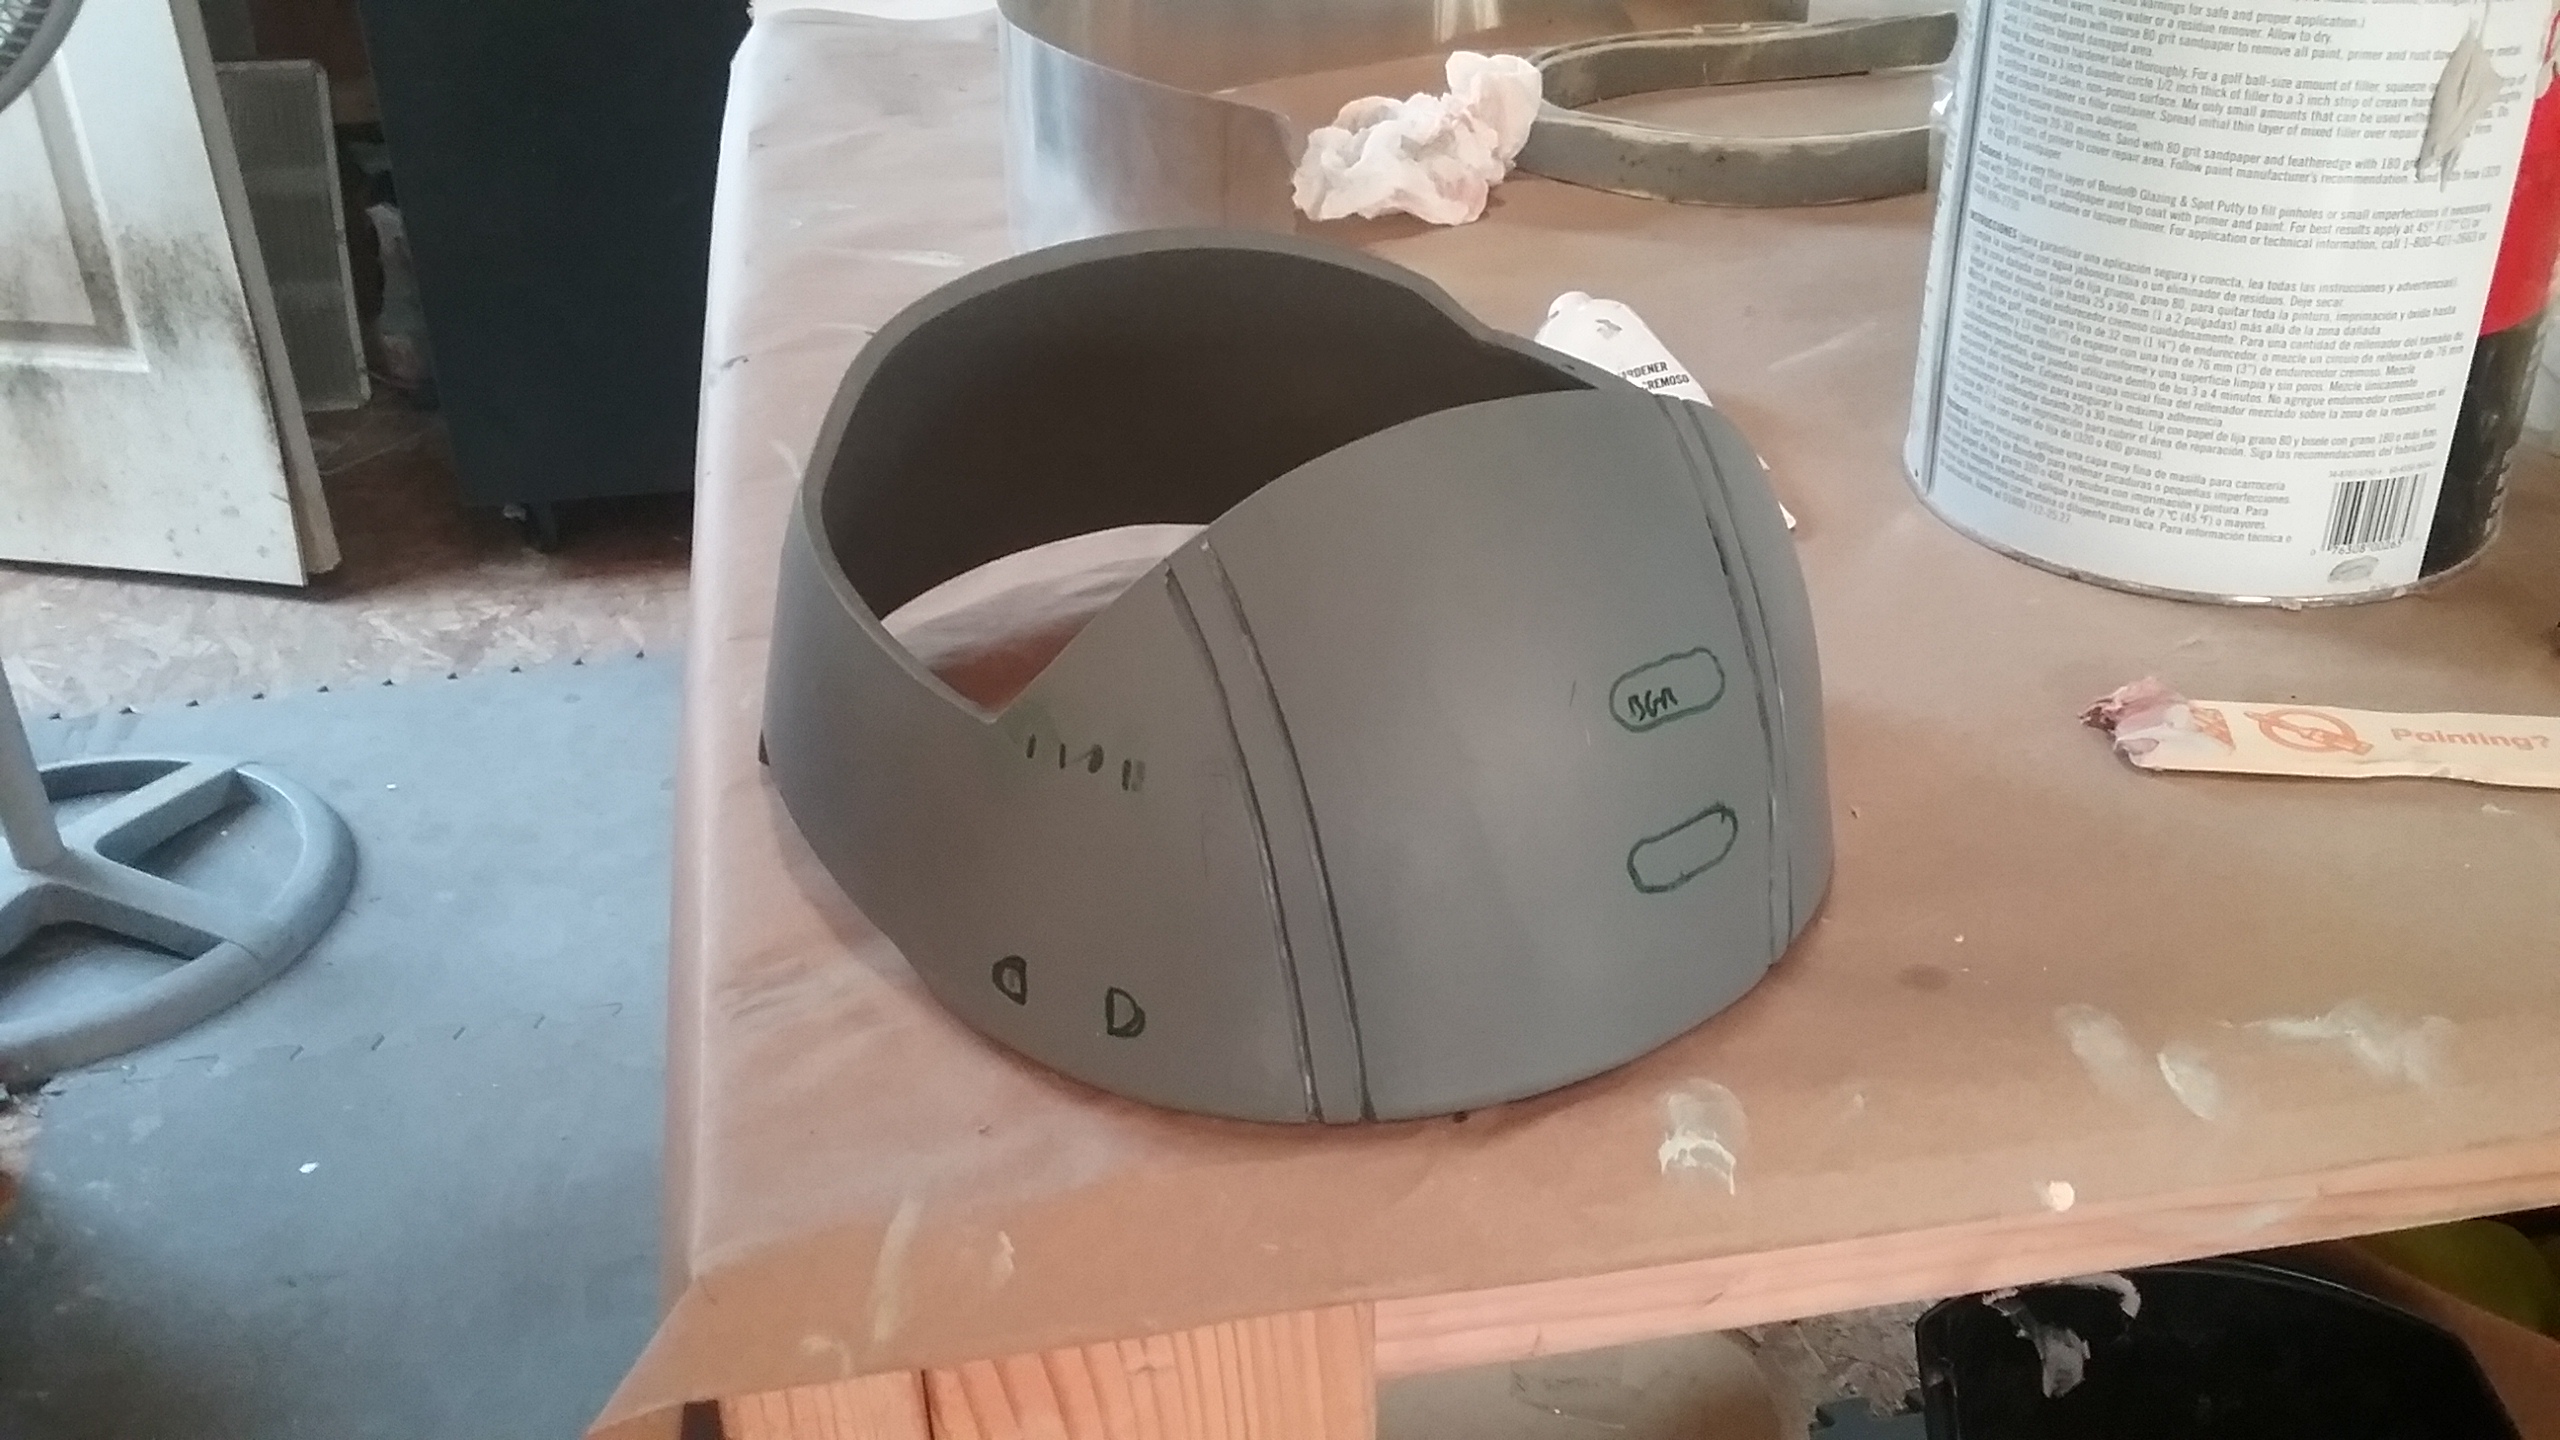
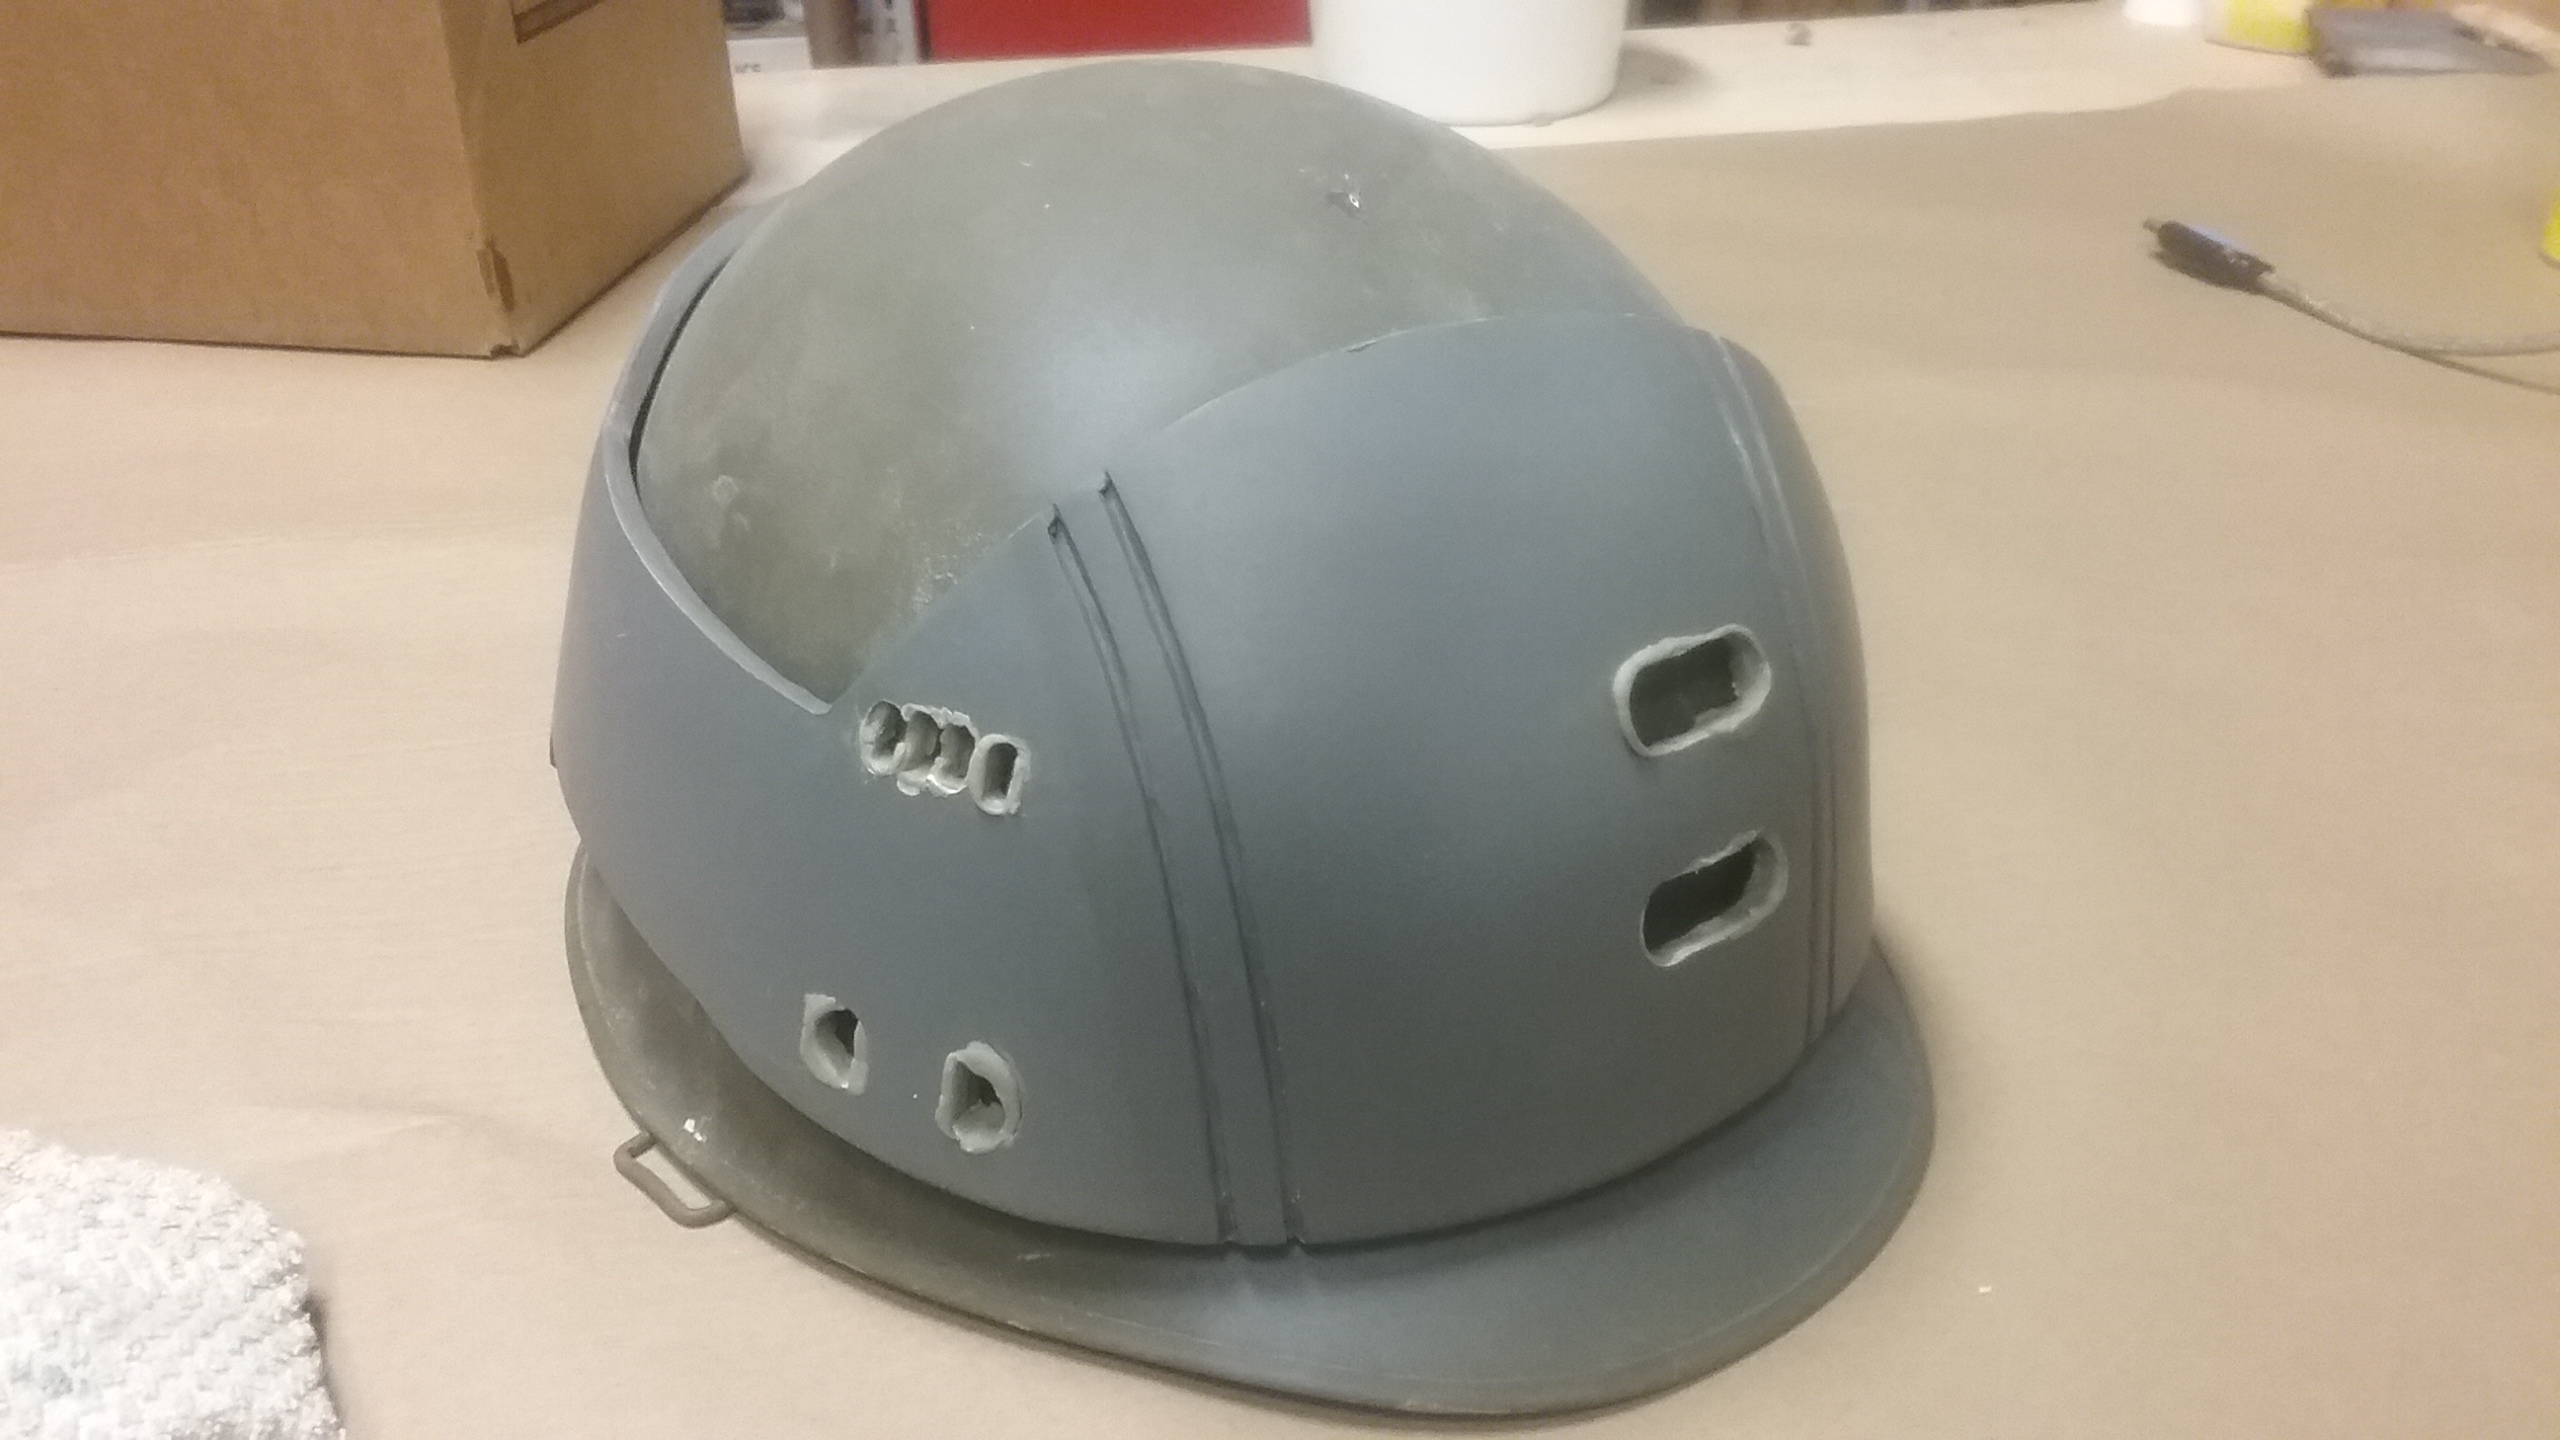
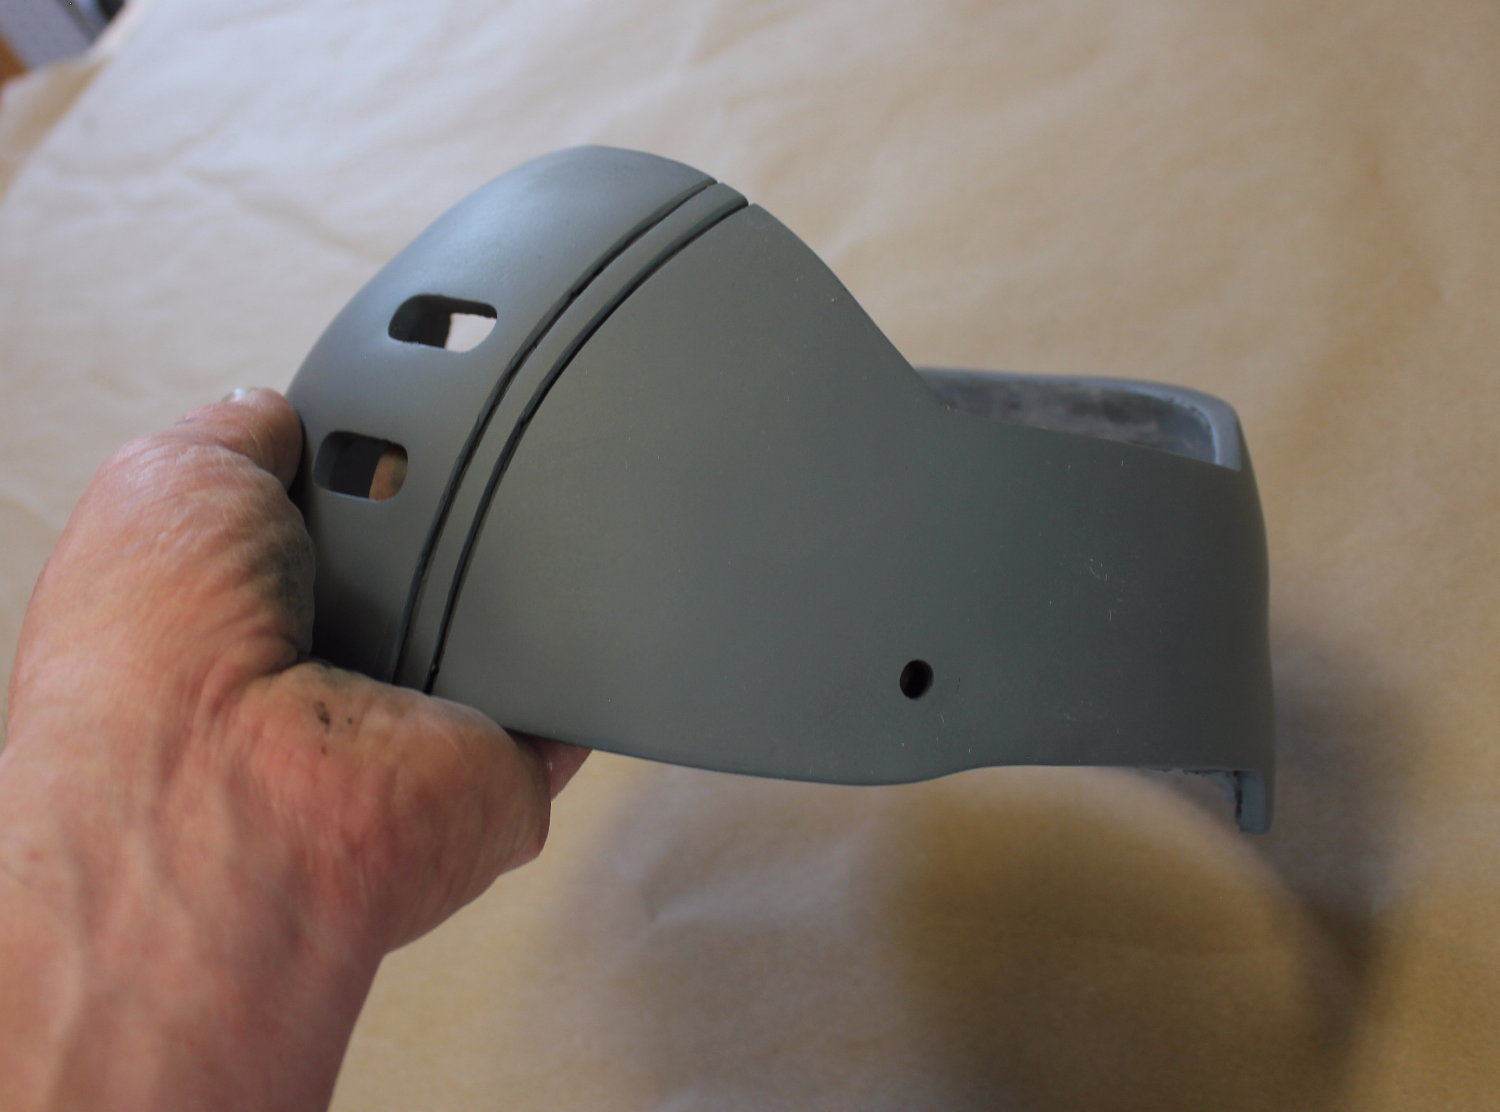
The work on the helmet shell continued with carving the inset holes using laser cut stamps and good old elbow grease (dremel, bondo, files, and sandpaper)
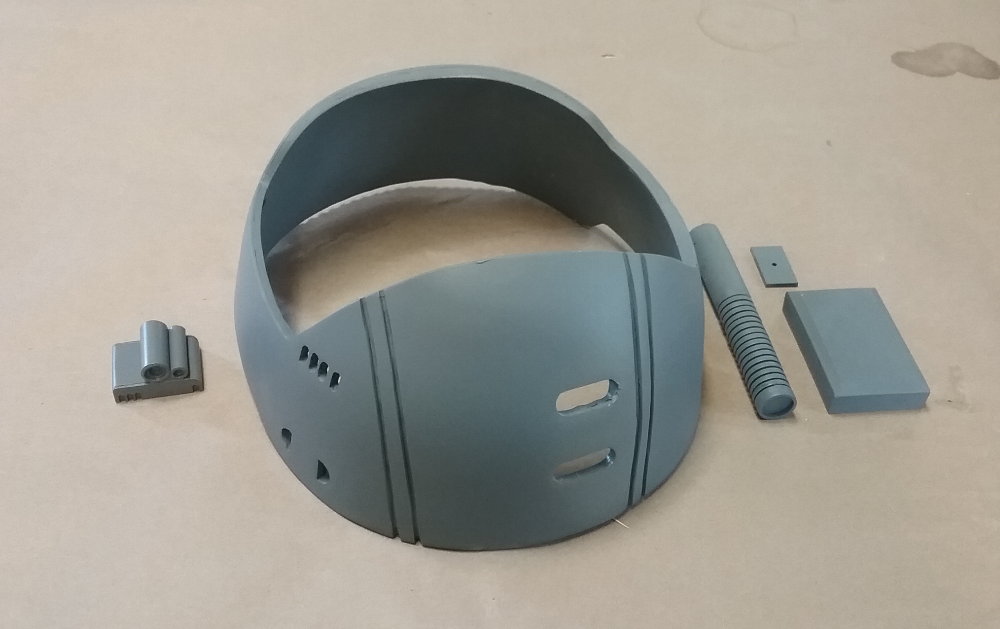
The parts before a few more days of fine cleanup work and prep for molding:
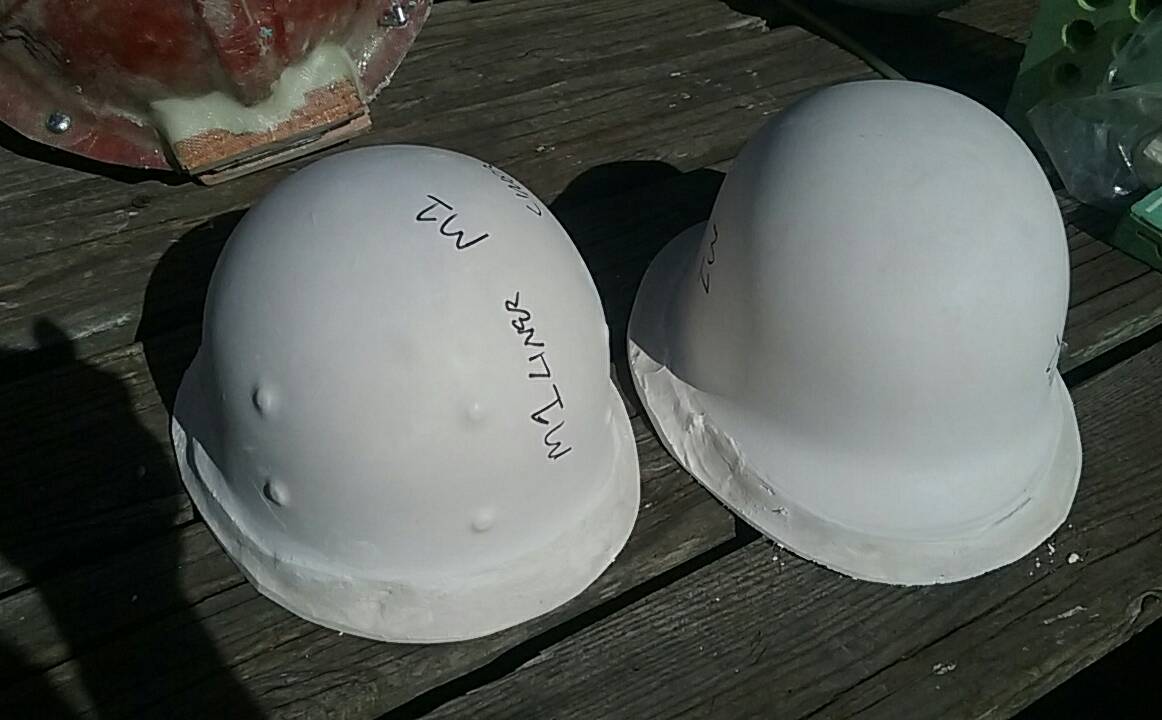
I created 2 thermal forming bucks: 1.) M1 helmet OUTER shell 2.) M1 INNER shell lining for mounting a fabric cover.
The finished parts!
Here you can see the shell sitting on a standard issue M1 helmet. The shell is gapped 2 plastic layers thick to allow room for a fabric cover.
VISIT THESE OTHER HELMETS:
SCAVENGER
RESISTANCE FIGHTER PILOT
BLUE LEADER (R1)
 Administrator | Comments Off |
