
ASTROMECH R5 VARIATION PROJECT
MARCH 2010 Updated r6 Conversion pieces (now include logic boxes, logic box covers, transparency set)


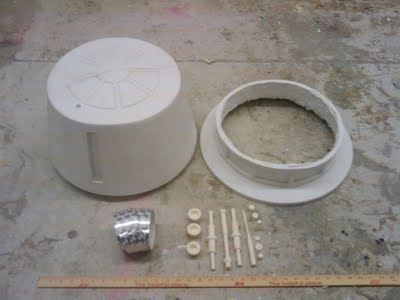
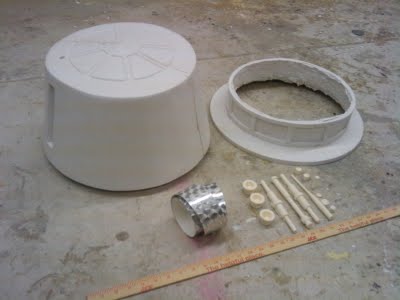
And here's a variation, similar to what is referred to as the "R6". The conversion parts include: A radar eye custom sculpted to fit the curvature of the R5 dome, 2 emitter bases, 2 emitter caps, and the main lens. The other mods can be handled with styrene.


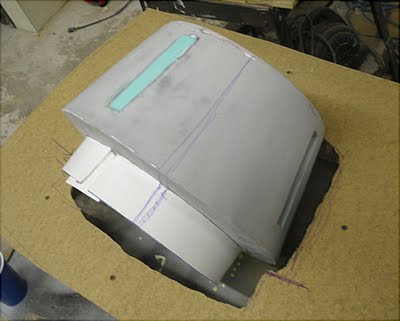
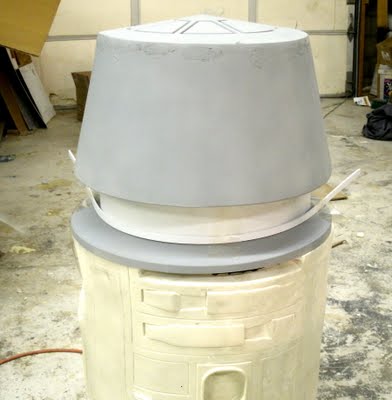
Primered and rough assembled Dome. This still needs one more bondo/sand session before it's ready to paint:


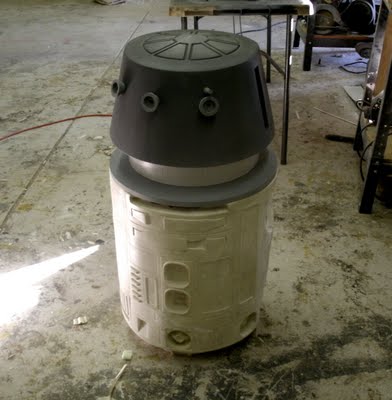
DECEMBER 28TH - At last, finished the kit and a rough assembly:


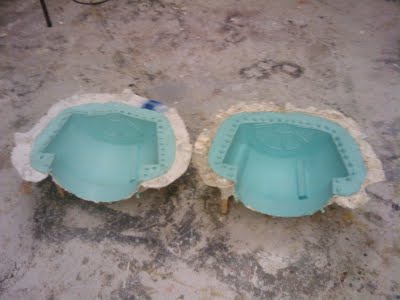

11.25.09 Molding nearly complete!!

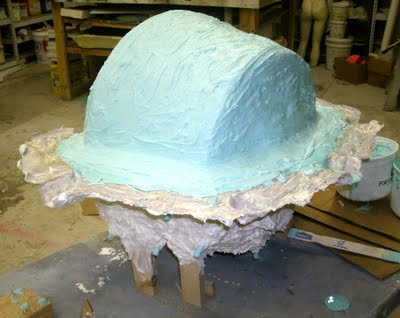

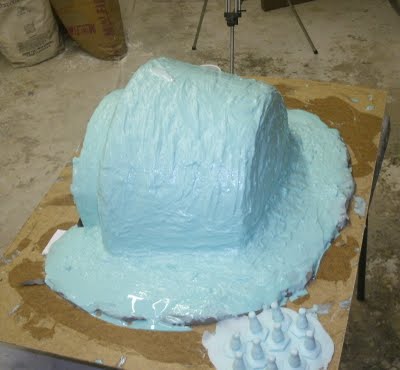
 11.22.09 Molding continues....


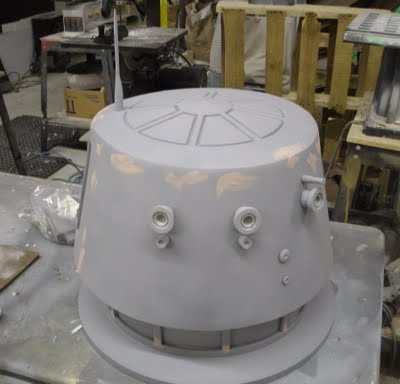
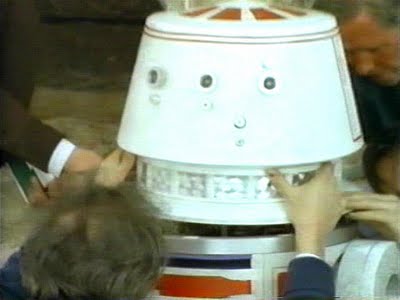
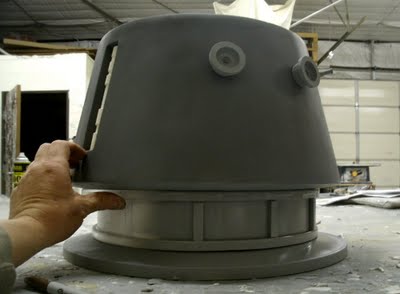
11.12.09 A test fitting. The eyes are difficult to place. They look a tad bit too high in this shot?
 And here's the collection of parts, ready for final adjustments and molding. The eye sensor interiors need to be milled out a bit before I mold them.
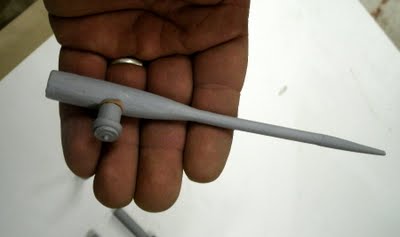
I extended the antenna by a couple inches and made a knob detail.
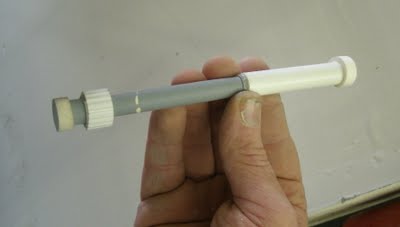
Spent some time fabricating the piston for the rear inset box:
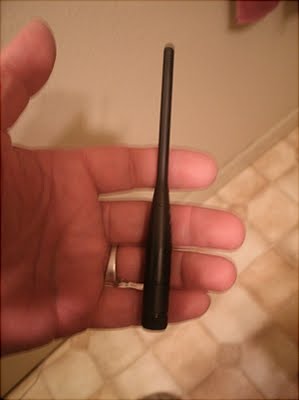
11.10.09 Molded the antenna and I'm happy with its length:

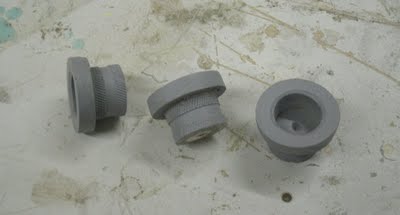
This is the initial start of his 'eye sensors'. After studying the photos, it appears they are pretty small like these:
 Finished turned piston with plastic ribbing detail added:
Lathing the inset pistons. (see videos at the bottom of this blog)

Filling in the gaps with acyrlic.

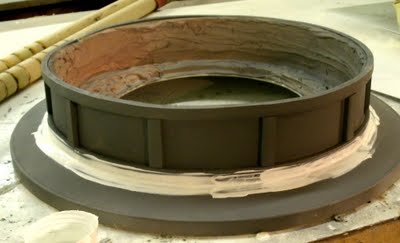

This photo shows the acrylic rod in the process of being bent around the diameter of the neckring.

I took a few days of experimenting that included a failed attempt at trying to create the trim with flexible composite, but I finally decided to use acrylic flat stock to make the trim detailing. It started by determining the width, depth, and length of the sections. Then each of those sections had to be heated and bent around a tight curve.

I'm happy with the neck diameter and glued down the styrene strip permanently and re-enforced with thick coats of fiberglass and bondo.
 Beginning to rough in the neck:
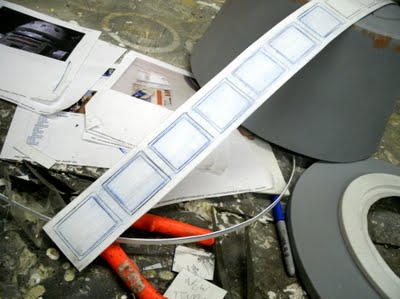

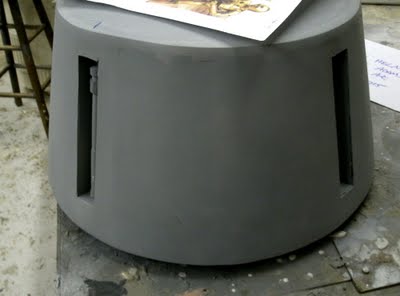
Building in the inset boxes with styrene strips.

Interior of the dome, installing the inset boxes.

References movie stills and utlizing the same kind of strip detailing the filmmakers used, I determined the size of the inset boxes.


For scale:
